
Let’s be real for a second. Waking up with curly hair is basically playing a round of Russian Roulette with the universe. Will you look like a Greek goddess today, descending from Mount Olympus with perfectly defined ringlets? Or will you look like you just stuck a metal fork into a live toaster? There is rarely an in-between. I have spent years battling my own mane, bargaining with humidity, and trying to convince my hair to cooperate without sacrificing my sanity or my entire morning routine. You know the struggle, right? You want to look put-together, but you also value that extra twenty minutes of sleep more than life itself.
We need solutions that don’t require a degree in structural engineering or three hours of styling time. You want styles that work with your texture, not against it. Whether you have loose beachy waves or tight, springy coils, your hair deserves to shine without causing you emotional distress.
I’ve compiled a list of 15 stunning easy curly hairstyles to try this week. These aren’t just random ideas I found on a Pinterest board from 2012; these are battle-tested styles that saved me on days when the weather was disrespectful and my frizz was absolutely out of control. We will cover everything from five-minute miracles to protective styles that actually look cute. Grab your spray bottle, your favorite satin scrunchie, and a little bit of patience. Let’s get these curls popping.
1. 5-Minute Curly Hairstyles for Busy Mornings

We have all been there. You hit snooze one too many times (no judgment here), and now you have exactly five minutes to leave the house before you’re officially late. Panic sets in. But don’t reach for that straightener or the hat just yet. You can pull off a chic look in the time it takes to brew your coffee.
My absolute go-to for this scenario is the “Pineapple Refresh.” It’s technically a protective sleep style, but with a little tweaking, it becomes a look.
- The Method:
- Flip your head upside down. Gravity is your best friend here.
- Gather all your hair at the very top of your head, near your hairline.
- Secure it loosely with a satin scrunchie. Do not wrap it twice! We want volume, not a headache.
- Stand up and pull a few tendrils down around your ears and forehead.
- Mist the loose ends with a water/conditioner mix and scrunch.
This style lifts your face, hides the flattened curls at the back of your head (bedhead is real), and gives you incredible volume. It screams “I did this on purpose” rather than “I overslept.” Plus, keeping the hair high prevents it from tangling in your scarf or collar during your commute.
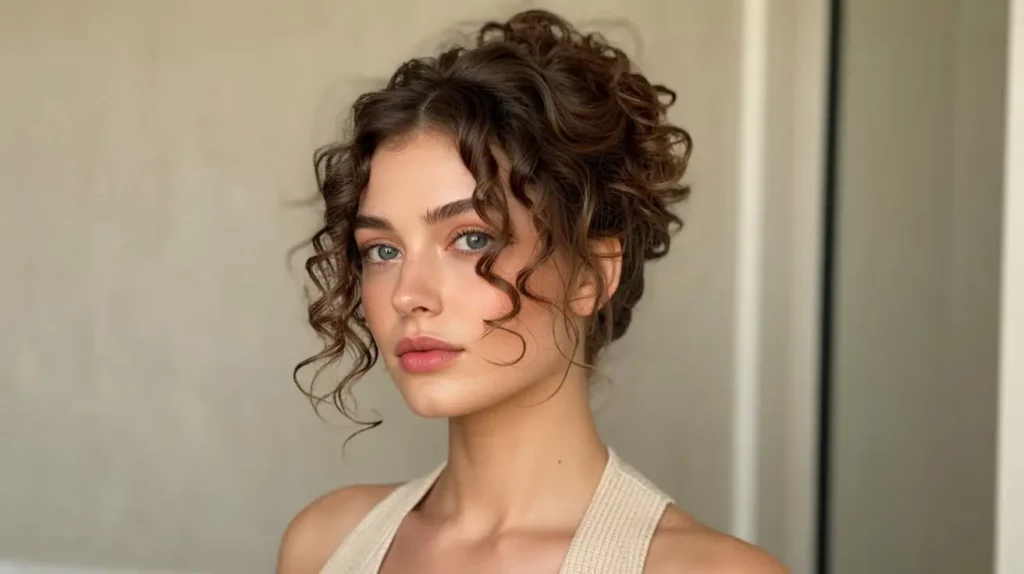
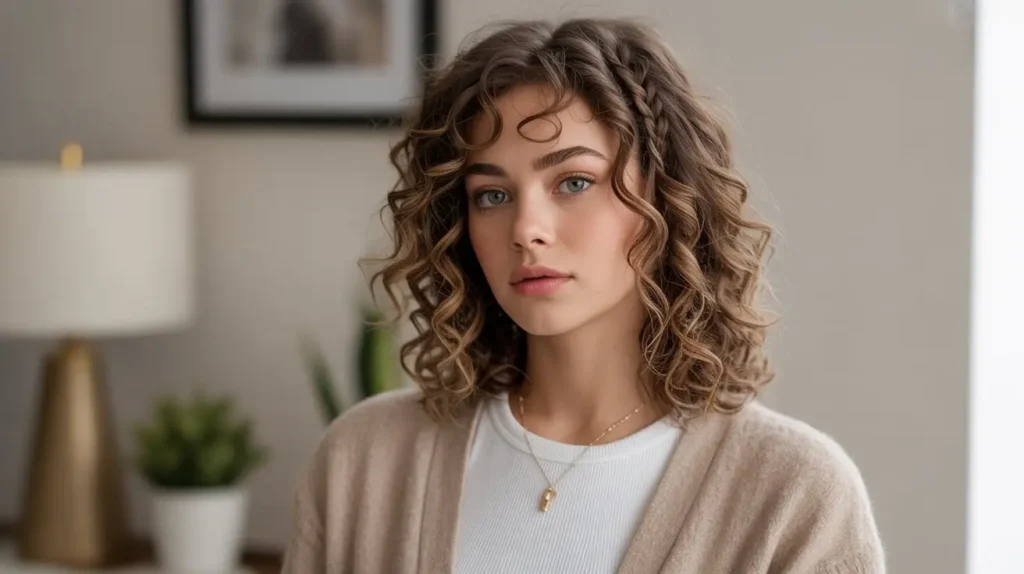
2. Effortless Curly Updos for Any Occasion
Updos often feel intimidating. You see those complex tutorials with forty-seven bobby pins and intricate weaving, and you think, “Yeah, absolutely not.” But an updo doesn’t have to be perfect. In fact, curly hair thrives on imperfection. The texture does the heavy lifting for you, hiding clips and adding grip that straight hair just doesn’t have.
Let’s talk about the Claw Clip French Twist. The claw clip made a massive comeback, and IMO, it’s the greatest invention for curly girls since leave-in conditioner. It is effortless yet looks sophisticated enough for a dinner date.
- How to achieve it:
- Gather your hair at the nape of your neck like you’re making a low pony.
- Twist the hair upwards toward the crown of your head creates a vertical roll.
- Fold the ends back down or, if your hair is shorter, let the curls spill over the top like a fountain.
- Secure it with a giant claw clip that matches your outfit.
- Pull out face-framing pieces to soften the look.
This style keeps your neck cool and highlights your earrings. If pieces fall out, let them! It adds to the romantic, undone charm.
3. Cute Half-Up Hairstyles for Curly Hair
Can’t decide between wearing your hair up or down? Why choose? Half-up styles give you the best of both worlds: the elegance of an updo with the length and volume of loose curls. This is my secret weapon when my bottom curls look great, but the top layer is acting suspicious and frizzy.
Try the High Half-Pony Waterfall. Think Ariana Grande, but with actual texture and volume.
- Step-by-Step:
- Section off the top half of your hair, starting from just above your ears to the crown.
- Smooth the hair back using a soft bristle brush or your palms with a little gel. You want the top sleek and the bottom wild to create contrast.
- Secure with a strong elastic.
- Prop it up: Use a small claw clip under the ponytail elastic to make the pony stand up higher.
This style acts like a mini-facelift. It pulls everything back and lets your eyes pop, while the “waterfall” effect of the curls falling from the high pony looks stunning.
4. No-Heat Curly Hairstyles for Healthy Hair
Heat is the enemy. We know this. But sometimes air-drying takes six hours, and we get impatient. These styles allow you to manipulate your curl pattern without frying your cuticles with a curling wand.
The Flexi-Rod Set is a game changer. I used to hate these things because they are uncomfortable to sleep in, but the results? Worth it. This gives you uniform, bouncy spirals that look like you spent hours at the salon.
- The Process:
- Start with damp (not soaking wet) hair.
- Apply a setting foam or mousse—this dries faster than heavy creams.
- Wrap small sections around the rod and bend the ends to secure.
- Let it dry completely. Do not unravel while damp, or you will just have frizz.
When you take them down, separate the curls with a little oil on your hands. You get perfect definition that usually lasts for 3–4 days.
5. Simple Braided Styles for Curly Hair
Braids and curls go together like peanut butter and jelly. The natural texture of curly hair helps braids stay in place without needing a gallon of hairspray or tiny elastics that snap.
My favorite is the Side Dutch Braid Sweep. Do you have a “good side”? Show it off. This creates a faux-undercut look that is edgy but sweet.
- How to do it:
- Create a deep side part.
- On the side with less hair, start a Dutch braid (braiding under rather than over) right at the hairline.
- Braid back towards your ear, adding hair as you go.
- Stop braiding behind the ear and pin it securely with two bobby pins in an X shape.
- Fluff the rest of your hair over the pins to hide them.
This keeps one side of your face completely clear, which is perfect for showing off bold makeup or statement jewelry.
6. Curly Ponytail Ideas That Stay All Day
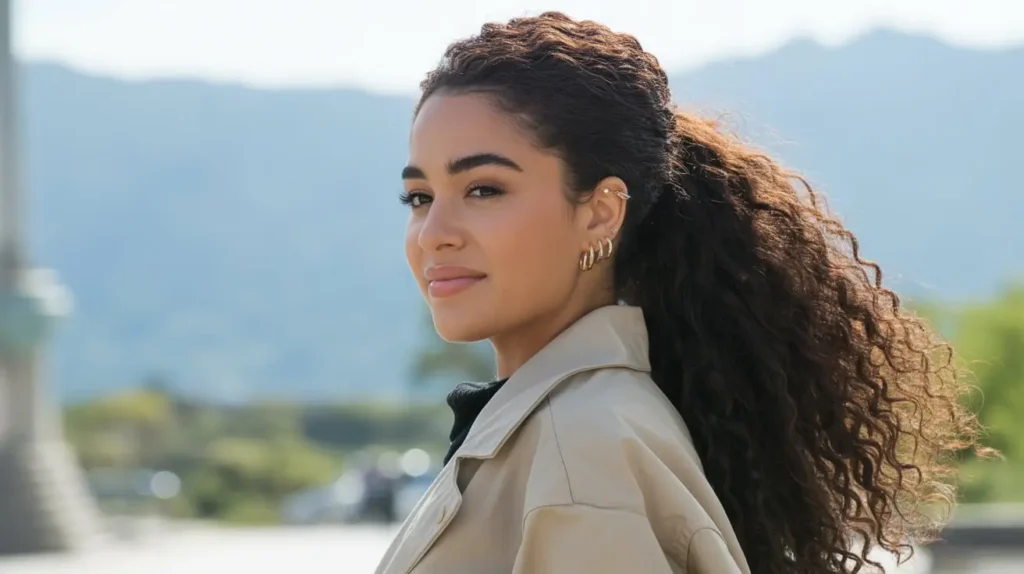
A ponytail sounds boring, right? Wrong. A curly ponytail is a statement. However, heavy curly hair tends to sag. Ever wondered why your high pony is sitting at your neck by 2 PM? Gravity is rude. Here is how we defeat it.
You need to try the Double Pony Trick. This creates the illusion of longer, fuller hair and prevents sagging.
- The Hack:
- Divide your hair horizontally into two sections (top and bottom).
- Tie the bottom section into a ponytail first. Ideally, position it in the middle of your head.
- Tie the top section into a ponytail directly above the first one.
- Fluff the top curls over the bottom ponytail so they blend seamlessly.
Suddenly, your hair looks six inches longer and twice as thick. No one will know you have two hair ties in there unless they physically inspect your scalp.
7. Quick Everyday Hairstyles for Natural Curls
Sometimes you just need a style that says, “I am a functioning adult,” without requiring a YouTube tutorial. These are your bread-and-butter looks for running errands or working from home.
The Headband Tuck is a lifesaver for dirty hair days or when your bangs are refusing to cooperate.
- Instructions:
- Put on an elastic headband over your hair (hippie style), resting it on your forehead initially.
- Push it back to your hairline.
- Take sections of hair from the front (near your temples).
- Tuck them up and over the headband, rolling them into the band to hide the fabric.
- Continue until the band is covered, or just do the sides for a romantic half-up look.
This creates a rolled, Gibsons Girl-esque look that takes seconds. Warning: Make sure the headband isn’t too tight, or you’ll get a headache by lunch. :/
8. Curly Hairstyles for School or College
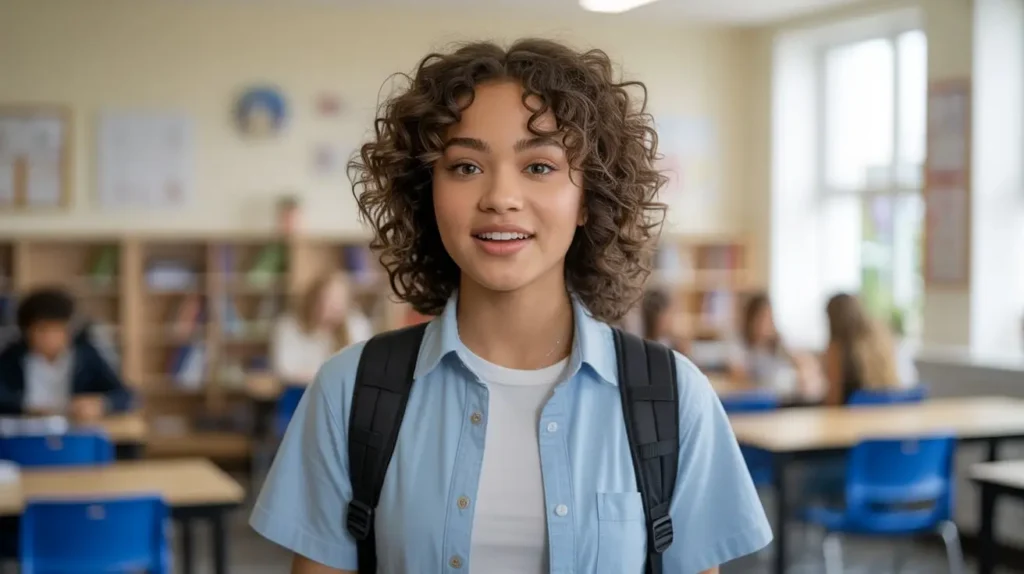
You need styles that survive backpacks, humidity, and long study sessions. You don’t want hair falling in your face while you’re trying to take notes or look at a microscope.
Space Buns are adorable, practical, and incredibly trendy right now. They give off “festival vibes” but work perfectly for a Tuesday lecture.
- How to style:
- Split your hair down the middle using a rat-tail comb for a sharp part.
- Create two high pigtails.
- Twist the pigtails around their base into buns and secure with another hair tie or pins.
- Pull out little curls near the ears to frame the face.
This style keeps hair off your neck and out of your eyes. Plus, when you take them down, you usually have nice, loose waves for the evening.
9. Easy Protective Styles for Curly Hair
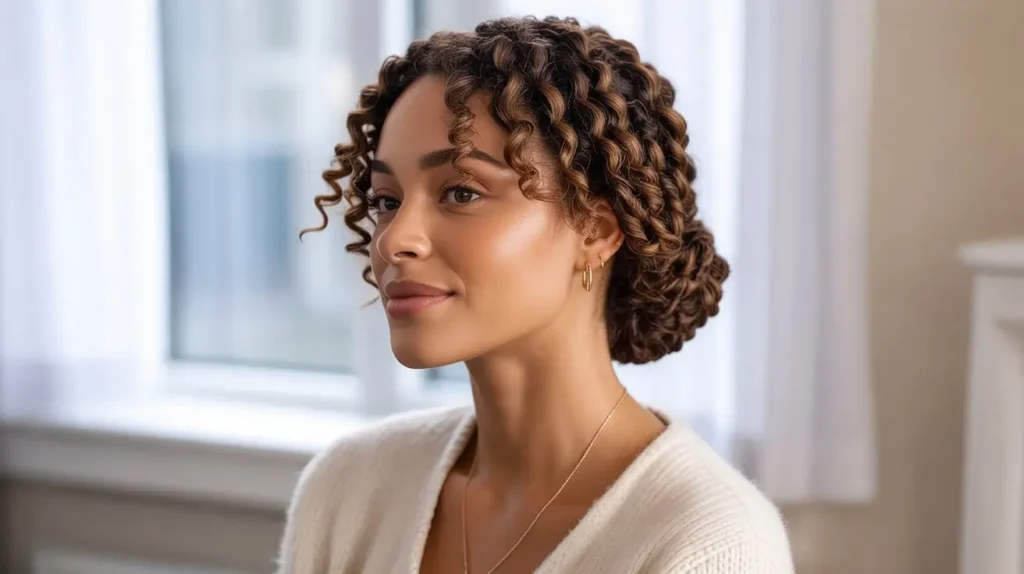
Protective styles give your ends a break from friction (like rubbing against your sweater) and the elements. They help you retain length and moisture. Plus, they usually last for a few days, giving you a break from styling.
Two-Strand Twists are the OG protective style for a reason. They are easy to install and easy to take down.
- The Guide:
- Start with damp hair and apply a heavy twisting cream or butter.
- Section your hair (size depends on how chunky you want the twists).
- Split a section into two strands and twist them around each other, twisting the hair down as you go.
- Twirl the very ends with your finger and a little gel to seal them.
You can wear these twists down, in a pony, or in a bun. When you take them out, you get a glorious “twist-out” style. It’s basically a two-for-one deal!
10. Twisted Hairstyles for Medium-Length Curls
Medium length is versatile, but sometimes it hits that awkward shoulder length where the ends flip out weirdly. Twists help control the shape and direct the volume where you want it.
Try the Twisted Pompadour. This adds height, elongates the face, and keeps hair off the forehead.
- Step-by-Step:
- Section off a rectangle of hair at the front top of your head (bang area).
- Apply a little edge control to the roots.
- Twist the section loosely back.
- Push the twist forward slightly to create a bump or “pouf.”
- Pin it in place with two bobby pins crossed over each other.
- Let the rest of the hair fall free.
I rock this look when my bangs are acting up and refusing to curl properly. It looks retro, cool, and deliberate.
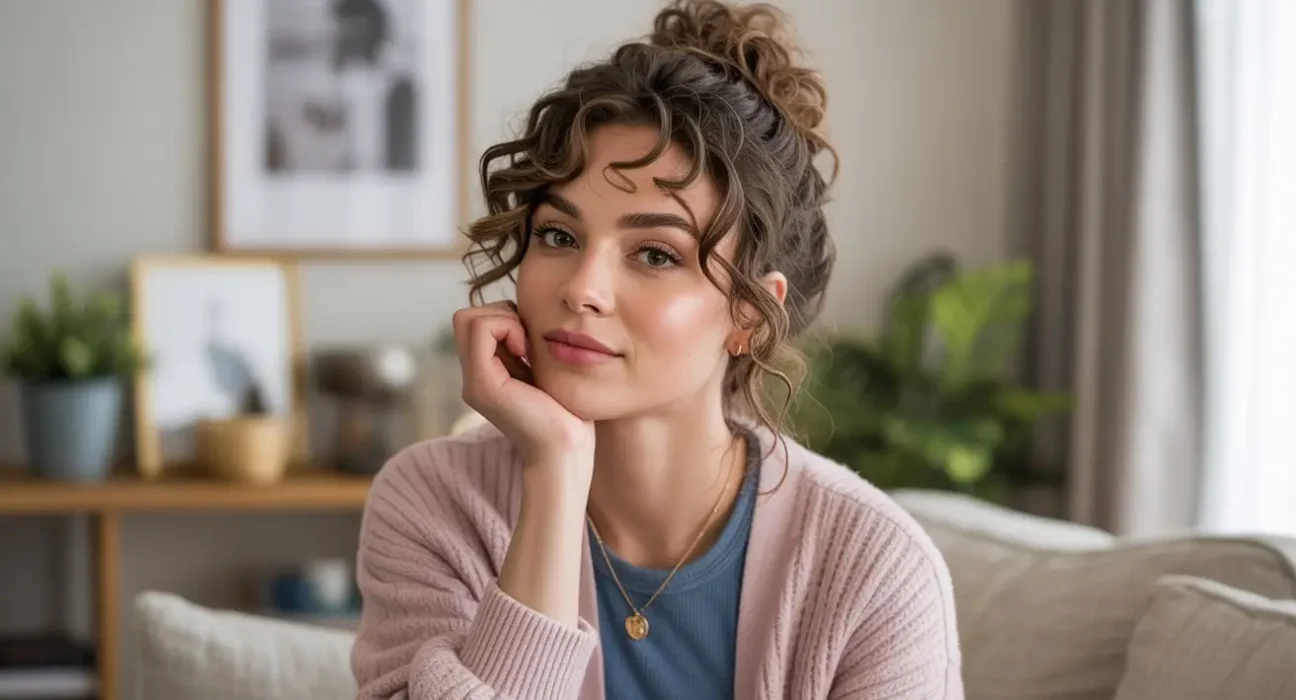
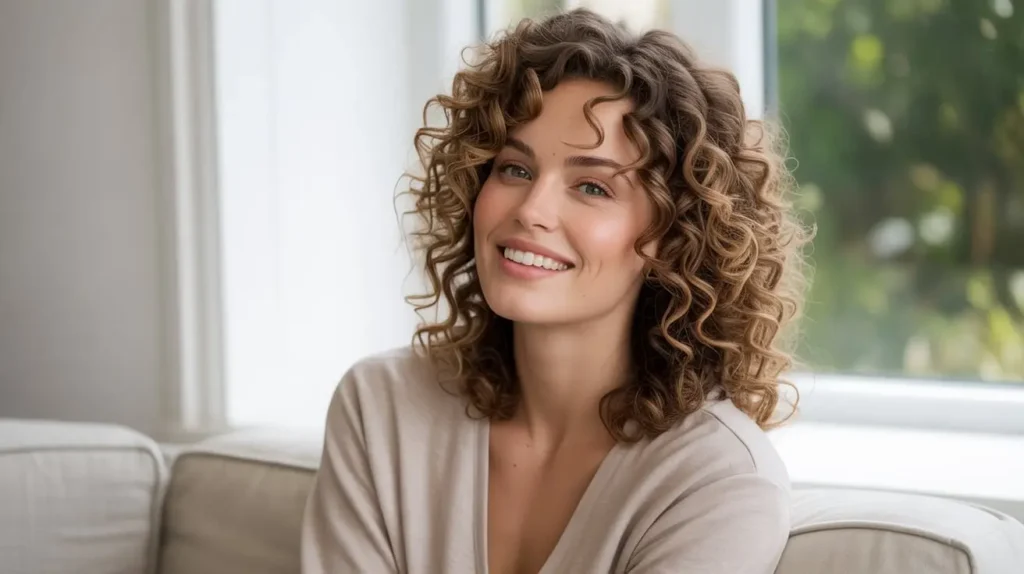
11. Messy Bun Ideas for Curly Hair
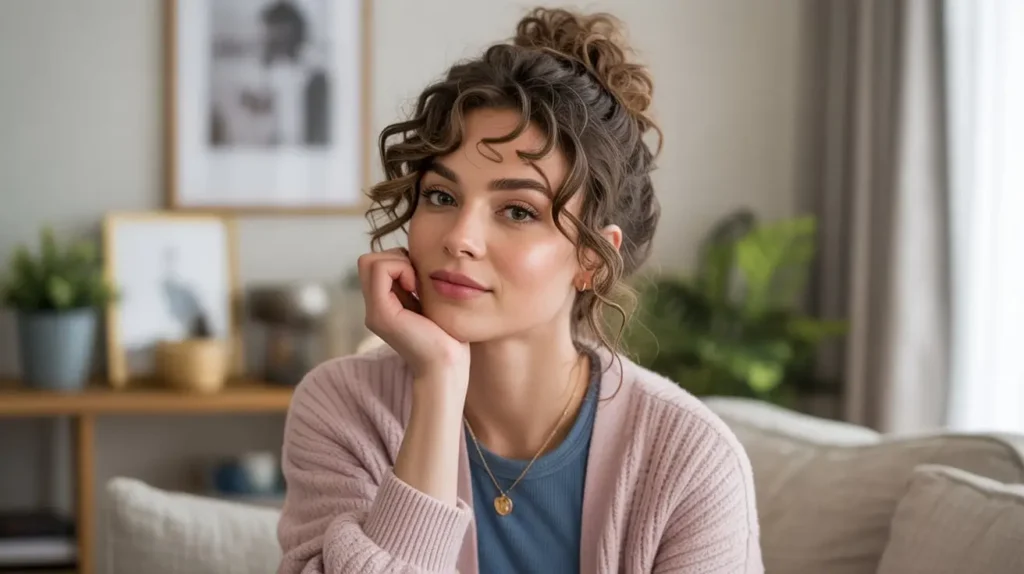
We touched on the top knot, but the messy bun universe is vast. The goal here is “controlled chaos.” You want it to look effortless, not like a bird’s nest.
The Low Messy Bun with Tendrils is the ultimate “off-duty model” look. It works on clean hair, dirty hair, and everything in between.
- How to master the mess:
- Gather hair loosely at the nape of your neck. Do not use a brush; finger comb only to keep the texture.
- Loop the hair tie once. On the second loop, don’t pull the hair all the way through—create a loop.
- Wrap the loose ends around the elastic to hide it and pin.
- Aggressively pull out face-framing pieces.
The bumps and ridges on your head add texture that straight-haired people literally pay money to recreate. embrace the frizz here; it adds a halo effect that looks angelic.
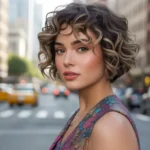
12. Curly Hairstyles for Short Hair
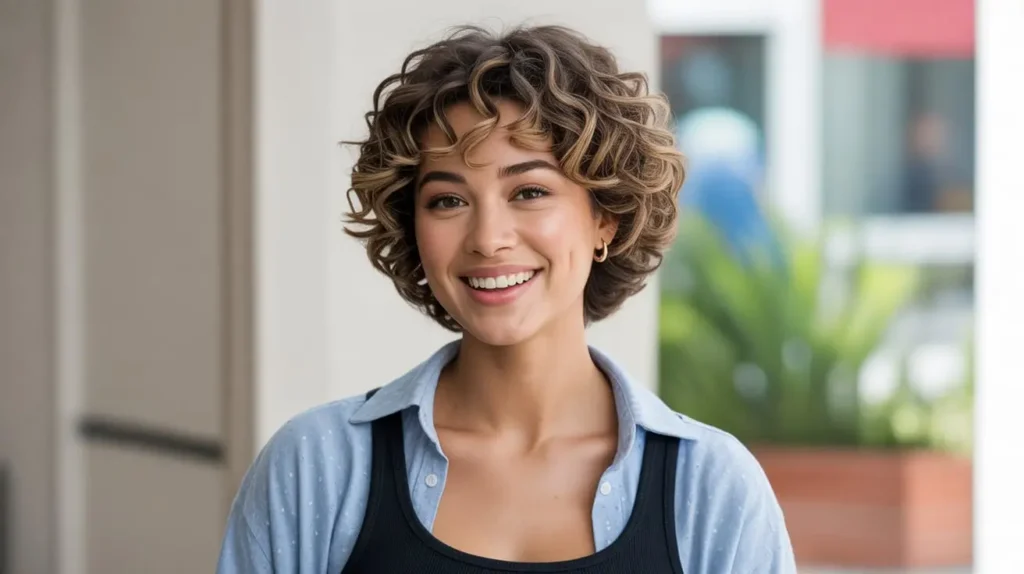
Short curly hair is incredibly chic, but people often think it lacks versatility. I disagree completely. You just need to get creative with texture and accessories.
If you have a pixie or a TWA (Teeny Weeny Afro), try the Defined Pin-Curl Fro. This is about high-definition texture.
- The Technique:
- Start with soaking wet hair.
- Apply a generous amount of strong-hold gel.
- Take tiny sections of hair and twirl them around your finger to create coils.
- Let it air dry or diffuse without touching it.
Once dry, your hair will look like a sculpture. The definition makes a short cut look sharp and intentional. Add a pair of bold hoop earrings, and you look like a fashion icon.
Alternatively, try the Slicked Back Wet Look for evenings. Drench hair with water and gel, brush it all back, and diffuse. It’s high fashion on a budget.
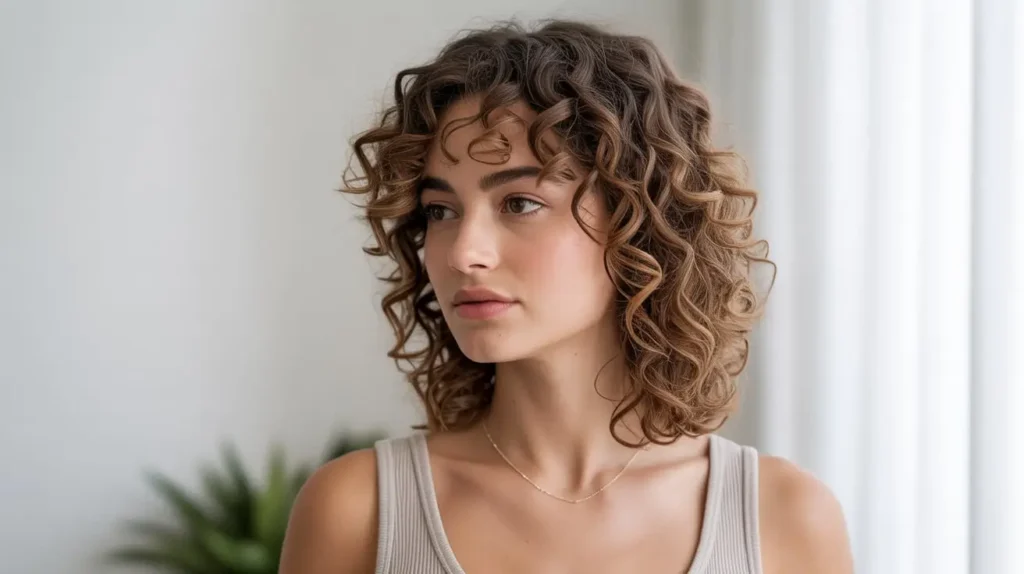
13. 3-Step Tutorials for Defined Curls
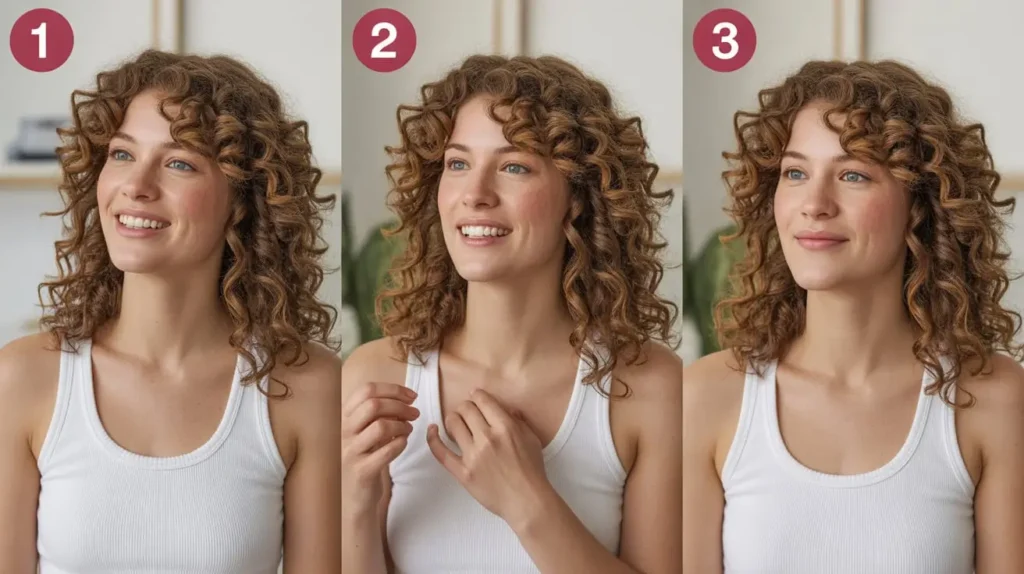
Sometimes the “style” is just perfectly defined curls. But achieving that isn’t always easy. If you are struggling with frizz or undefined waves, you need a technique reset.
Here is the “Bowl Method” broken down. This went viral on TikTok for a reason—it hydrates dry hair like crazy.
- Apply Leave-in: On clean, wet hair, rake in your leave-in conditioner and curl cream.
- The Dip: Fill a large bowl with warm water. Dip your hair into the bowl, lift your head, and scrunch the water out into the bowl.
- Repeat: Dip and scrunch 3-4 times on each side. The water helps the product distribute evenly and encourages curls to clump together.
Follow up with a gel and diffuse. FYI: Have a towel ready on the floor, because this gets messy. But the hydration? Unmatched.
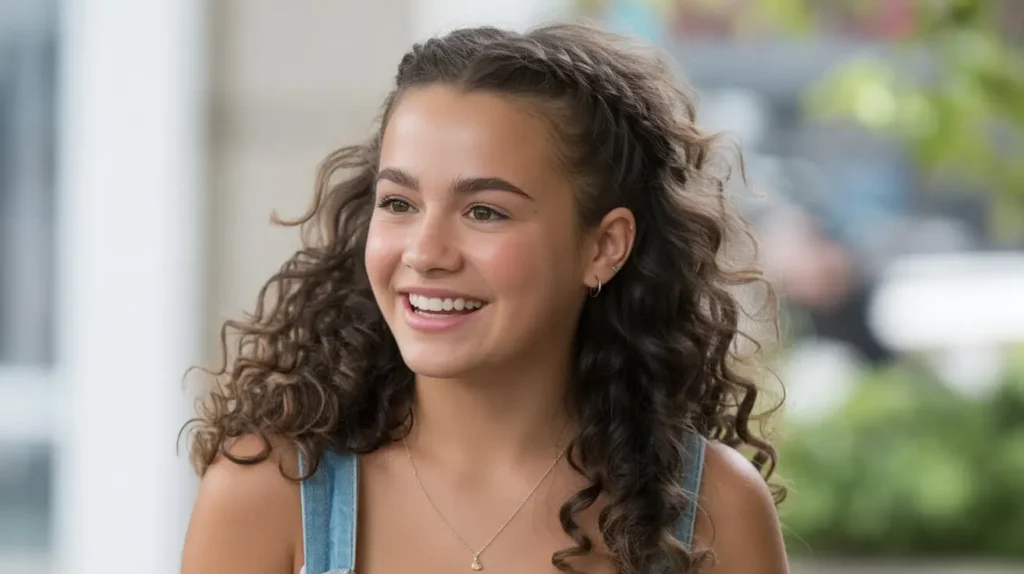
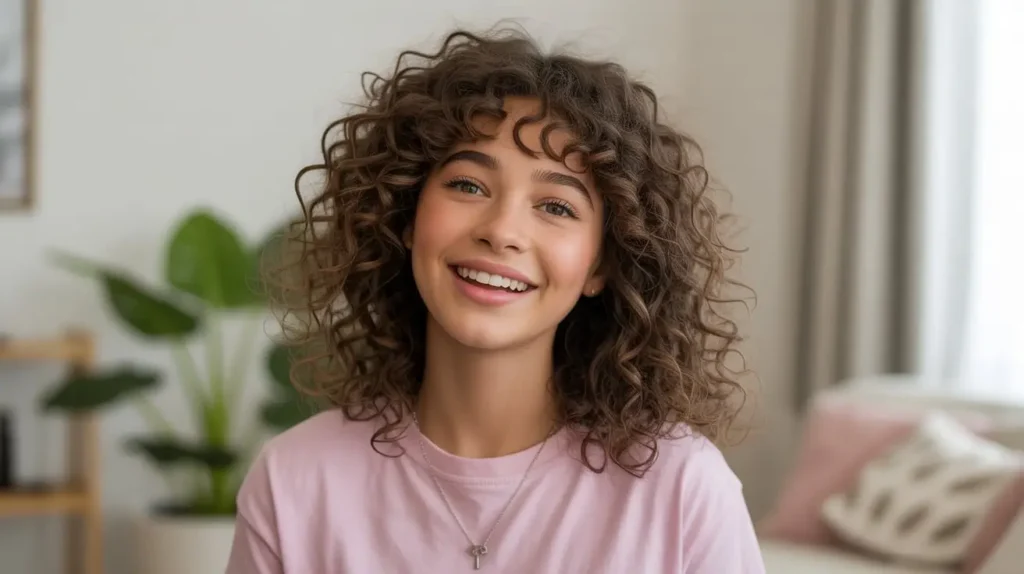
14. Fun and Playful Curly Hairstyles for Teens
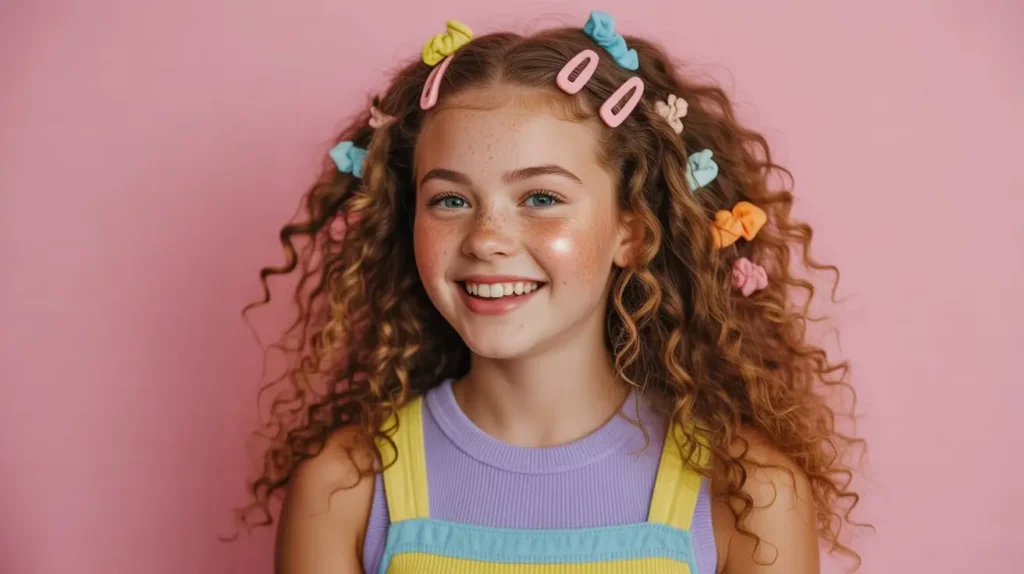
Teens are experimenting with style, and curly hair is the perfect canvas for trends. These styles are youthful, fun, and use accessories to pop.
The Butterfly Clip Cascade is pure Y2K nostalgia, and it is back in a big way.
- How to style:
- Part your hair in the middle or side.
- Take small one-inch sections of hair at the hairline.
- Twist them away from your face.
- Secure each twist with a colorful butterfly clip.
- Do this 3-4 times on each side to create a “crown” of clips.
It keeps hair out of the eyes and adds a splash of color to your outfit. I may be an adult, but I still rock this at music festivals or summer parties. No shame.
Another option is the Glitter Part. Mix hair gel with chunky cosmetic glitter and paint it along your part line. It’s festive and hides roots!
15. Elegant Curly Styles for Parties or Events
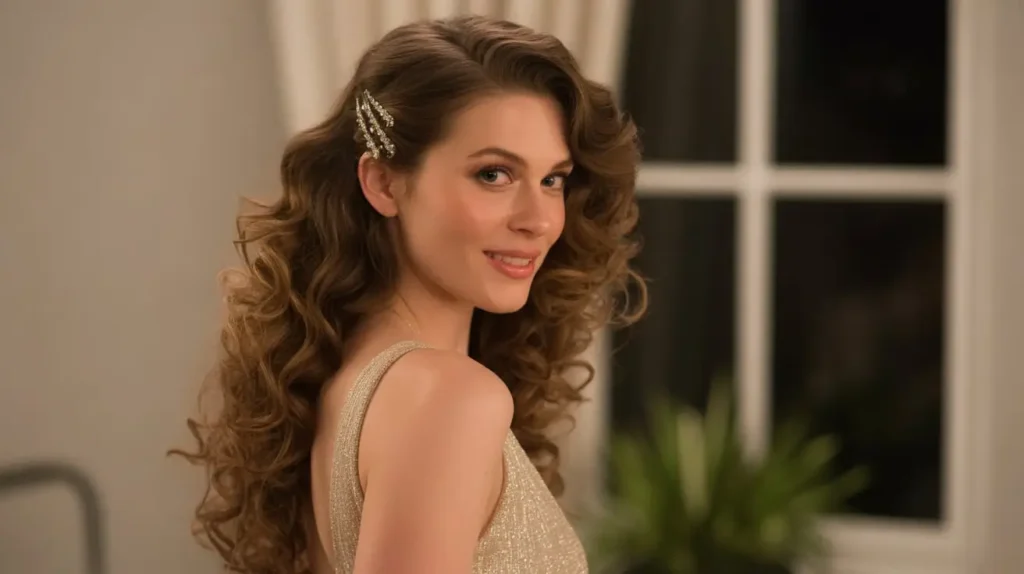
Got a wedding? A gala? A fancy work dinner? You don’t need to blow out your hair to look formal. Your natural curls are elegant enough when styled with structure.
The Low Sleek Chignon is my secret weapon for formal events. It looks expensive and takes ten minutes.
- The Walkthrough:
- Create a deep side part.
- Apply gel to the top section of your hair and use a hard brush to slick it down flat against your head.
- Gather all hair at the nape of your neck.
- Twist the length of the hair into a tight rope, then coil it into a low bun.
- Pin securely.
The contrast between the sleek, shiny top and the textured bun is stunning. It gives very “Old Hollywood” energy. Pair this with a red lip, and you are unstoppable.
Conclusion
There you have it—15 stunning, easy styles to keep your curls looking fresh this week. Embracing curly hair is a journey, isn’t it? Some days are diamond days where every ringlet falls perfectly into place, and some days are… well, let’s just call them “character-building” days. But with these styles in your arsenal, you have options for every scenario.
You don’t need to fight your texture to look good. Whether you choose the five-minute pineapple refresh or the elegant sleek chignon, remember that your curls are unique to you. They have personality. Let them take up space.
So, which one are you trying tomorrow? I challenge you to pick one you’ve never done before. Grab that gel, find those bobby pins that disappeared into the void of your bathroom drawer, and show your curls some love. You got this