


Let’s be real for a second. Having curly hair is a full-time job with terrible benefits and zero paid time off. One day you look like a Greek goddess, and the next, you look like you stuck a fork in a toaster. We’ve all been there, standing in front of the mirror, pleading with a rogue ringlet to just cooperate for once in its life.
But here is the good news: updos are actually our best friends. While our straight-haired friends have to use half a can of hairspray and forty bobby pins just to get texture, we bring the volume naturally. The challenge isn’t creating the look; it’s taming the beast into something structured. You want to look elegant, not like you just survived a wind tunnel.
I’ve compiled a list of 15 stunning curly hairstyles updo for elegant looks that cover everything from “I have five minutes before my Zoom call” to “I’m attending a wedding and need to look expensive.” We are going to fix your bad hair day right now. Grab your bobby pins (the ones you haven’t lost yet), and let’s get to work.
1. Easy Curly Updo Hairstyles for Frizz-Prone Hair
Let’s start with the arch-nemesis of the curly community: humidity. You check the weather app, see 80% humidity, and your soul leaves your body. But you don’t have to hide under a hat. The trick to battling frizz in an updo is containment and hydration.
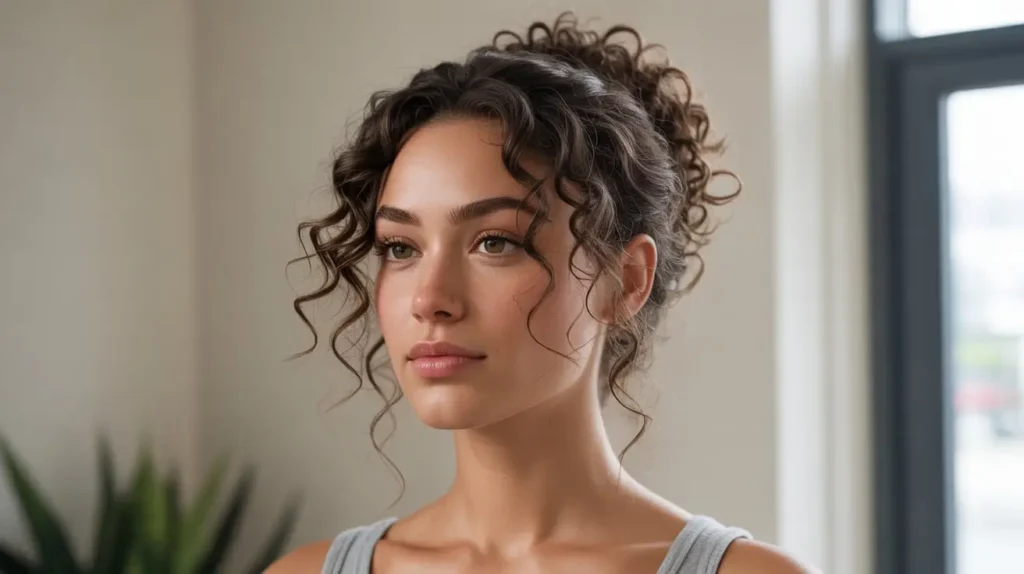
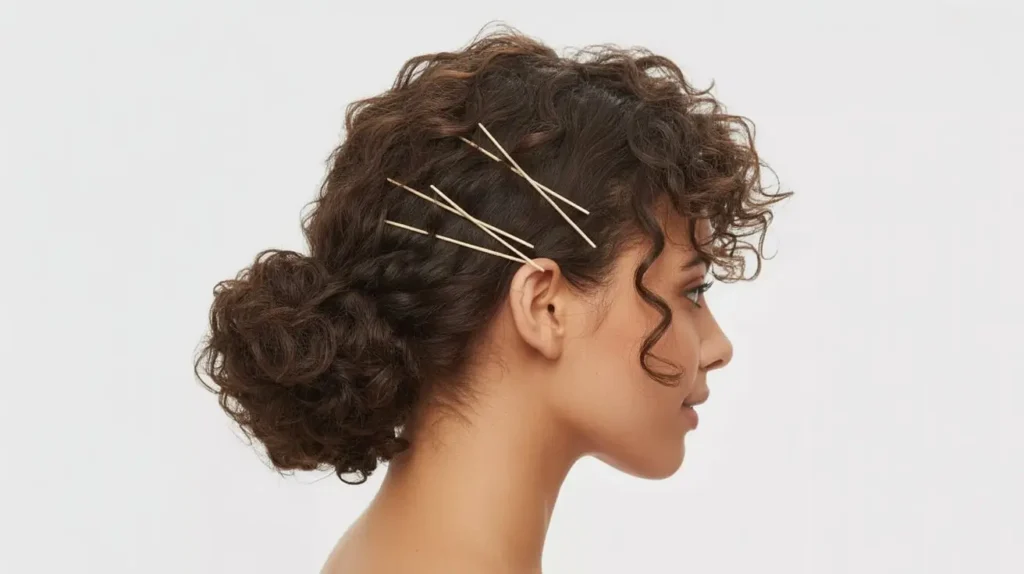
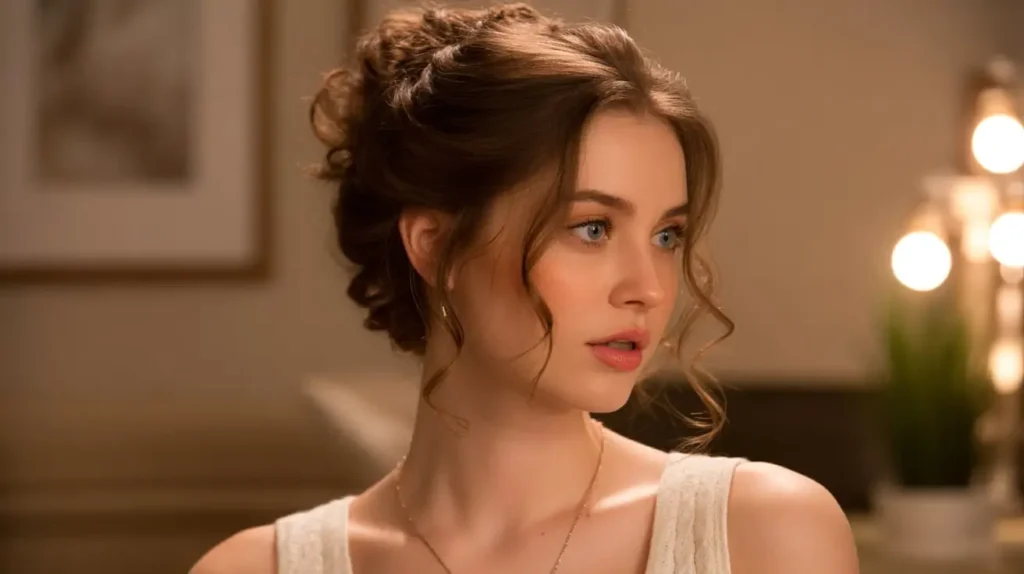
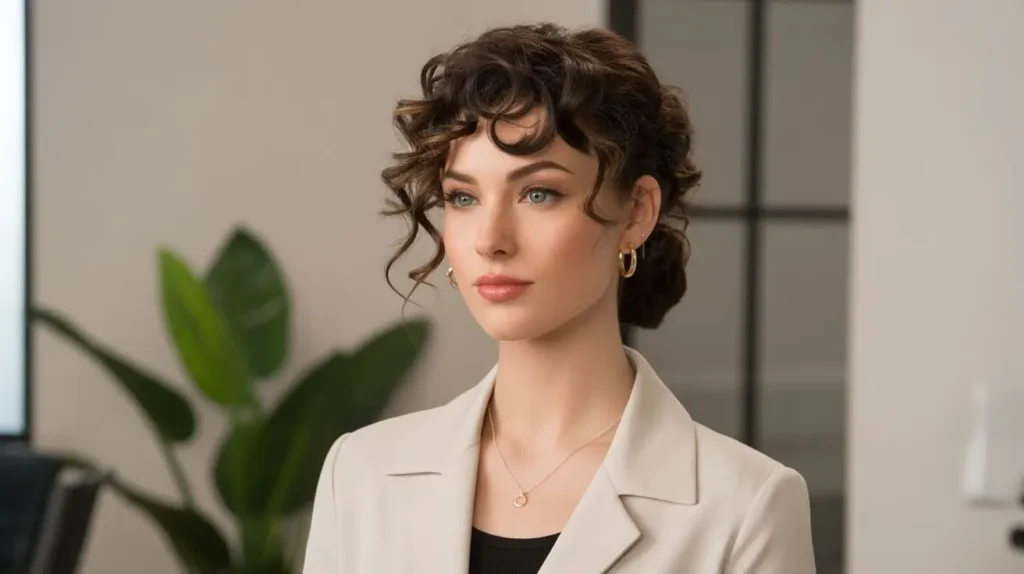
The Twisted Crown Tuck
This style works because it tucks your ends away—which are usually the frizziest part—and uses the volume at the root to your advantage. You start by parting your hair down the middle or slightly off-center. Take a large section from the front on one side and start twisting it loosely toward the back of your head.
Why this works:
- Hides the halo: By twisting the front pieces, you smooth down the baby hairs that usually turn into a frizz halo.
- Secure hold: Twists hold up better against moisture than braids, which can expand and get fuzzy.
Gather the rest of your hair at the nape of your neck. Now, take those two twists and join them with the loose hair. Roll the remaining hair upward into itself and pin it securely against your head. You create a low, rolled chignon that looks incredibly sophisticated but takes zero effort.
Pro Tip: Do not touch your hair with dry hands! Coat your fingers in a lightweight oil or serum before you start twisting. This seals the cuticle and prevents you from creating more frizz while you style. IMO, argan oil is the gold standard here.
2. Elegant Curly Hair Updos for Formal Events
You have a gala, a fancy dinner, or a serious event. You need to look like you paid a professional, but your bank account disagrees. The key to formal curly hair is structure. We want defined curls, not a messy bun.
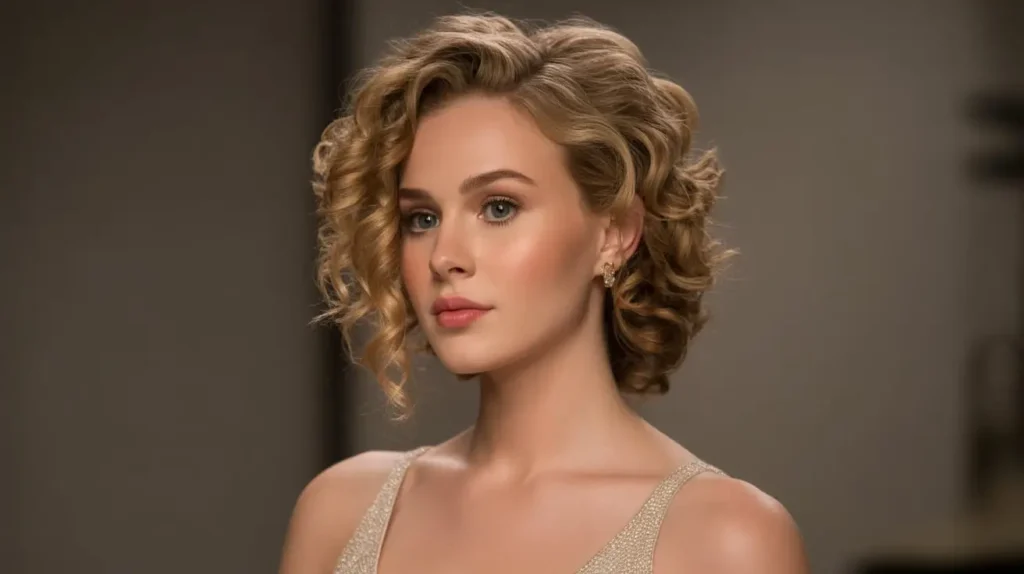
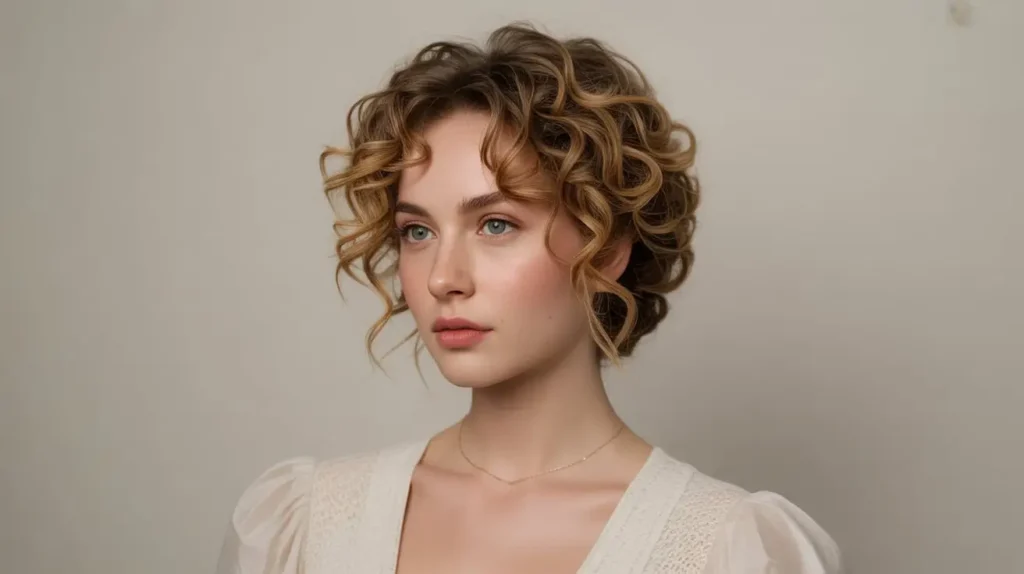
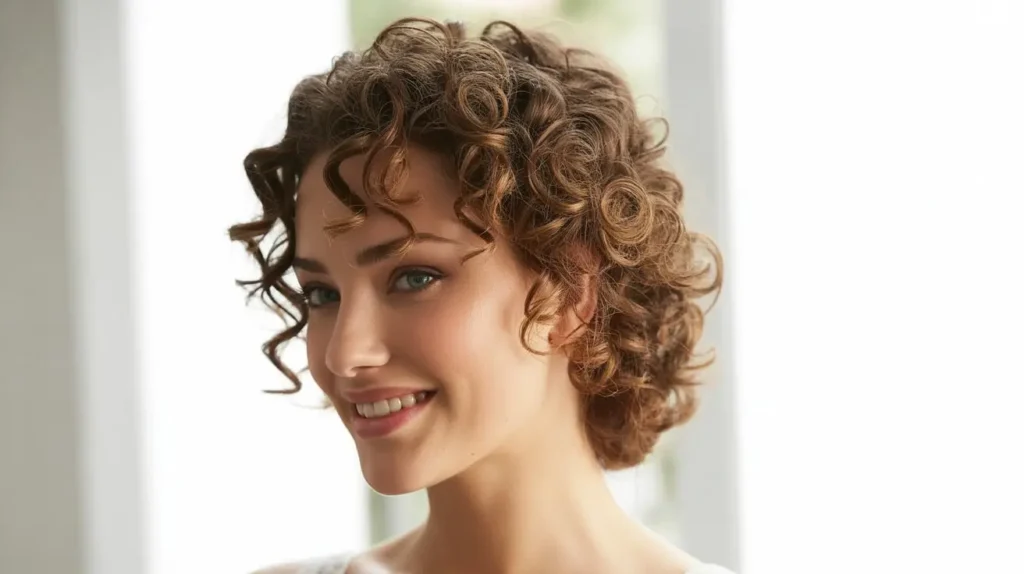
The High-Volume Gibson Tuck
This is a vintage-inspired look that screams class. You start by creating a high ponytail. Don’t pull it tight; keep it loose to maintain volume at the crown. If you have fine hair, you might want to tease the roots gently, but us curly girls usually have enough natural lift.
Create a hole right above the hair tie and flip the ponytail up and through the hole. But here is the twist—literally. Instead of pulling it all the way through, you fan the curls out to create a fan-like shape on top of your head or tuck the ends back into the roll for a smooth finish.
Key steps for elegance:
- Define beforehand: Make sure your wash-and-go is fresh. Use a strong-hold gel to ensure your curls are crisp.
- Smooth the edges: Use a boar bristle brush and a non-flaking edge control to smooth the perimeter.
- Accessories: Add a pearl pin or a velvet ribbon to elevate the look instantly.
Does this look require a mirror to see the back of your head? Yes. Is it worth the neck gymnastics? Absolutely.
3. Quick Curly Updo Ideas for Busy Mornings
We have all hit the snooze button four times. You have exactly seven minutes to get out the door. You need a style that says “I’m organized” even though you are currently eating a granola bar over the sink.
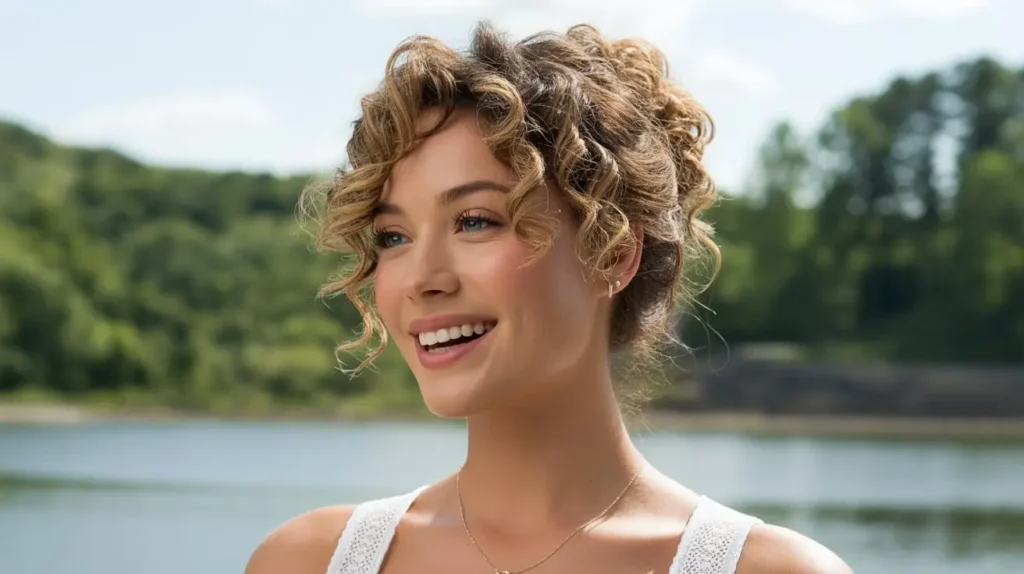
The “Pineapple” with a Twist
Every curly girl knows the pineapple (gathering hair at the very top of the head to sleep). But we can elevate this into a wearable day look. Flip your head upside down and gather your curls at the highest point of your head. Secure it with a satin scrunchie or a spiral hair tie. Regular elastics are the devil; they cause breakage and dents.
Now, instead of leaving it loose, take sections of the “tail” and loosely pin them around the base of the ponytail. You aren’t aiming for a perfect bun; you want a cascading pile of curls on top of your head. Pull two skinny tendrils down by your ears to frame your face.
Why I love this:
- Instant face lift: High updos draw the eye up and tighten the facial features.
- Zero heat: You are working with your natural texture.
- Hides oily roots: Since you are pulling the hair up, no one sees the flat roots from day 3 hair.
4. Wedding-Ready Curly Hairstyles Updo
Whether you are the bride or the guest who wants to outshine the bride (kidding… mostly), wedding hair needs to be romantic and durable. It has to withstand dancing, sweating, and hugging Aunt Linda.
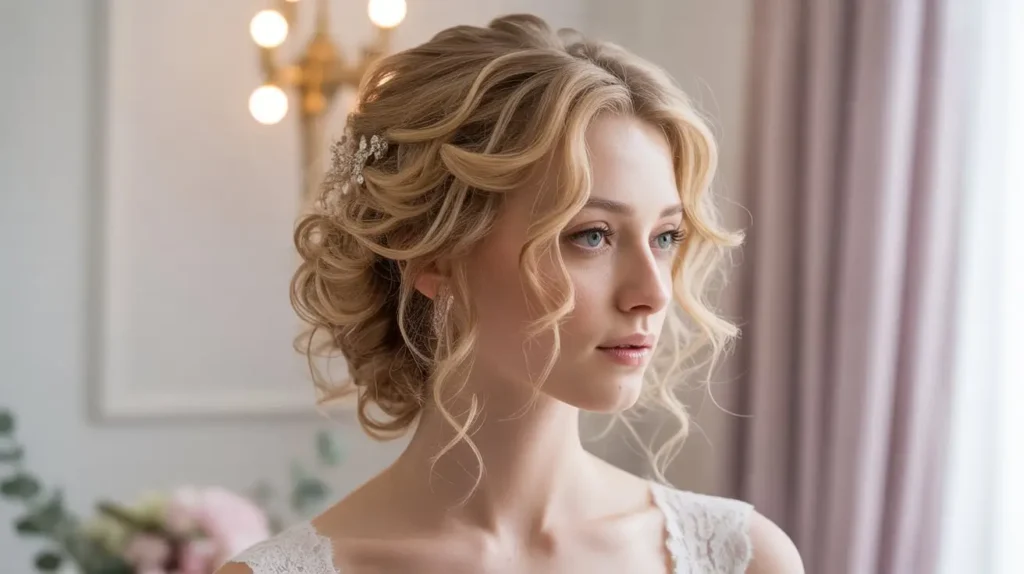
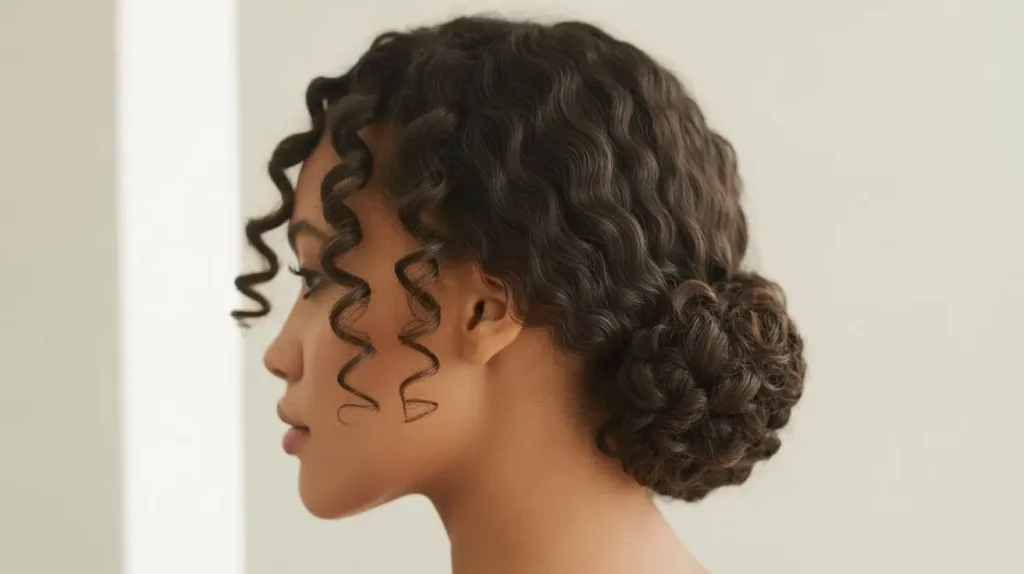
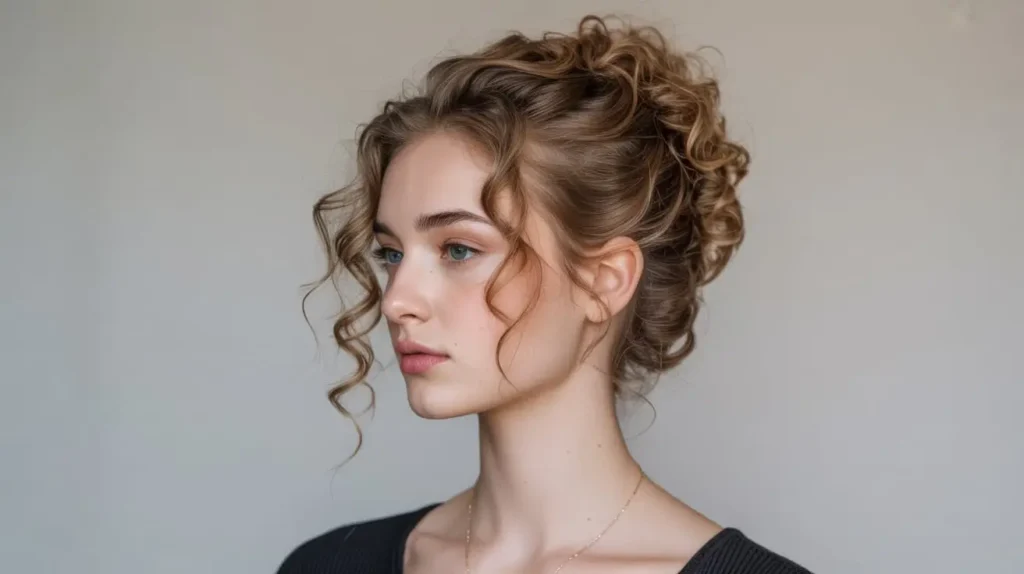
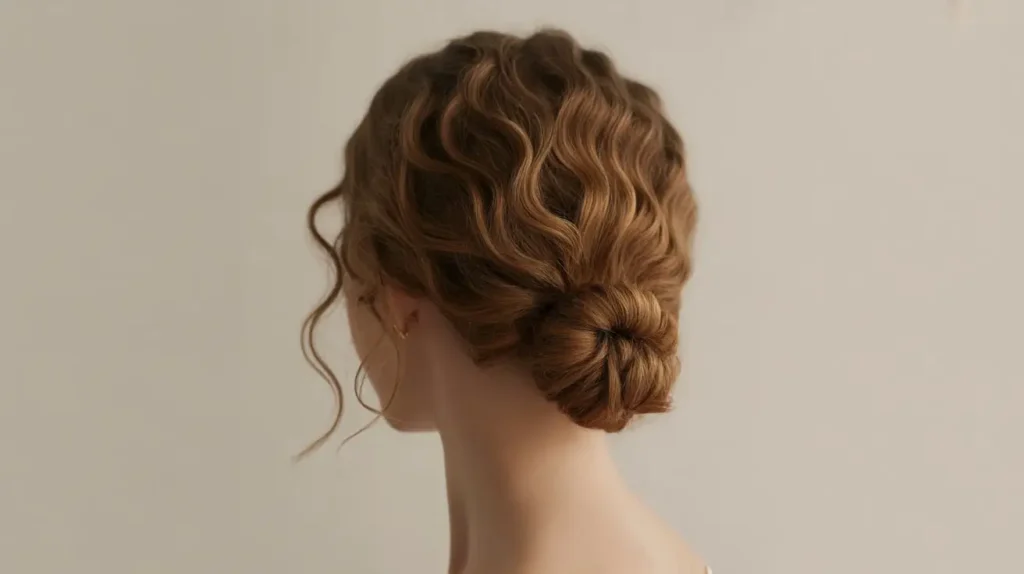
The Romantic Side-Swept Chignon
This is an asymmetrical masterpiece. Start by parting your hair deeply to one side. Sweep all your hair to the opposite side of the part. You want to twist the hair from the ear back toward the nape of the neck, adding more hair as you go, similar to a French twist but lower.
Once you reach the other side, gather the remaining curls into a loose, low bun behind your ear. Secure it with U-shaped pins—they hold thick curly hair much better than standard bobby pins.
The Secret Sauce:
- Texture spray: Even if you have curls, add a texture spray to give the pins something to grip.
- Flower power: Tuck real or silk baby’s breath into the twist. It looks stunning against curly texture.
Ever wondered why side styles look so good in photos? They ensure your hair is visible from the front and the back. You look good from every angle.
5. Messy but Polished Curly Hair Updos
There is a fine line between “messy chic” and “I live in a dumpster.” The goal is organized chaos. We want the texture to look intentional.
The Multi-Bun Hawk
This is fun, edgy, and surprisingly easy. Divide your hair vertically into three or four sections, from your forehead to your nape. You are essentially creating a mohawk of buns.
Take the top section and twist it into a messy knot. Secure it. Do the same for the middle and bottom sections. Now, here is the trick: pull at the buns until they touch each other. You want them to merge so it looks like one complex, intricate masterpiece rather than three separate blobs.
Styling tips:
- Don’t pull too tight: Keep the hair near the scalp loose to maintain volume.
- Leave the ends out: Let a few curly ends poke out of the buns for that spiky, playful vibe.
- Hairpins are key: Use hairpins (the open ones) to anchor the buns together.
6. Beginner-Friendly Curly Updo Styles
Look, I get it. Not everyone has the dexterity of a hand model or the patience of a saint. If your hands cramp up just thinking about French braiding, this section is for you.
The Claw Clip Waterfall
The 90s are back, and honestly, I’m thrilled because claw clips are a curly girl’s savior. But don’t just clamp and go. We are doing the Waterfall Twist.
Gather your hair as if you are making a low ponytail. Twist the ponytail upwards against the back of your head. Take a jumbo claw clip (matte finish looks more expensive, FYI) and clamp it over the twist. Now, let the curls spill over the top of the clip like a fountain.
Arrange the curls so they cover the plastic of the clip. You want the volume, not the hardware, to be the star. This takes literally 30 seconds. If you can’t do this one, I can’t help you. 🙂
7. Low Curly Bun Updo for Natural Hair
For those with Type 3C or Type 4 hair, a low bun is a staple. It’s professional, protective, and sleek. But we want to avoid the “founding father” look. We want volume and texture.
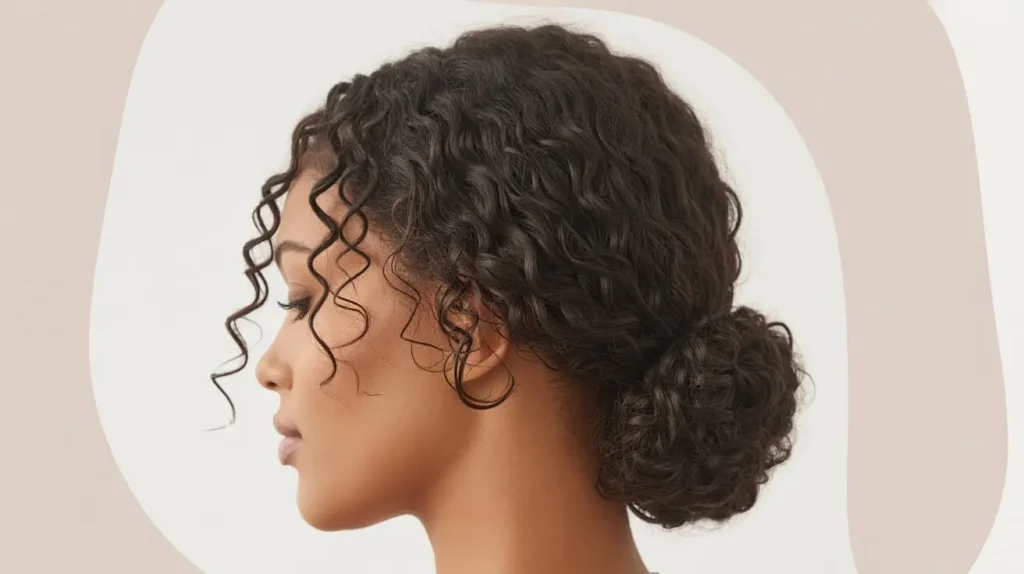
The Sleek-Front, Textured-Back Bun
You start by parting your hair—center parts are very trendy right now. Apply a heavy cream or gel to the front sections and brush them back smoothly using a hard brush. You want the hair near the scalp to be flat and shiny.
Tie your hair into a low ponytail. Now, stop. Do not twist the ponytail into a tight ball. Instead, separate the ponytail into two or three twists. Wrap these twists around each other loosely to create a large, textured knot.
Bold Move: Use gold cuffs or beads on the twists before you wrap them into a bun. It adds a touch of royalty to the look.
Why this works for natural hair:
- Protection: Your ends are tucked away safely.
- Contrast: The sleek front highlights your bone structure, while the textured back celebrates your hair type.
8. Romantic Curly Updos for Date Nights
You want a look that says, “I made an effort,” but also, “I’m effortless and fun.” You want hair that invites someone to touch it (with permission, obviously).
The Half-Up Twist with a Bow
This is technically a half-updo, but it counts. It keeps hair out of your face while letting you show off your length. Take a section of hair from above each ear. Twist them away from your face.
Bring the two twists to the back of your head. Instead of just tying them, cross them over and pin them flat. Then, take a velvet or silk ribbon and tie a bow over the junction.
The vibe:
- Softness: Leave plenty of face-framing pieces.
- Touchability: Since you aren’t using a ton of hairspray, your curls remain soft.
This style pairs perfectly with high-neck tops or statement earrings because it keeps the hair back without removing the frame around your face.
9. Summer-Proof Curly Hairstyles Updo
Summer is disrespectful to curly hair. The sweat, the sun, the humidity—it’s a recipe for disaster. You need a style that gets the hair off your neck and stays put.
The Braided Crown (Milkmaid Braids)
Split your hair down the middle into two sections. Braid each section. You can do a simple three-strand braid, or if you’re feeling fancy, a fishtail braid. Secure the ends with tiny elastics.
Lift one braid over the top of your head and pin it behind the opposite ear. Do the same with the other braid, crossing it over the first one. You now have a crown of braids.
Why it’s summer-proof:
- Neck ventilation: Your neck is completely free.
- Sweat resistance: Even if you sweat, the braids hide the frizz at the roots.
- Security: This style does not move. You could run a marathon in this (but let’s be real, we’re probably just running to the taco truck).
10. Voluminous Curly Updos for Thin Hair
Some of us have curls but lack density. When we pull our hair up, it looks like a tiny golf ball. We need to fake it ’til we make it.
The Faux-Hawk with Padding
We are going to use an old stage trick. You need a hair donut or even a bun maker. Cut the donut open so it’s a long sausage shape.
Create a vertical row of ponytails down the center of your head. Pin the padding (the donut strip) along the center of your head, between the ponytails. Now, take the curls from the ponytails and pin them over the padding to hide it.
The result:
- Massive Volume: You look like you have three times the amount of hair.
- Height: This adds height to the crown, which is universally flattering.
No one needs to know there is a piece of foam inside your hair. That is your secret.
11. Sleek Curly Updo Hairstyles Without Heat
We are trying to grow our hair out, right? So we want to avoid the flat iron. You can get a sleek look using only tension and product.
The Wet-Look Slick Back
Start with damp hair—not soaking wet, but about 70% dry. Apply a leave-in conditioner followed by a strong hold gel. Comb your hair back tightly into a ponytail or bun.
The key here is tension. Use a scarf to tie down your edges for 10 minutes while you do your makeup. This “sets” the hair flat without heat. For the bun itself, fluff out your curls. The contrast between the glass-like roots and the fluffy ends is high fashion.
Warning: Do not tie the elastic too tight. Traction alopecia is real, and we want to keep our edges, thank you very much.
12. Protective Curly Hair Updo Styles
Divide your hair into vertical sections. Flat twist each section starting from the hairline down to the nape of the neck. You should end up with several hanging twists at the back.
Sometimes you just want to put your hair away for a few days and not think about it. Protective styles are essential for length retention.
Flat Twist Updo
Gather these twists and roll them into a low bun. Use bobby pins to secure the bun.
Benefits:
- Low manipulation: You don’t have to comb your hair for days.
- Hydration retention: The twists lock in moisture.
- Versatility: When you take it down, you get a bomb twist-out style. Two styles for the price of one!
13. Curly Hairstyles Updo for Medium Length Hair
Medium length is tricky. It’s too short for a high pony but too long to just leave alone. You end up with those annoying pieces at the back that fall out of the elastic.
The French Roll with Bobby Pins
Forget the elastic. Sweep all your hair to one side. Place a row of bobby pins vertically up the back of your head to hold the hair to that side.
Now, roll the hair back toward the center, covering the pins. Insert U-pins into the roll to secure it. If pieces fall out at the front, let them! It adds to the charm. If pieces fall out at the back, just pin them up.
Why this fits medium hair:
- No length requirement: You aren’t gathering hair to a single point, so layers don’t matter.
- Customizable: You can make it tight or loose depending on your hair length.
14. Soft & Defined Curly Updos for Work
You want to look professional, but you don’t want to look severe. You want your boss to know you mean business, but you also have a personality.
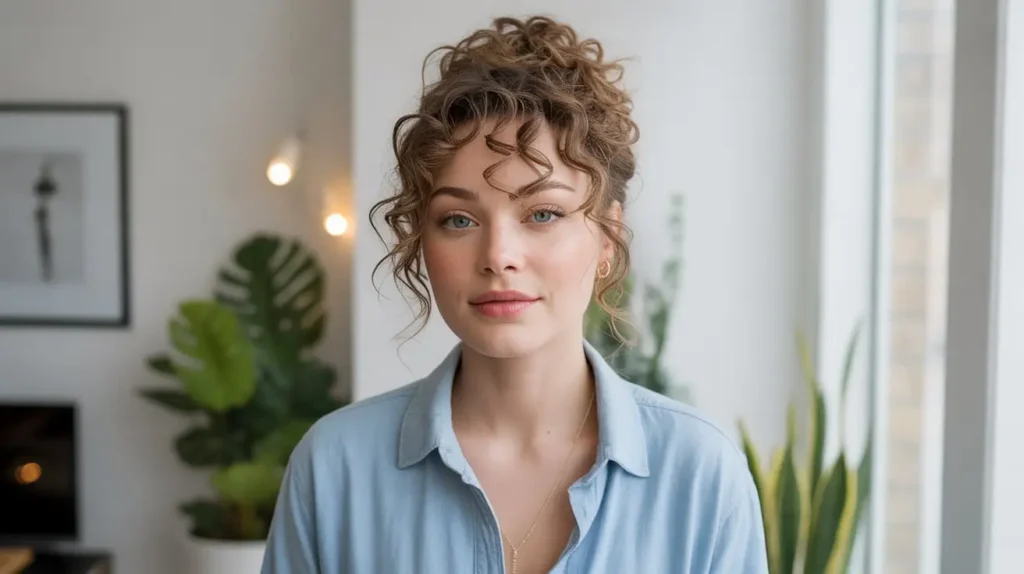
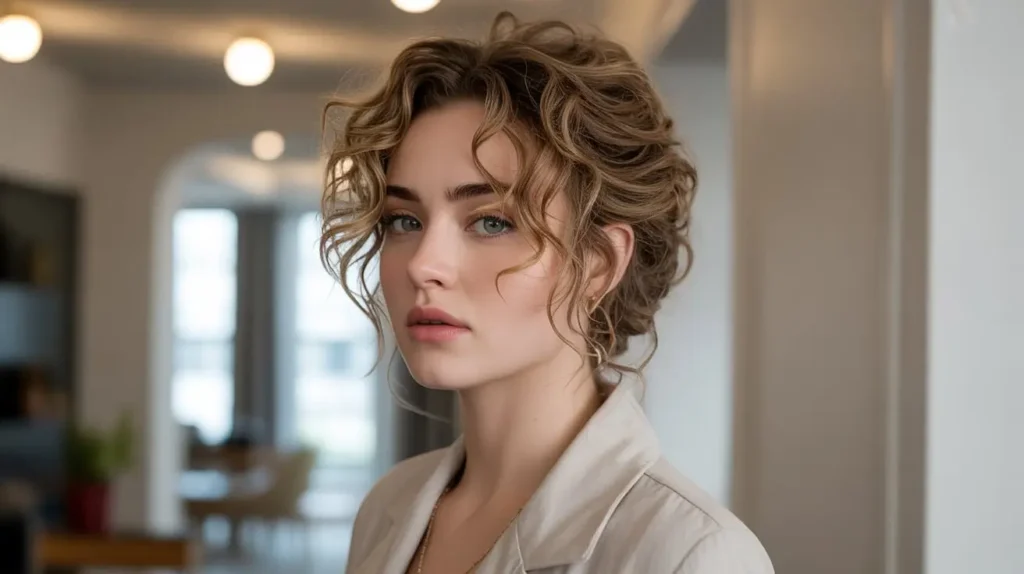
The Top Knot with Bangs
Gather your hair into a high bun. Use a donut bun maker if you need uniformity, but usually, pinning curls around the base works fine.
The focus here is the bangs. If you have curly bangs, refresh them with a little water and finger coil them. If you don’t have bangs, pull out a significant section at the front and side-sweep it, pinning it behind your ear.
Office appropriate because:
- It keeps hair out of your eyes (great for staring at spreadsheets).
- It looks tidy but acknowledges your natural texture.
15. Minimalist Curly Hair Updo Ideas
We end with the “clean girl” aesthetic. Minimalist hair is about simple lines and healthy-looking hair.
The Single Scrunchie Loop
Pull your hair into a low ponytail. On the last loop of the elastic, don’t pull the hair all the way through. Leave it as a loop.
Take the tail that is hanging out and wrap it around the elastic band to hide it. Pin the end underneath.
Why I adore this:
- It takes 10 seconds.
- It looks architectural.
- It creates a cool shape. The loop of curls looks like a modern sculpture attached to your head.
Make sure your ends are moisturized for this one, as they will be on display in the loop. A little bit of hair oil goes a long way.
Conclusion
There you have it—15 stunning curly hairstyles updo for elegant looks that won’t make you want to shave your head in frustration. Whether you are battling the summer humidity or just trying to look presentable for a date, there is an option here for you.
Remember, curly hair is unique. What works for my 3B curls might need tweaking for your 4A coils. Experimentation is key. Don’t be afraid to use more pins, more product, or adjust the placement to suit your face shape.
The most elegant thing you can wear is confidence (and maybe a really good anti-frizz serum). So, go forth and pin those curls up. You look fabulous. And seriously, if you find a bobby pin on the floor, pick it up—you’re going to need it later.