

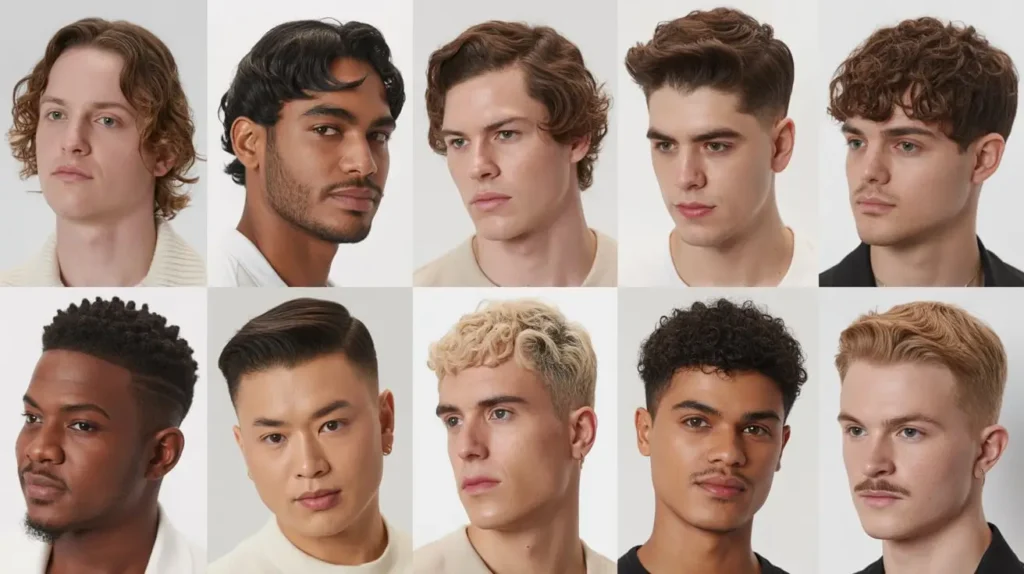
Let’s be real for a second. You didn’t click on this article because you want average hair. You want waves that spin so hard they make people seasick just looking at your head. I get it. I’ve been there, standing in front of the mirror with a brush in one hand and a cramp in my shoulder, wondering if my scalp is ever going to cooperate.
Getting those elite 360 waves isn’t just a hairstyle; it’s a lifestyle commitment. You can’t just wake up, rub some magic goop on your head, and expect to look like a wavy legend. It takes patience, the right tools, and an arm workout that rivals gym day.
But don’t worry, I’ve got you covered. We are going to break down everything you need to know about achieving the perfect pattern. I’m skipping the textbook nonsense and giving you the raw, unfiltered guide to getting your hair right.
Grab your brush. Let’s get to work.
1. 7-Step Routine to Perfect 360 Waves for Beginners
If you are just starting, you probably feel overwhelmed. Do I brush now? Do I wash now? Why does my head hurt? Relax. I’ve stripped this down to a foolproof system that cuts through the noise.
Step 1: Scalp Health Check
Before you even think about waves, check your scalp. You cannot build a mansion on a swamp. If you have dandruff or sores, treat those first. Healthy hair grows from a healthy scalp. Use a tea tree shampoo if you need to clear up irritation immediately.
Step 2: Get a Fresh Cut
Visit your barber. Tell them you are starting your wave journey. You want a low cut, usually a 1.5 or a 2 guard with the grain. Do not go down to the skin! You need hair length to actually curl up and lay down.
Step 3: Wash and Condition
Wash your hair to remove old dirt. Use a high-quality conditioner. While the conditioner is in your hair, brush it in the pattern you want. This trains the hair while it’s soft and pliable.
Step 4: Apply Moisturizer
Towel dry your hair gently (don’t rub it like a maniac, just blot it). Apply a dime-sized amount of leave-in conditioner or hair lotion. You want hydration, not grease.
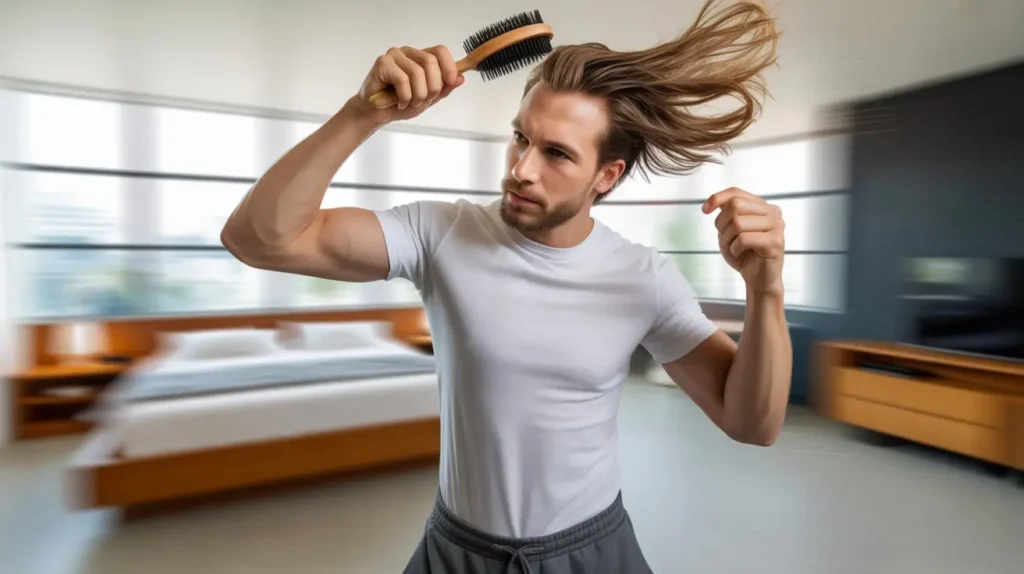
Step 5: The Brush Session
This is the holy grail. Brush from the crown of your head outward in a consistent pattern. Brush the top forward, the sides down toward your chin (or at an angle), and the back down toward your neck. Do this for at least 15 minutes.
Step 6: Compression
Put a plastic bag over your hair and smooth it down with your hand. This traps moisture and lays stray hairs down. Then, put on your durag.
Step 7: The Wash and Style
Once a week, do the “Wash and Style” method. Wash your hair, brush the shampoo into your hair without rinsing immediately, put your durag on over the soapy hair, and then rinse. Let it air dry. This locks in the pattern like cement.
2. Best Durags for Maintaining Sharp Waves in 2026

You might think a rag is just a rag. You would be wrong. The material and fit determine if you wake up with crisp waves or a forehead line that lasts until lunch.
Silky vs. Velvet
Velvet durags look incredible. They are the fashion statement of the wave world. However, Silky durags offer better compression and don’t dry out your hair. The velvet material looks cool on the outside, but make sure the inside lining is satin or silk to protect your moisture.
The Strap Width
I prefer wide straps. Thin straps dig into your forehead and cut off circulation (nobody wants a headache). Look for “wide-tail” options. They distribute pressure evenly and keep the rag secure while you toss and turn at sleep.
Breathability
Since it’s practically 2026, technology has improved. Look for breathable compression fabrics. You want your hair to lay down, but you don’t want your scalp to sweat profusely. Sweat causes your hair to curl up and frizz, ruining your progress. IMO, spending a few extra bucks on a premium rag is worth it.
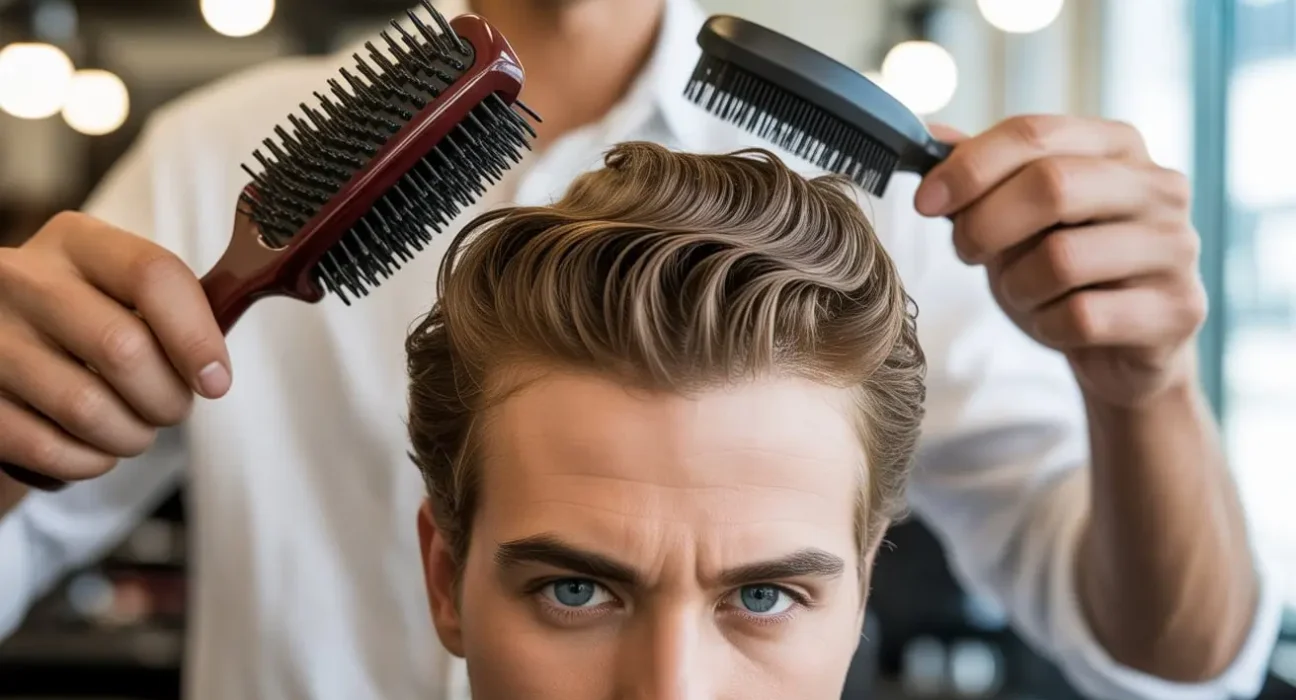
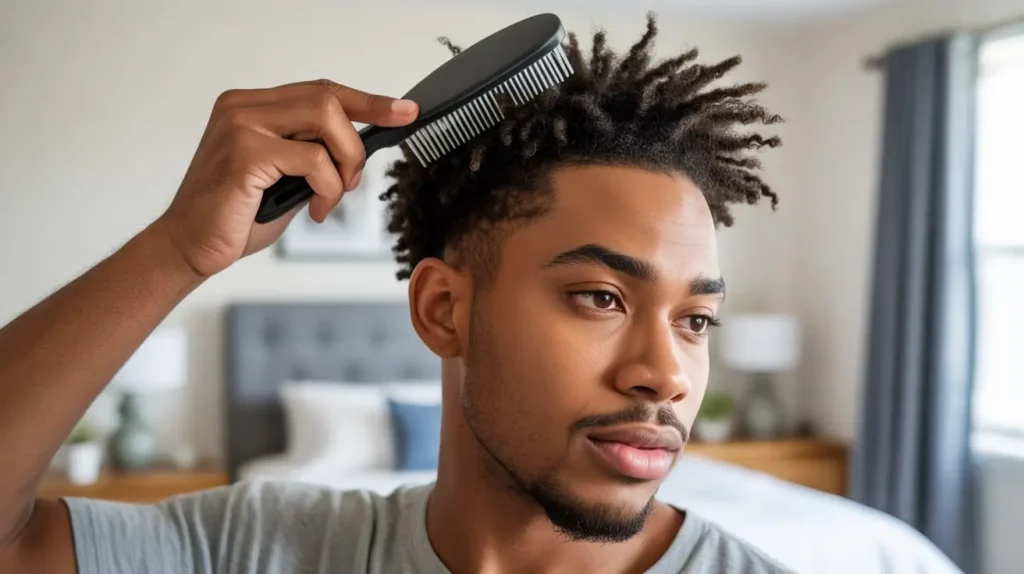
3. How to Choose the Right Brush for Your Waves
If you own only one brush, you are doing it wrong. Different stages of hair growth require different levels of bristle stiffness. Trust me, using a hard brush on a fresh cut feels like sandpaper.
- Soft Brush: Use this when you have a fresh haircut (low hair). It lays down the frizz without scratching your scalp. I also use this for the final polish after a long brush session to get that glossy finish.
- Medium Brush: This is your daily driver. Once your hair grows a bit, the soft brush won’t pull the hair enough to train it. The medium bristles reach down to the root without hurting.
- Hard Brush: You need this for wolfing (growing your hair out for weeks). When your hair is thick, soft bristles just glide over the top. A hard brush penetrates through the thicket to train the roots.
Pro Tip: Look for curved brushes. They contour to the shape of your head better than flat brushes, giving you better coverage with every stroke.
4. 5 Common Mistakes That Ruin Your Waves
I see guys making these mistakes constantly, and then they wonder why their connections look trash. :/ Let’s fix your bad habits before they start.
- Over-Washing: You strip the natural oils your hair needs to lay down. Stick to washing 1-2 times a week max.
- Brushing Dry Hair: Never brush bone-dry hair. It breaks the strands. Always apply a little moisturizer or hot towel first.
- Mixing Patterns: Pick a pattern (360, 540, 720) and stick to it. If you change angles every day, your waves will look like a chaotic scribble.
- Skipping the Crown: The crown (the swirl at the back) is the hardest part. Most guys neglect it. Isolate your crown and brush it specifically.
- Cheap Products: Petroleum-heavy pomades clog your pores. Your scalp can’t breathe, and your hair stops growing healthy. Spend the extra money on natural ingredients.
5. Morning & Night Routine to Keep Waves Fresh All Day

Consistency beats intensity. You can’t brush for 5 hours on Sunday and ignore your hair all week. You need a rhythm.
The Morning Routine
- Unrag: Take the durag off carefully. Do not just rip it off; you might lift the hair.
- Plastic Bag Method: Put a sandwich bag over your hand and rub your hair with the grain. This lays down any frizz that popped up overnight.
- Soft Brush: Do a quick 5-10 minute session with a soft brush to get everything aligned.
- Sheen: Spray a light oil sheen if you want that glossy look for the day.
The Night Routine
- Moisturize: Apply your cream or oil.
- Hard/Medium Brush: Go in for a solid 20-30 minute session. This is where the progress happens.
- Soft Brush Finish: Smooth it all out.
- Rag Up: Put the durag on tight (but not too tight) and go to sleep. Never sleep without it.
6. 10 Wave Hairstyles Every Man Should Try
Waves aren’t just one boring look. You can customize them to fit your swagger. Here are 10 variations to consider:
- The Classic 360 Waves: The standard. Waves go all around the head in a circle. Clean, timeless.
- 180 Waves: Waves only on the top. The sides and back are faded high. Great for beginners or guys who want a cleaner side profile.
- 540 Waves: The waves slant diagonally. It creates a spinning effect that looks aggressive and dynamic.
- 720 Waves: The swirl moves vertically. This is expert level. It requires precise brushing angles.
- High Top Fade with Waves: Keep the top long and wavy, but skin fade the sides completely.
- Drop Fade Waves: The fade drops behind the ear, following the curvature of your head. It highlights the wave pattern on the back.
- Taper Fade 360: You keep the hairline natural at the edges but fade the sideburns and neckline. It looks very professional.
- Mohawk Waves: Fade the sides high, leave a strip of waves down the middle. Bold choice for the adventurous.
- Bleached Waves: Dye your hair blonde or platinum. The color makes the wave definition pop like crazy.
- Parted Waves: Ask your barber to cut a hard part line into the waves. It adds a sharp architectural element.
7. DIY Hair Care Tips to Enhance Your Waves Naturally
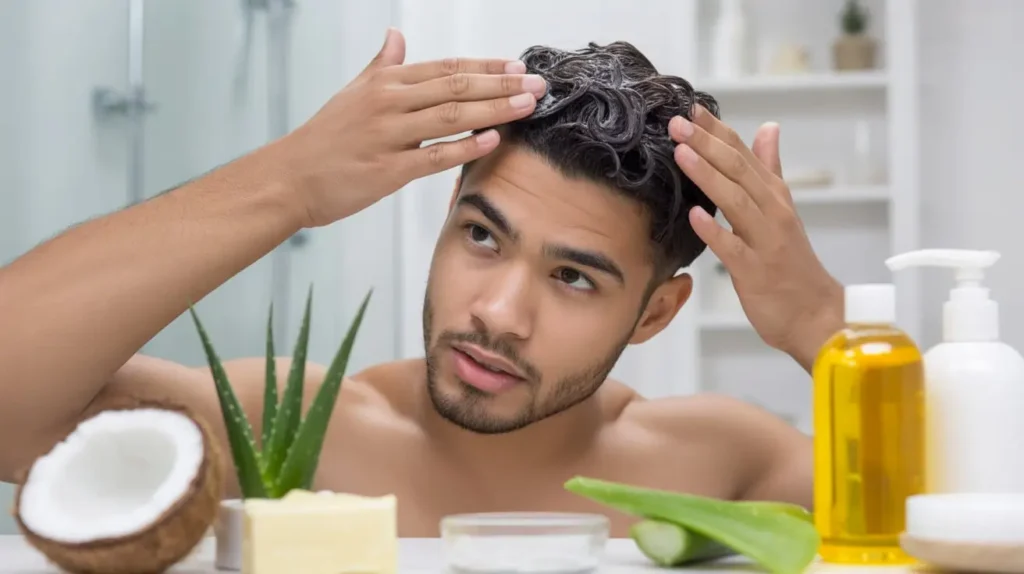
You don’t always need to buy expensive bottles from the store. Your kitchen probably holds the secret to better hair. Why waste money when you can raid the pantry?
Hot Oil Treatment:
Take some olive oil or coconut oil and warm it up in the microwave (don’t boil it, you aren’t frying chicken). Massage the warm oil into your scalp and hair. Put on a shower cap for 30 minutes, then rinse. This penetrates the hair shaft deeply.
Apple Cider Vinegar Rinse:
If you have product buildup, mix apple cider vinegar with water and rinse your hair. It clarifies the scalp and restores pH balance without stripping everything away like harsh shampoos do.
Rice Water:
Some wavers swear by rice water rinses for growth. Soaking rice in water creates a starchy solution that strengthens hair proteins. I’ve tried it; it smells weird, but my hair felt stronger.
8. How to Get Waves Fast: Tips That Actually Work
Let me answer the question everyone asks: “How do I get waves in 2 days?” You don’t. But you can speed it up significantly.
The secret is Wolfing. This means you stop cutting your hair for 4 to 8 weeks while brushing religiously. The extra hair length forces the curl to buckle and form a wave. When you finally cut it low after wolfing, the waves are deep and defined.
Another tip? Brush in the shower. The warm water softens the hair, making it easier to train. Just make sure you aren’t using a wooden brush that will rot. Use a plastic shower brush.
Finally, Double Compression. Wear a wave cap under your durag. The extra pressure forces the hair to learn its new position faster.
9. Waves for Different Hair Types: Straight, Curly & Coarse

Not all hair is created equal. Your strategy depends on your genetics.
Coarse Hair
You have it the easiest for texture but the hardest for moisture. Your hair naturally wants to curl. Your challenge is keeping it laid down. Use heavier butters and hard brushes. You need that stiffness to pull the curl into a wave.
Curly/Medium Hair
This is the sweet spot. Your hair curls easily but isn’t too stubborn. You can use medium brushes mostly. Focus on connection; sometimes curly hair spirals in random directions.
Straight Hair
I won’t lie, this is tough. You need to curl your hair chemically (a texturizer) or wolf for a very long time. You rely heavily on soft brushes initially because your hair doesn’t have the density to handle a hard brush without scraping the scalp. You need products with high hold to keep the hair bent.
10. Styling Waves for Formal vs Casual Looks

Waves are versatile. They work at a wedding, and they work at the gym. Here is how you adjust your style.
For Formal Events:
Go for a fresh taper. Clean up the sideburns and the neckline. Use a little pomade to add shine, but brush it thoroughly so it doesn’t look greasy. You want a “glassy” finish that reflects light under the chandeliers. A sharp lineup is crucial here.
For Casual Looks:
You can let the wolf grow out a bit. A slightly thicker look gives off a rugged vibe. You might wear a headband or just rock the natural matte finish without adding too much sheen spray. It looks effortless and cool.
11. Top Pomades & Oils Recommended by Barbers for Waves
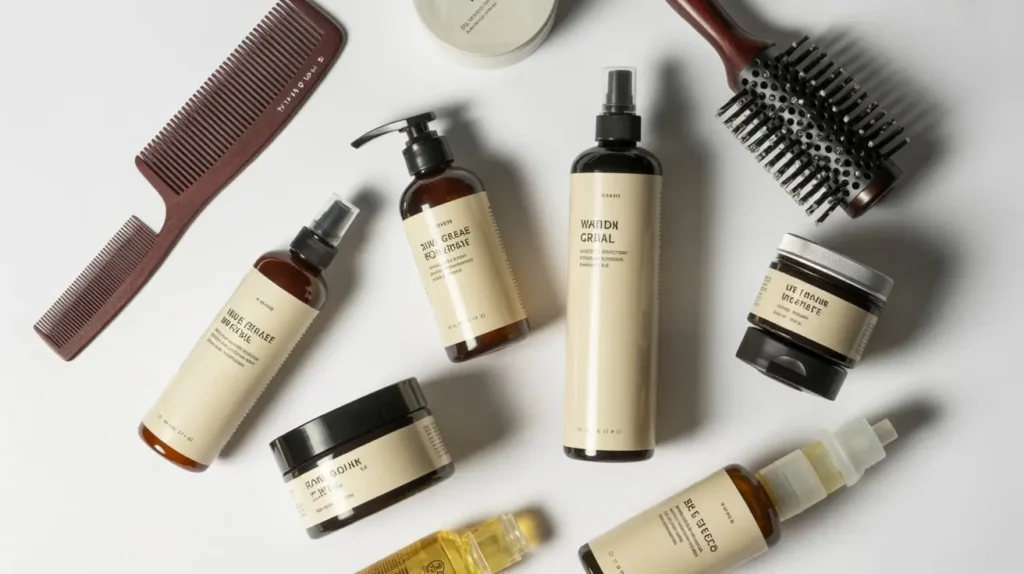
I’ve spent too much money on products that did nothing. Here is the breakdown of what actually works, so you don’t waste your cash.
- Murray’s Superior Pomade: The OG. It’s thick like glue. Use this only when you are wolfing hard and need serious hold. Warning: It is a nightmare to wash out.
- Shea Moisture Smoothie: Great for natural texture. It smells amazing (coconut and hibiscus) and moisturizes without feeling like cement.
- Cold Label Wolfin’ Pomade: This is an all-natural option. It has great hold but washes out easily. Highly recommended for daily use.
- Argan Oil: For the finish. It adds shine without weight.
- Sportin’ Waves: Another classic. It holds well but can be greasy. Use it sparingly.
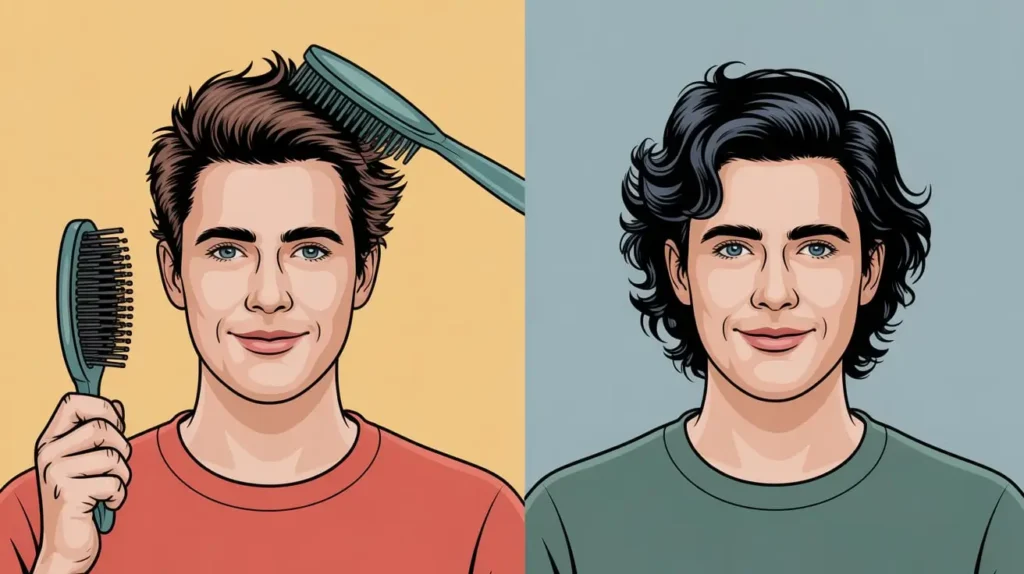
12. Transform Your Hair: Before & After Waves Guide

Visualizing the process helps you stick to it. Knowing the stages keeps you from quitting when it gets ugly.
The “Before” Stage:
Your hair looks like a fuzzy tennis ball. You can’t see the scalp. You have no direction. This is where most guys quit because they don’t see immediate results.
The “Ripple” Stage (Weeks 2-3):
You see little ripples forming on the top. The sides are still messy. Keep brushing! Do not cut it yet. This is the sign that your training is working.
The “Connection” Stage (Weeks 4-6):
The ripples start connecting to form long lines. This is exciting. You might see forks (where two waves crash into each other). Focus your brushing on those specific spots to smooth them out.
The “Elite” Stage (Month 3+):
You get a cut. The waves are deep. They look like the ocean. You walk into a room and people ask, “Who is your barber?” This is the payoff.
13. How to Sleep Without Flattening Your Waves

You spend 8 hours a night ruining your hair if you aren’t careful. Friction is the enemy.
Cotton pillowcases grab your hair and pull the moisture out. Get a satin pillowcase. Even if your durag slips off (it happens to the best of us), the satin pillowcase won’t ruin your pattern.
Position matters. If you sleep on your side, you might flatten one side more than the other. I try to sleep on my back or stomach, but honestly, just make sure your compression game is strong. If your durag is tied correctly—knot flat, flap tucked—you should be fine.
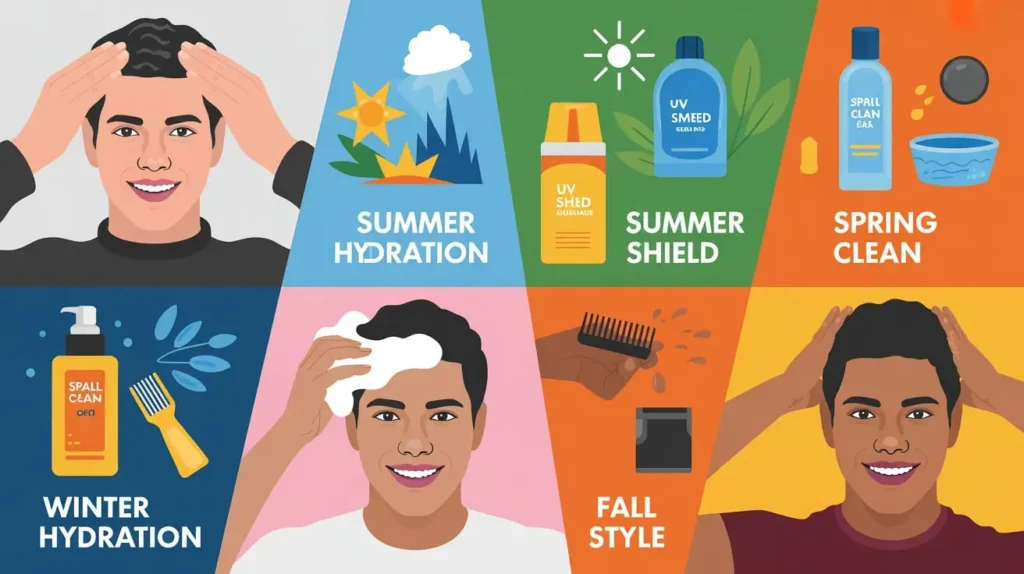
14. Seasonal Hair Care Tips to Protect Your Waves
The weather fights your hair. You need to fight back.
Winter:
The air is dry. Your scalp will get dry. Dandruff is a wave killer because flakes get stuck in the ridges. Increase your oil usage. Use heavier oils like Castor Oil to seal in moisture. Wear a beanie, but keep your durag on underneath it to protect the friction.
Summer:
The sun dries out your hair, and sweat makes it frizz. Wash your hair more frequently (maybe 3 times a week) using a co-wash (conditioner only) to remove sweat salt without stripping oils. Switch to lighter oils like Jojoba so your head doesn’t feel like a frying pan.
15. Waves Maintenance for Busy Men: Quick & Easy Tricks

Look, we all have jobs, families, or school. You can’t always brush for an hour. Here is the cheat code for maintenance.
The Shower Brush:
Combine hygiene with hair care. Keep a brush in the shower. While you condition, get your 5 minutes of brushing in. It’s efficient and effective.
The Commute Compression:
If you drive to work, wear your durag in the car. Take it off right before you walk into the office. That’s an extra 30 minutes of compression time you didn’t have to schedule.
The “Touch Up” Kit:
Keep a small soft brush and a Ziploc bag in your car or locker. If you catch a glimpse of frizz in the mirror, hit it with the plastic bag method for 30 seconds. You look brand new.
Conclusion
There you have it. The roadmap to the 360 waves of your dreams. It sounds like a lot, doesn’t it? But once you get into the rhythm, it becomes second nature. You’ll find yourself brushing while watching TV without even thinking about it.
Remember, the key is consistency. You can buy the most expensive brushes and the finest silks, but if you don’t put in the work, you’ll just have a wavy durag and a nappy head.
So, are you going to start your journey today, or are you going to settle for the same old haircut? I think I know the answer. Go get that brush.
Happy waving, my friend. Catch you on the next wave! FYI, don’t blame me if you get too much attention. 😉