
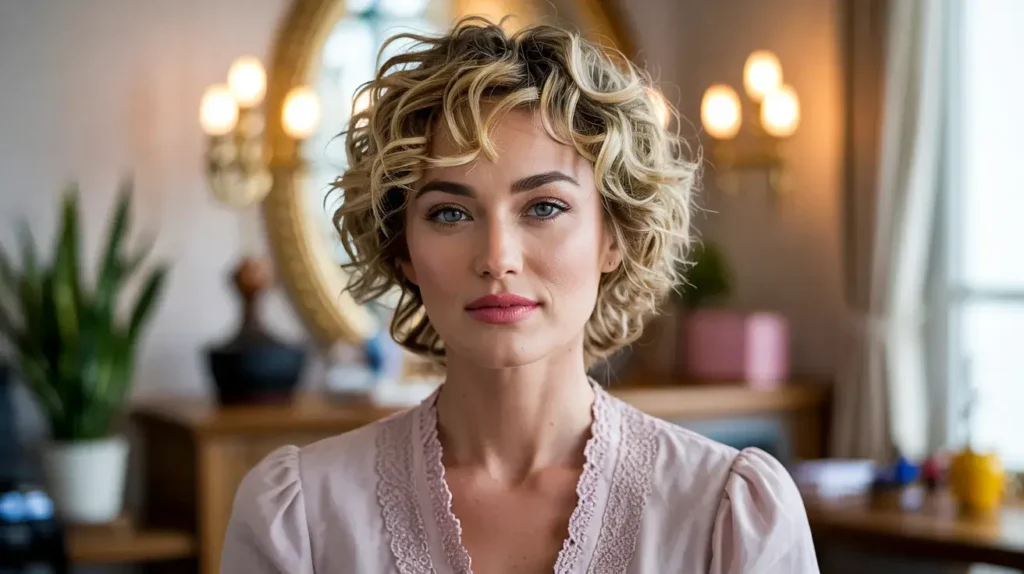
Let’s be honest for a second. Having short curly hair feels like a full-time job that you never actually applied for. One day you wake up looking like a literal goddess with perfect ringlets, and the next, you look like you survived a localized electrical storm. We’ve all been there, right?
Short curls offer so much personality, but they also come with a unique set of challenges. How do you style them without looking like a mushroom? How do you manage that awkward “in-between” length? I’ve spent years fighting my own frizz and shrinkage, and I finally realized that the secret lies in simplicity. You don’t need a ten-step routine or a professional stylist on speed dial to look amazing.
Today, I’m sharing my favorite easy hairstyles for short curly hair that actually work in the real world. These aren’t those “five-minute” styles that actually take forty minutes and three cans of hairspray. These are practical, gorgeous, and totally doable. Ready to reclaim your morning routine? 🙂
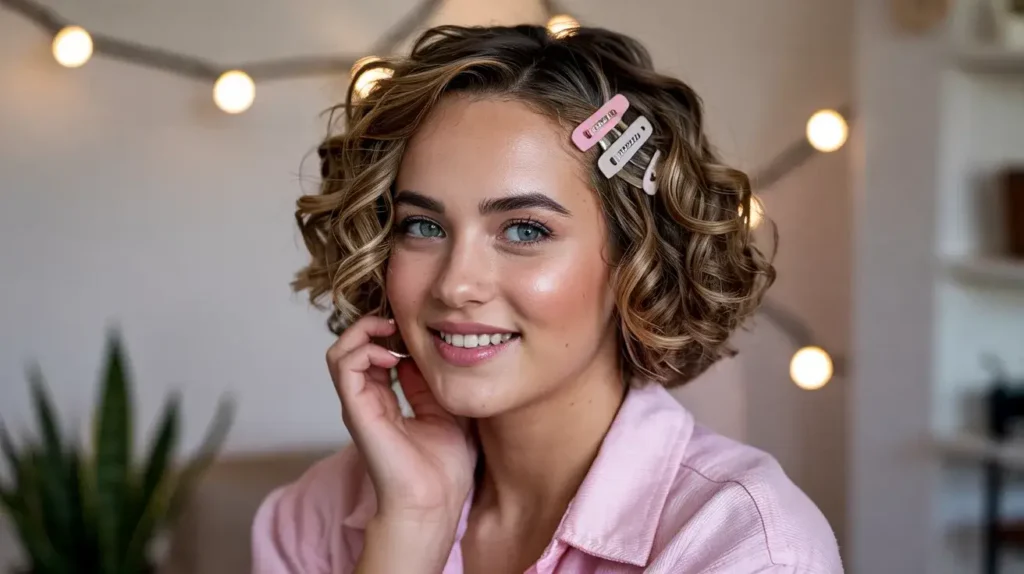
1. Twisted Front Pin-Up
The Twisted Front Pin-Up serves as my absolute “get out of jail free” card. You know those days when your front curls decided to lose all definition while the back looks amazing? This style fixes that instantly. It keeps the hair out of your face while highlighting your natural texture in the back.
I love this because it works on day-two or even day-three hair. You don’t need a fresh wash to make this look intentional. It actually holds better when your hair has a little bit of “grit” or product buildup from the day before.
- Take a small section of hair from the front on one side.
- Twist it loosely toward the back of your head.
- Secure it with two bobby pins in an ‘X’ shape for maximum hold.
- Repeat on the other side or leave it asymmetrical for a cooler vibe.
Pro tip: Use gold or decorative pins if you want to make this look more formal. It’s a low-effort way to look like you actually tried. I often find that matching the pins to my jewelry makes the whole outfit feel more “put together.”
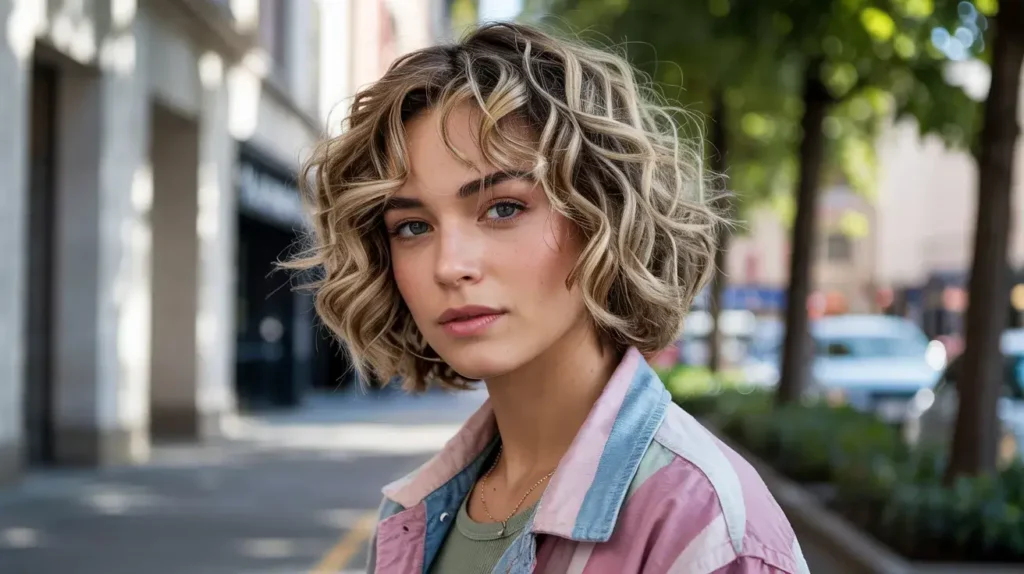
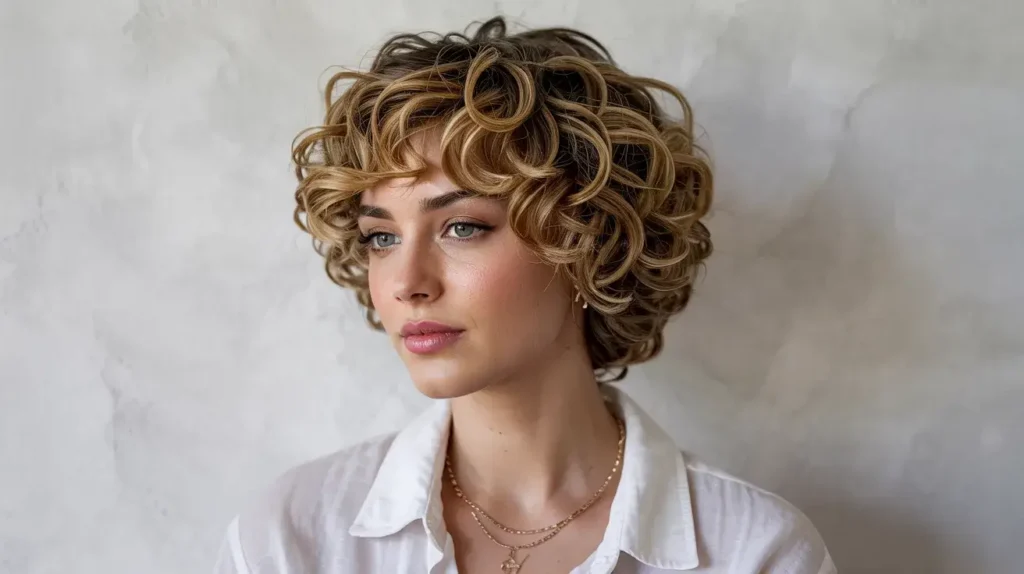
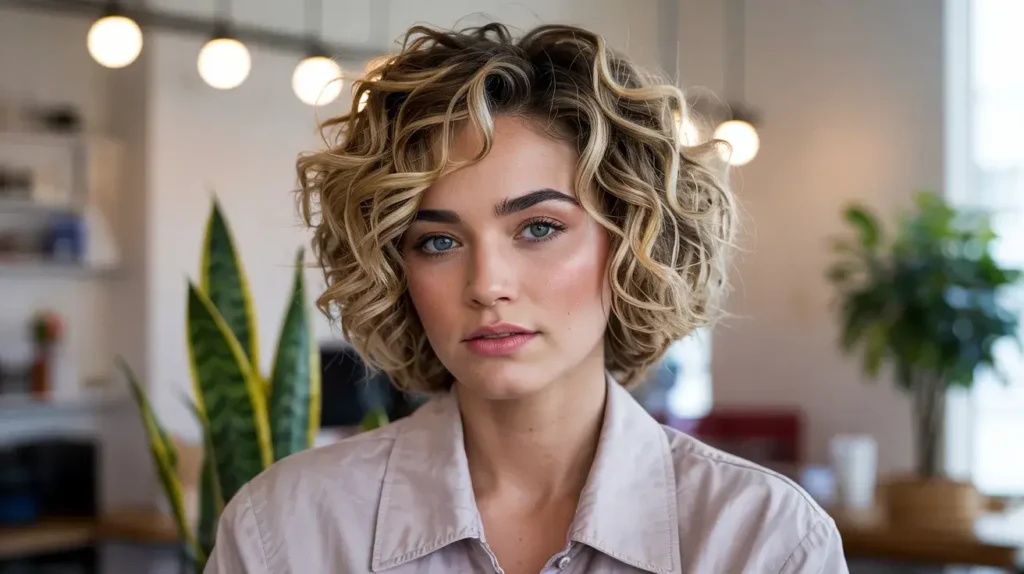
2. Messy Curly Bob
The Messy Curly Bob is the ultimate “cool girl” look. It’s effortless, bouncy, and thrives on a little bit of chaos. If you have a bob length, stop trying to make every curl perfect. The beauty of this style lies in the natural volume and slight frizz that gives it character.
Ever noticed how curls look better when you stop touching them? That’s the philosophy here. I usually just shake my head upside down, add a bit of volume powder at the roots, and let the curls fall where they may.
- Apply a lightweight sea salt spray or texturizing mist.
- Scrunch the ends while your head is tilted.
- Pick out the roots with a hair pick to create height.
- Let a few stray curls fall over your forehead for a soft finish.
This style works best when you embrace the “mess.” Don’t reach for the gel; reach for the volume. It’s perfect for a brunch date or a casual day at the office where you want to look approachable yet stylish.
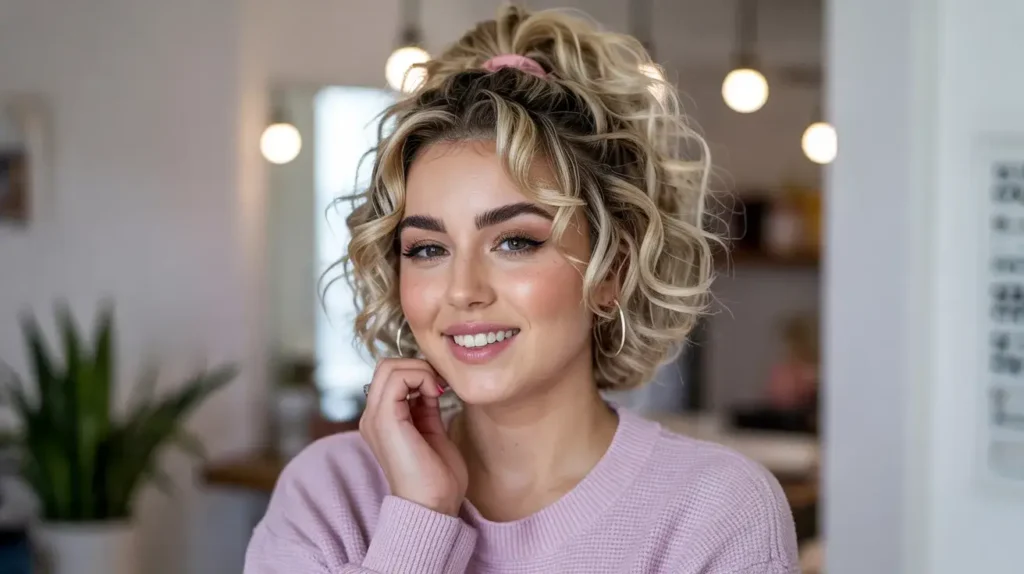
3. Half-Up Puff
The Half-Up Puff is a game-changer for anyone with 3C or 4C hair textures. It creates a beautiful silhouette by gathering the top half of your hair into a voluminous “puff” while letting the back hang free. This style highlights your cheekbones and keeps your hair from feeling too heavy around your face.
I personally reach for this style when I want to show off my length but need to stay cool in the heat. It’s like a ponytail, but way more stylish. FYI, this style also hides any uneven growth patterns you might have at the crown.
- Section off the top half of your hair, from ear to ear.
- Smooth the edges with a soft-bristled brush and a tiny bit of edge control.
- Secure the section with a loose hair tie or a silk scrunchie.
- Fluff the puff to create the desired shape and volume.
Bold the edges with a bit of shine pomade to give it a polished look. It’s a great way to transition from a workout to a night out without a full wash.
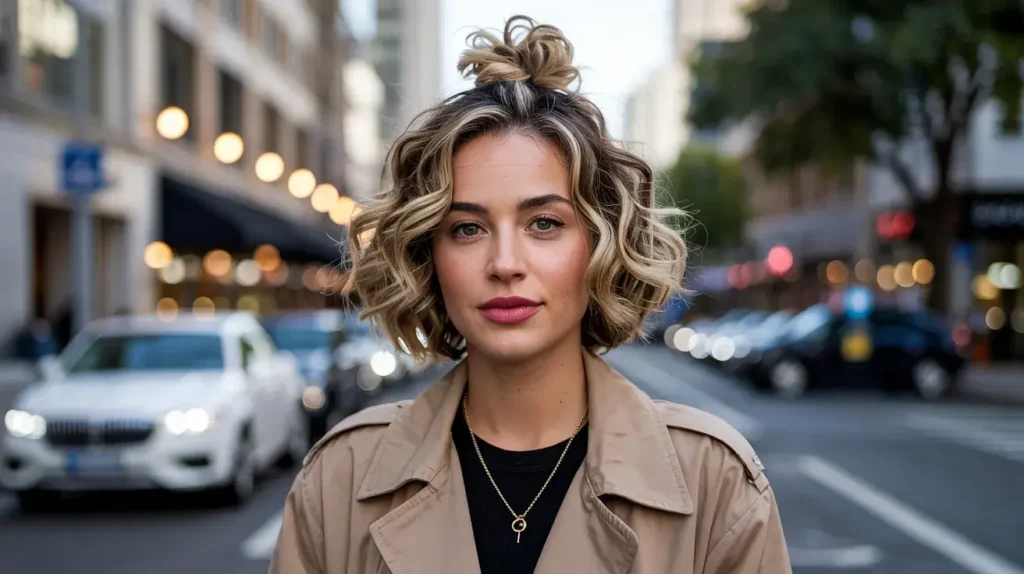
4. Mini Top Knot
Is there anything cuter than a Mini Top Knot on short curls? I don’t think so. This is my go-to when my bangs are acting up or when I just want a playful, energetic look. It works perfectly on chin-length hair where a full bun isn’t quite possible yet.
The key here is not to make it too tight. You want the knot to look like a little “curly explosion” on top of your head. IMO, the messier the knot, the better it looks. If it looks too perfect, it loses that effortless charm.
- Gather a small section of hair at the very crown of your head.
- Loop it into a tiny bun and secure it with an elastic.
- Pull at the bun gently to make it look fuller.
- Leave the rest of your curls down and wild.
This style screams “I’m fun and I’m busy.” It’s also incredibly practical for keeping hair out of your eyes while you’re working at a computer all day.
5. Side-Swept Curls
If you want instant glamour with zero heat tools, Side-Swept Curls are your best friend. This style creates an elegant, asymmetrical look that works for weddings, dates, or just when you’re feeling a bit fancy. It’s all about the deep side part.
I love how this style changes the entire shape of your face. By pinning one side back, you emphasize your jawline and give your curls room to breathe on the other side.
- Create a deep side part using a rat-tail comb.
- Slick back the smaller side using a firm-hold gel.
- Pin the hair behind your ear with several bobby pins hidden under the top layer.
- Fluff the voluminous side to maximize the “wow” factor.
Focus on the volume on the open side. Use a bit of hairspray to keep those curls from falling flat throughout the night. If you feel like a movie star while wearing this, you’re doing it right.
6. Curly Headband Twist
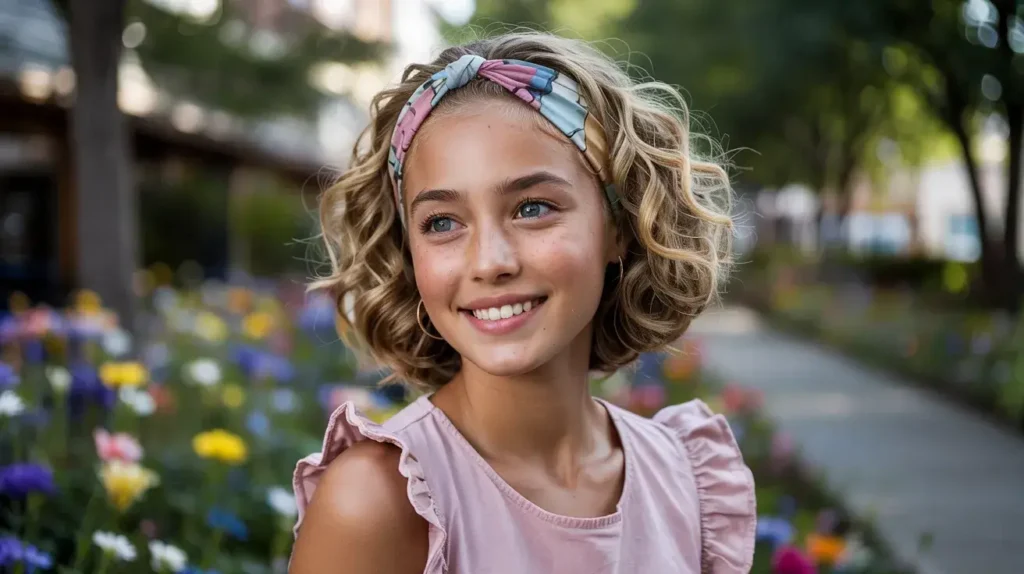
Sometimes, you just need an accessory to do the heavy lifting. The Curly Headband Twist is a classic for a reason. It’s incredibly easy and works on even the shortest pixie cuts or bobs.
Have you ever had one of those days where your roots look greasy but your ends look great? A headband is the ultimate camouflage. It covers the problem area while letting your healthy curls take center stage.
- Slide a decorative or fabric headband onto your head, about an inch back from your hairline.
- Take small sections of hair from the front and tuck them over and under the headband.
- Continue tucking until you reach the back of your ears.
- Leave the back curls free and bouncy.
This creates a “halo” effect that looks very intricate but takes about two minutes. It’s a lifesaver for humid days when frizz is unavoidable.
7. Low Curly Ponytail
Don’t underestimate the power of a Low Curly Ponytail. While long-haired girls get all the credit for ponytails, short curly hair actually makes the “stubby” ponytail look incredibly chic. It’s sophisticated and clean.
I find this works best when you leave a few face-framing tendrils out. It prevents the style from looking too severe or “slicked back.”
- Gather your hair at the nape of your neck.
- Secure with a silk tie to prevent breakage (very important for curls!).
- Pull out two small curls near your temples.
- Apply a drop of hair oil to the ponytail ends to make them pop.
This is my professional “I mean business” hairstyle. It’s neat, it stays put, and it shows off your natural texture without the distraction of hair in your face.
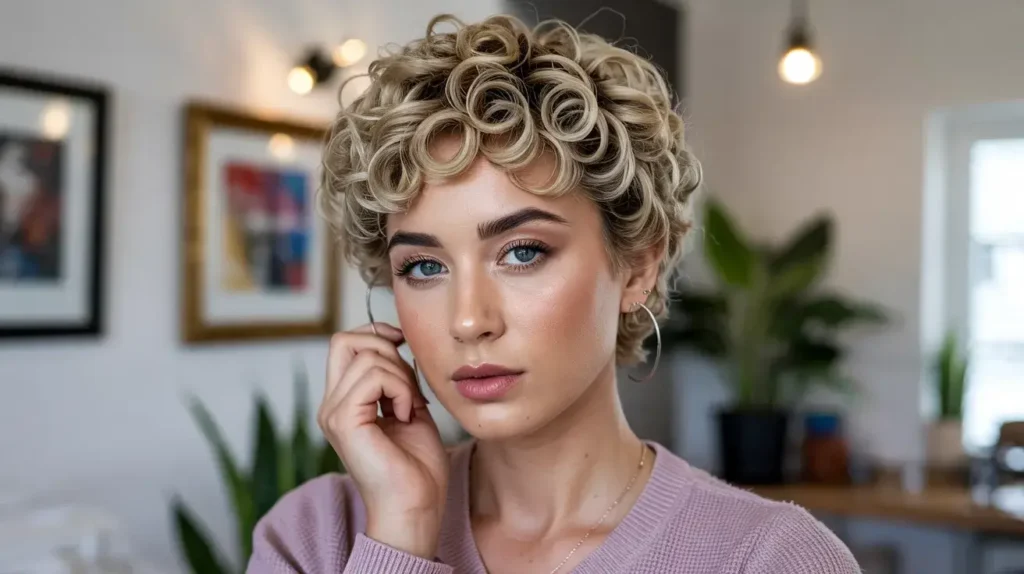
8. Finger-Coiled Pixie

For my friends with extra-short hair, the Finger-Coiled Pixie is the gold standard. When you have a pixie cut, definition is everything. Without it, you might just look like you have a fuzzy hat on. :/
Finger coiling takes a little more time than a “shake and go,” but the results last for days. It’s a great way to train your curls to follow their natural pattern.
- Start with damp hair and apply a defining cream.
- Take tiny sections and wrap them around your index finger.
- Hold for a second and let them snap back.
- Air dry or use a diffuser on a low setting.
Once the coils are dry, you can gently separate them for more volume or leave them tight for a more “sculpted” look. It’s a very high-fashion vibe that requires very little maintenance once it’s set.
9. Sleek Curly Tuck
The Sleek Curly Tuck is the “no-makeup makeup” of hairstyles. It’s barely there, yet it changes everything. It’s perfect for those with ear-length or chin-length curls who want a modern, clean-cut appearance.
I love this because it requires zero accessories. You’re just using the natural shape of your head and a little bit of product to create a silhouette.
- Apply a smoothing serum to the hair near your temples.
- Tuck both sides firmly behind your ears.
- Push the top section of your hair forward to create a bit of height.
- Let the curls at the back flare out.
This creates a “triangular” shape in the best way possible. It’s edgy, modern, and keeps your curls from looking like a round puffball. I find this look particularly effective for evening events.
10. Curly Mohawk Braid
Want something a bit more daring? The Curly Mohawk Braid (often called a “Faux Hawk”) is surprisingly easy on short hair. You don’t actually need to shave your head; you just need to create the illusion of height in the center.
This is a fantastic “protective” style that keeps your ends tucked away and your hair secure. Plus, it looks incredibly cool at concerts or parties.
- Section your hair into three horizontal parts (top, middle, bottom).
- Create three small ponytails (puffs) right down the center of your head.
- Pin the curls of each puff together so they overlap and hide the hair ties.
- Smooth the sides with a firm-hold gel to create that sharp Mohawk contrast.
Bold the center height by picking out the curls. The more volume you have in the middle, the more dramatic the look. It’s an instant confidence booster.
11. Spiral Clip-Back
The 90s are back, and I am here for it. The Spiral Clip-Back uses those tiny claw clips that we all used to obsess over. It’s a playful way to manage short curls while adding a bit of retro flair.
I personally love using matte-colored clips that match my outfit. It’s a small detail that makes a big impact. Plus, it keeps the hair off your forehead without the headache a tight headband might cause.
- Take small random sections from the top of your head.
- Twist them once and secure them with a mini claw clip.
- Space them out across the crown of your head.
- Let the rest of the curls bounce freely.
Ever wondered why this works so well? It lifts the hair at the root, which prevents that “flat top” look that many short-haired curlies struggle with. It’s a quick fix for limp hair.
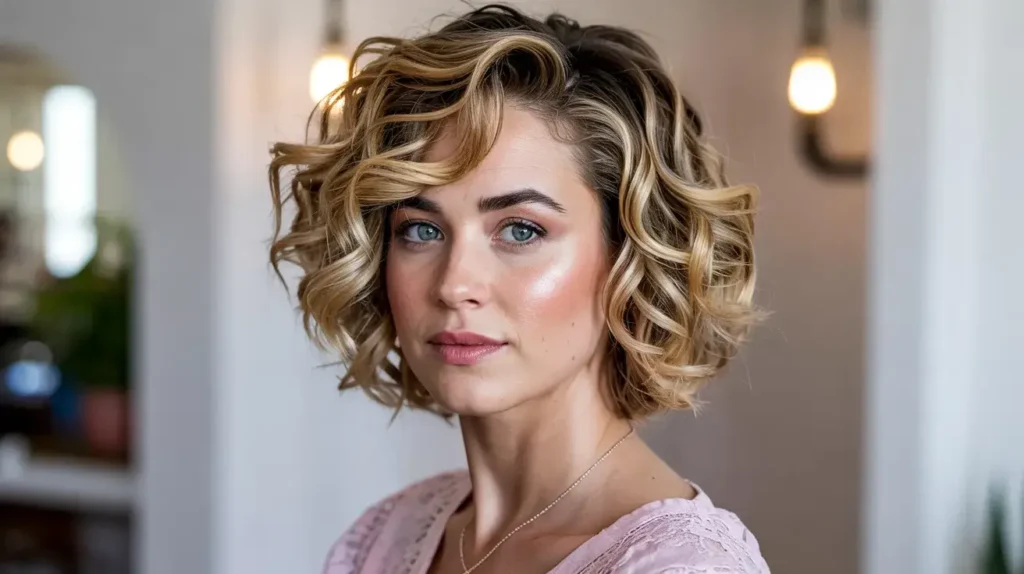
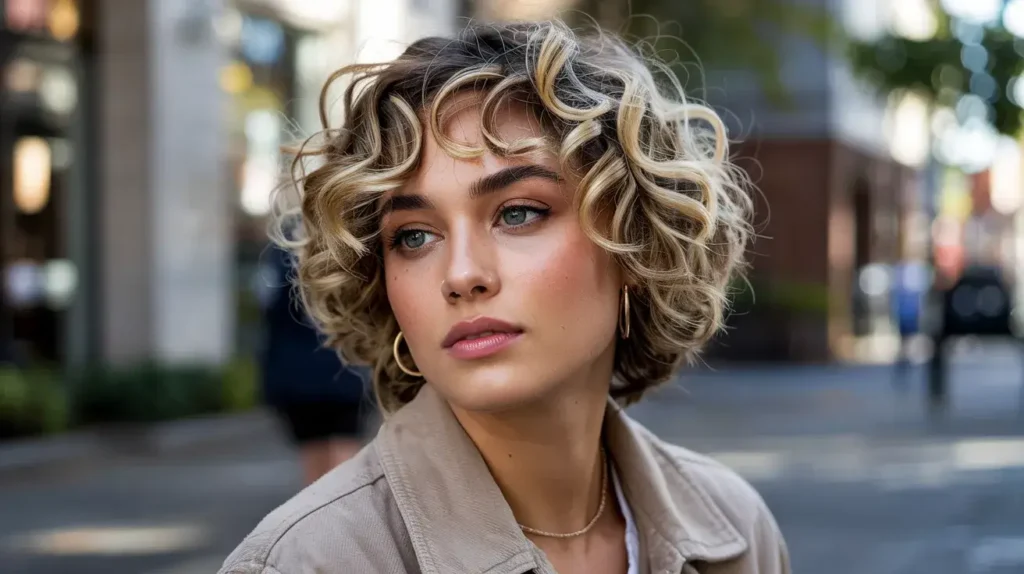
12. Side Part Voluminous Curls
Sometimes, the simplest change is the most effective. A Side Part Voluminous Curls style is literally just changing where your hair falls. If you usually part your hair in the middle, switching to a side part will instantly double your volume.
I do this when my curls are looking a bit flat or limp. Flipping the hair over creates immediate lift at the root that no product can truly replicate.
- Use your fingers to create a messy side part while hair is damp.
- Apply a volumizing mousse to the roots of the “heavy” side.
- Diffuse your hair with your head tilted to that side.
- Shake out the roots once dry.
This is the ultimate “bombshell” look for short hair. It’s glamorous, big, and full of life. Who says short hair can’t be dramatic? Certainly not me.
13. Curly Bangs Flip
If you have curly bangs, you know the struggle of the “shrinkage jump.” One minute they’re at your eyebrows, the next they’re halfway up your forehead. The Curly Bangs Flip embraces this movement.
Instead of fighting the bangs, we’re going to give them a direction. This style works great for those with a shag or a layered curly cut.
- Apply a light pomade to your bangs.
- Sweep them to one side rather than letting them hang straight down.
- Blow-dry them for 10 seconds on a cool setting to set the shape.
- Blend them into the longer side layers of your hair.
This prevents the “straight across” look and makes the bangs feel like a deliberate part of the hairstyle rather than an afterthought. It also opens up your eyes and brightens your face.
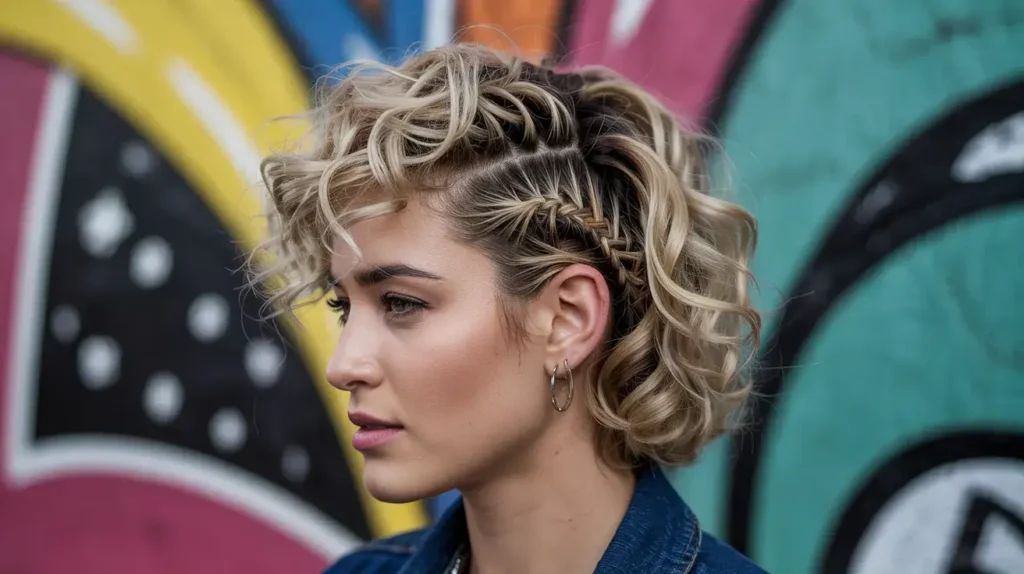
14. Double Mini Braids
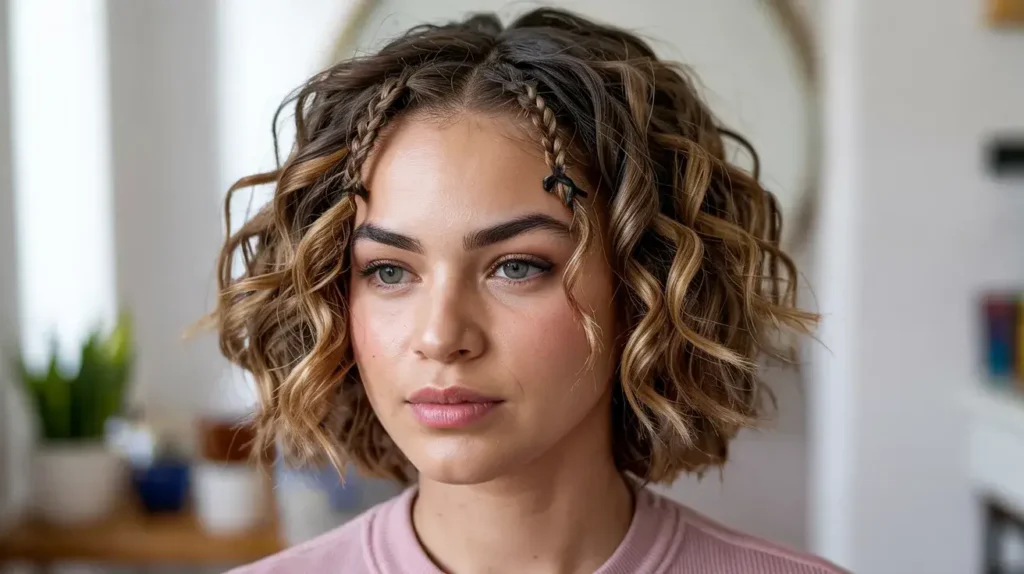
Double Mini Braids (or “accent braids”) are perfect for adding a bit of detail to a short bob. They frame the face beautifully and add a bit of a “boho” vibe to your look.
I find these especially helpful if you’re trying to grow out your hair. They tuck away those awkward shorter pieces that usually fall into your eyes.
- Part your hair down the middle.
- Take a tiny section (about half an inch) right at the hairline on each side.
- Braid them tightly toward the back.
- Secure with a clear elastic or simply let the curl at the end hold the braid.
Keep the braids small so they don’t overwhelm your curls. They should look like little hidden gems tucked into your hair. It’s a subtle yet very effective way to change your look.
15. Tousled Curly Crown
The Tousled Curly Crown is all about texture and “cloud-like” softness. This isn’t about defined ringlets; it’s about a soft, ethereal halo of curls. It’s a very romantic look that works well for shorter lengths.
To achieve this, I actually suggest breaking the curls slightly. Yes, I know, we’re usually told never to touch our curls, but for this specific look, a little separation is key.
- Wait until your hair is 100% dry.
- Gently pull apart your curls with your fingers to create more surface area.
- Mist with a flexible-hold hairspray.
- Massage your scalp to create lift at the base.
This creates a gorgeous, full “crown” of hair that looks soft to the touch. It’s the perfect “woke up like this” style, even if it took a tiny bit of effort. It works beautifully for outdoor events or casual dates.
The Science of Short Curls: Why They Act Differently
Have you ever wondered why your hair seems “curlier” when you cut it short? It’s not just your imagination. When you remove the weight of long hair, the curl pattern can finally spring up to its full potential. This is why a short haircut can sometimes feel like a brand-new texture.
However, this extra spring means you have to be careful with moisture management. Without the weight of the hair pulling the curl down, frizz can travel much faster. I always recommend using a heavier conditioner on short hair than you might expect.
- Moisture prevents the “pouf” factor.
- Short hair dries faster, which means it can also lose moisture faster.
- Scalp health becomes more visible with short hair, so don’t ignore your skin!
By understanding how your specific curl pattern reacts to gravity, you can choose the style that works with your hair rather than fighting against it every morning.
Essential Tools for Short Curly Hair
To make these styles work, you need the right kit. You don’t need a thousand products, but a few key items will make your life significantly easier. I’ve wasted so much money on gadgets that don’t work, so take my word for it on these essentials.
- A High-Quality Diffuser: This is non-negotiable. It distributes heat evenly and prevents the “windblown” frizz that a regular hair dryer creates.
- Silk Scrunchies: Regular elastics are the enemy. They snag, break, and ruin your curl pattern. Silk is your best friend.
- A Wide-Tooth Comb and a Pick: Never use a fine-tooth brush on dry curls unless you want to look like a dandelion. The pick is essential for that root volume we all crave.
- Microfiber Towel or T-Shirt: Stop rubbing your hair with a rough bath towel! It raises the cuticle and causes instant frizz. Squeeze the water out with a soft cotton tee instead.
Using a silk pillowcase also helps. If you aren’t sleeping on silk, you’re basically letting your cotton pillowcase steal all your hair’s moisture while you sleep. Switch today—you’ll see the difference in a week.
The Curly Product “Holy Trinity”
In my experience, you only really need three types of products to keep short curls in check. Everything else is usually just extra fluff designed to clutter your bathroom counter.
- A Leave-In Conditioner: This provides the moisture base. Curls are naturally dry because the oils from your scalp have a hard time traveling down the “spiral staircase” of your hair.
- A Defining Gel or Cream: This “locks” the curl in place. If you want definition, you need a product that provides hold. Gels give more structure, while creams give more softness.
- A Lightweight Oil: Use this to “scrunch out the crunch” once your hair is dry. It breaks the gel cast and leaves your hair soft and shiny.
Don’t be afraid to experiment with the amounts. Some days your hair might need more moisture, and other days (like in high humidity), you might need a heavier gel. Listen to what your curls are telling you.
How to Handle the “Awkward Grow-Out” Phase
We’ve all been there. You cut your hair into a cute pixie, and three months later, it’s at that stage where it’s not a pixie but not yet a bob. It’s the dreaded “mullet phase.”
Don’t panic! This is where the Double Mini Braids and the Mini Top Knot really shine. These styles allow you to pin back the sections that grow faster (usually the back and sides) while letting the top catch up.
- Trim the back more often than the front to keep it looking like a deliberate shape.
- Use accessories like headbands to hide the unevenness.
- Focus on condition rather than length. Healthy hair always looks better, even at awkward lengths.
Growing out short curls requires patience, but it also gives you a chance to try styles you never would have considered otherwise. View it as a hair adventure!
Dealing With Frizz and Shrinkage
Let’s address the elephant in the room: shrinkage. It’s real, and it’s frustrating. You might have six inches of hair, but when it dries, it looks like two. This is especially true for tighter curl patterns.
Don’t fight it! Embrace the bounce. If you really want to show off your length, try “banding” or using a blow dryer to gently stretch the roots while they’re damp. But honestly, the beauty of short curly hair is that compact, high-energy look.
As for frizz, remember that frizz is just a curl waiting for a hug (aka moisture). If your hair is frizzing, it’s likely thirsty. Try a deep conditioning treatment once a week. Your curls will thank you, and your styles will last much longer. Also, stop touching your hair while it’s drying! That’s the number one cause of frizz.
Why Short Curly Hair Is Actually a Superpower
I used to hate my short curls. I thought they were “unmanageable” and “messy.” But once I learned how to work with them instead of against them, everything changed. I realized that my hair was a form of self-expression that straight-haired people couldn’t replicate.
Short curls are bold. They frame your face in a way that long hair simply can’t. They have built-in volume that straight-haired people spend hundreds of dollars trying to achieve with perms and products.
Plus, think of the time you save! Washing and drying short curls takes a fraction of the time it takes for waist-length hair. You can literally change your entire look in five minutes with a few pins or a different part. That’s more time for sleep, coffee, or whatever else you love.
Common Mistakes to Avoid
Even with the best intentions, it’s easy to fall into bad curly habits. Here are a few things I’ve learned to avoid the hard way:
- Using too much heat: Curls are delicate. If you must use a hair dryer, use the “cool” or “low” setting. High heat destroys the protein bonds that keep your curls springy.
- Skipping the trim: Short hair needs more frequent trims to maintain its shape. Even if you’re growing it out, “dusting” the ends every 8-10 weeks prevents split ends from traveling up.
- Using heavy silicones: Some cheap products use silicones that coat the hair and prevent moisture from getting in. This leads to long-term dryness and breakage.
- Over-washing: Curly hair doesn’t need to be washed every day. In fact, the natural oils from your scalp are good for your curls! Try to aim for 2-3 times a week.
Avoid these pitfalls, and you’ll find that your hair becomes much more cooperative. It’s all about building a relationship with your texture.
Final Thoughts on Styling Your Curls
At the end of the day, your hair is an extension of your personality. Whether you choose the edgy Curly Mohawk Braid or the soft Tousled Curly Crown, the most important thing is that you feel confident. Hair is supposed to be fun, not a source of stress.
Don’t worry if a style doesn’t look exactly like the picture the first time you try it. Every curl pattern is different, and that’s the magic of it! Your “Messy Bob” will look different than mine, and that’s exactly how it should be. The goal isn’t perfection; the goal is expression.
So, which one of these are you going to try tomorrow morning? Grab your bobby pins and your favorite gel, and let those curls shine. You’ve got this! Whether you’re heading to a job interview or just the grocery store, your short curls are your best accessory. Wear them with pride!
Summary of Key Takeaways:
- Preparation is key: Start with hydrated hair using a leave-in conditioner to provide a solid foundation.
- Use the right tools: Silk scrunchies and diffusers prevent damage and keep your curls intact.
- Embrace the mess: Curly hair doesn’t have to be perfect to be gorgeous; sometimes the volume is the style.
- Switch it up: A simple change in your part or a few well-placed pins can transform your look instantly.
- Stay confident: Your natural texture is a superpower, so lean into the bounce and the personality of your short hair.
Short curly hair is a journey, not a destination. It involves a bit of trial and error, a lot of conditioner, and a healthy dose of self-love. Enjoy the bounce, forgive the frizz, and keep experimenting with these easy styles! Your hair is unique, just like you—so let it stand out.