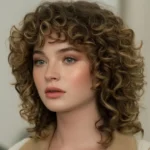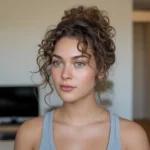

Listen, we need to talk about the relationship we have with our hair. Some days, those curls bounce perfectly, behaving like well-trained angels. Other days? It looks like we stuck a fork in an electrical socket and hoped for the best. I’ve been there, staring in the mirror at 7:00 AM, wondering if calling in sick because of a “bad hair day” is a valid medical excuse. (Spoiler: It usually isn’t, sadly.)
But here is the secret weapon every curly girl needs in her arsenal: the bun. And I don’t mean that sad, little nub you tie up just to wash your face. I’m talking about intentional, gorgeous, gravity-defying buns that scream style rather than “I gave up.”
You want effortless style? You want to stop fighting your texture and start working with it? I’ve got you covered. I’ve compiled a list of 15 stunning curly bun hairstyles that actually work for our texture. We will cover everything from the “I woke up late” look to the “I’m actually going to a wedding” vibe. So, grab your silk scrunchies and your favorite bobby pins, and let’s fix that crown.
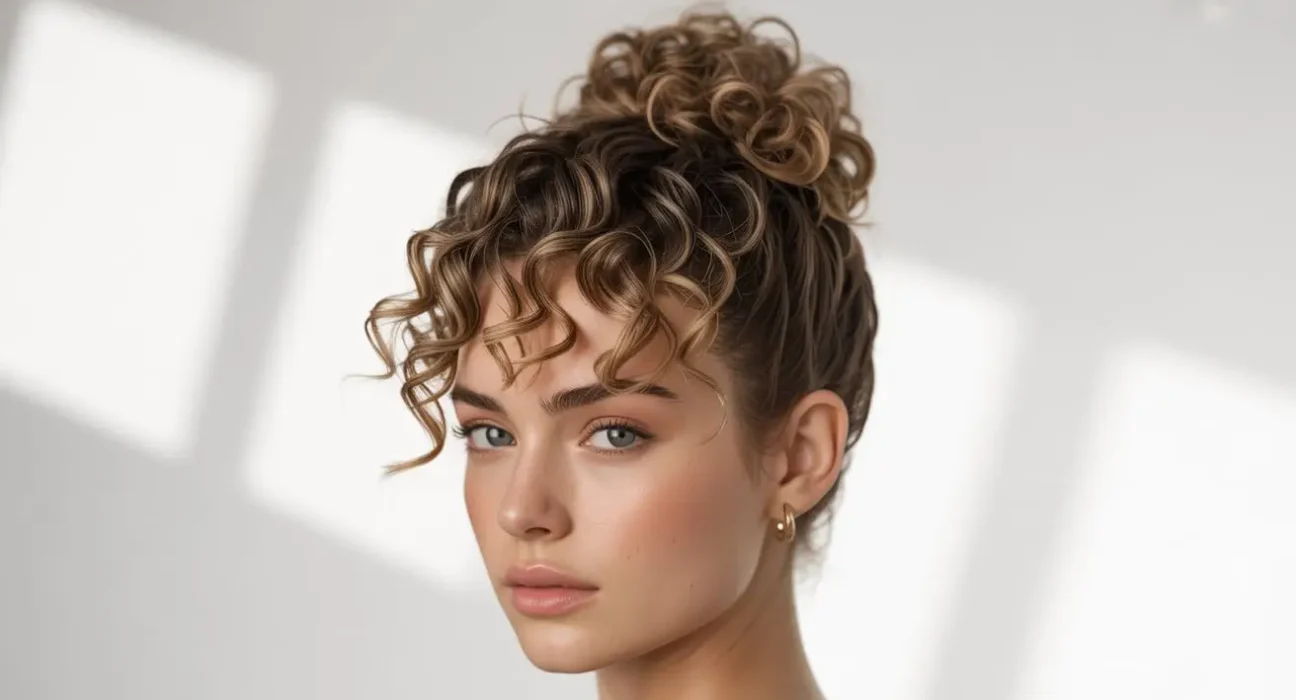
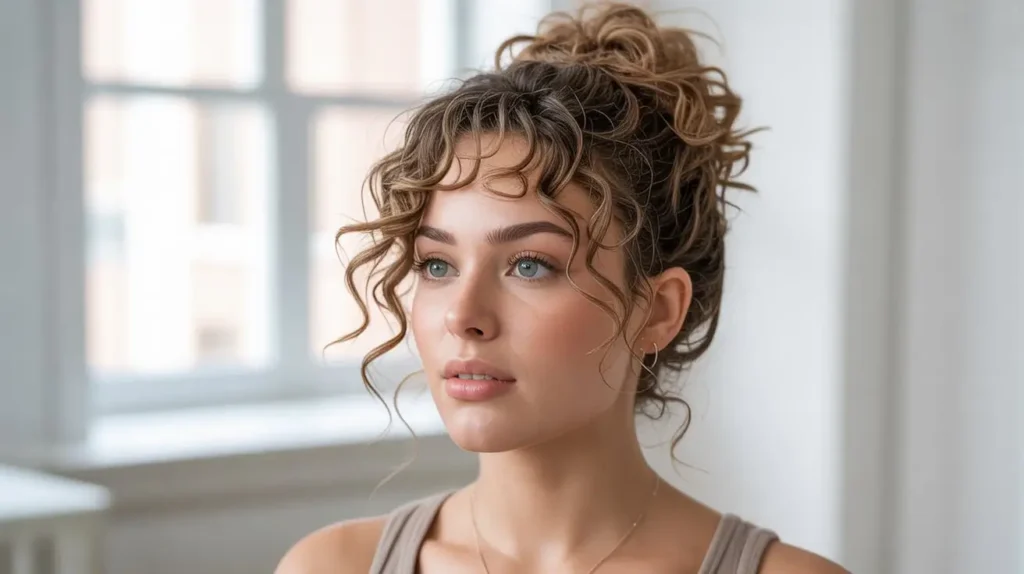
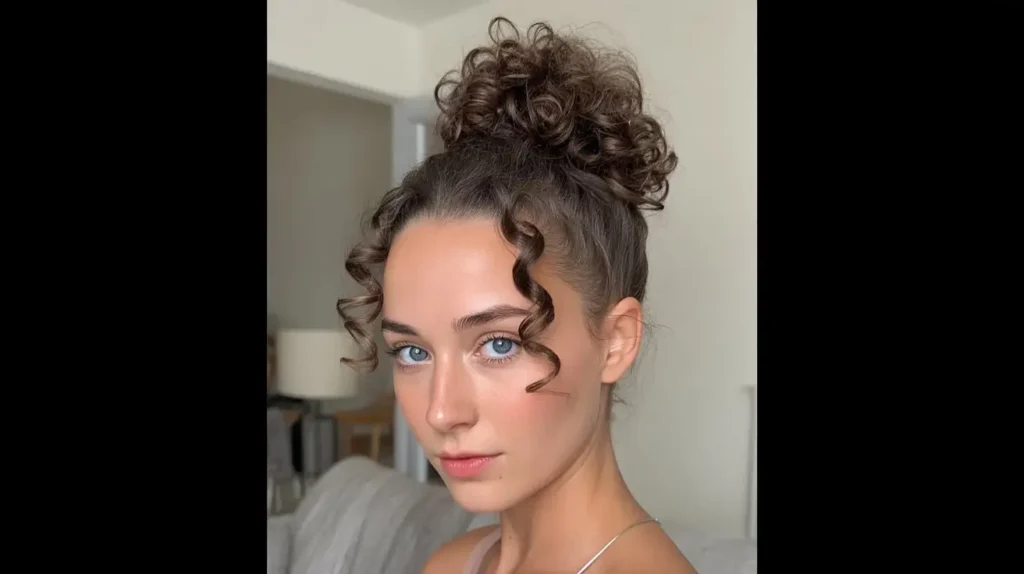
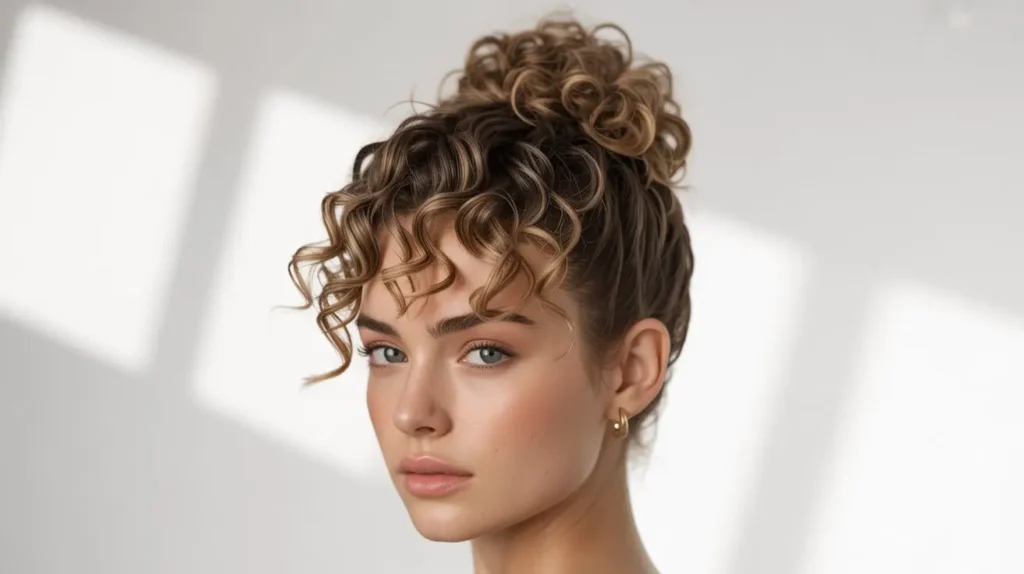
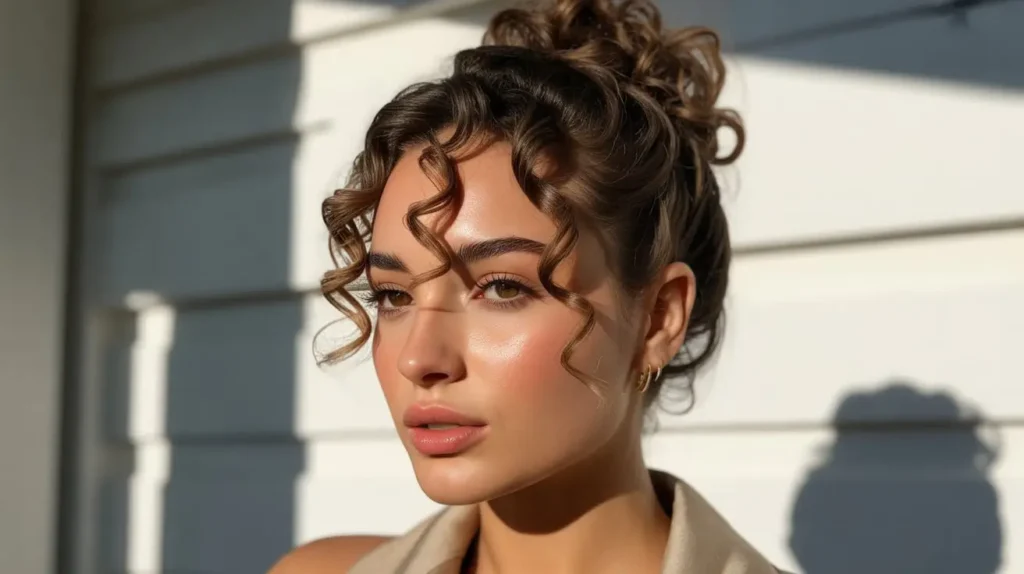
1. Messy High Curly Bun
Let’s start with the undisputed queen of curly hairstyles: the Messy High Bun. You probably know this as the “Pineapple” on steroids. I love this style because it creates an instant facelift effect. Seriously, pull that hair up, and suddenly your cheekbones pop out of nowhere.
This style relies on volume. The higher the hair, the closer to… well, you know the saying. This isn’t about perfection; it is about celebrating the sheer size of your hair.
How to Achieve the Look
- Flip and Gather: Flip your head upside down. Gather all your curls at the very top of your head. Don’t use a brush; use your fingers to rake the hair up to keep the texture at the roots.
- The Loose Secure: Use a silk or satin scrunchie. Wrap it once, maybe twice if it’s loose. You do not want this tight. The goal is height, not a headache.
- Fluff and Tweak: Stand up and pull the bun apart gently. Let those curls spill over like a fountain. If a few pieces fall out in the back, leave them. It adds character.
Pro Tip: If your hair is shorter, use bobby pins to push the back section up toward the scrunchie. It creates the illusion of length without the struggle.
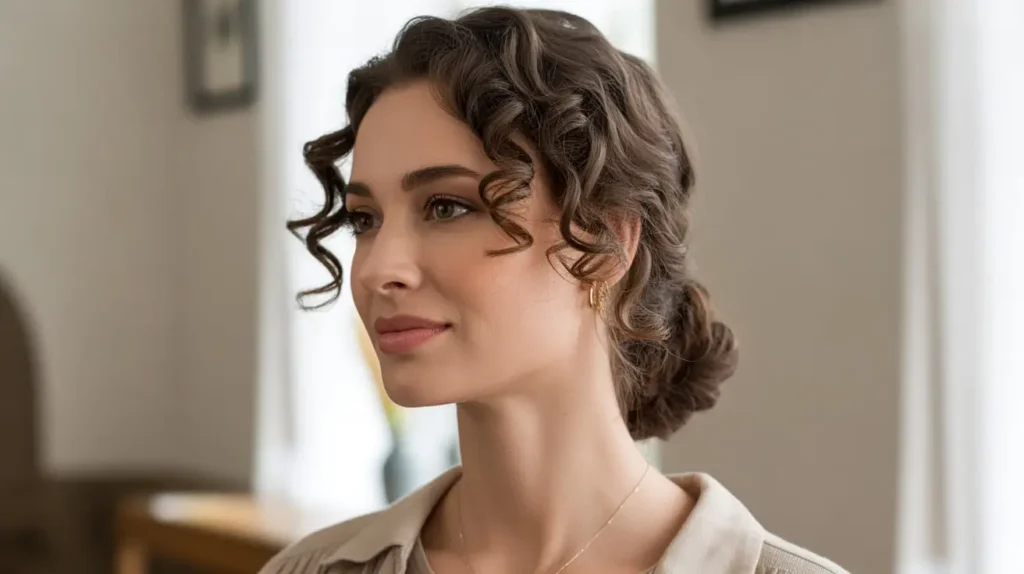
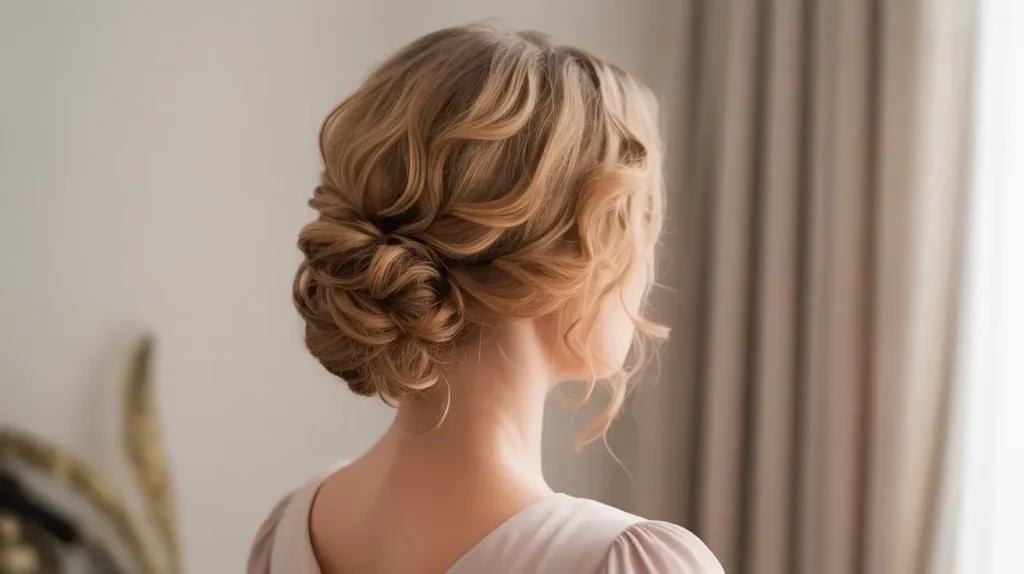
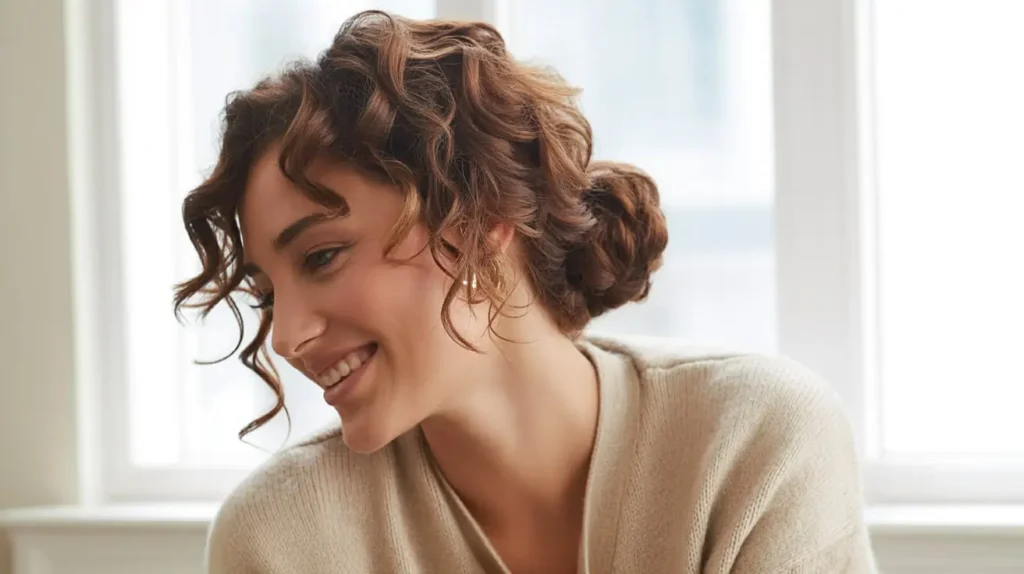
2. Low Curly Bun with Face-Framing Curls
Sometimes, you want to look a little softer, a little more romantic. Maybe you have a date, or maybe you just want to feel like the main character in a period drama. The Low Curly Bun satisfies that craving perfectly.
I personally default to this style when my roots are a bit frizzy, but the ends are still popping. It hides the chaos at the scalp while highlighting the definition at the ends. Plus, framing the face softens your features immediately.
Why This Works
- Damage Control: It protects your ends by tucking them away.
- Versatility: You can wear this to the gym or to a gala. It’s a chameleon style.
Step-by-Step Guide
- Part Your Hair: Create a center or slightly off-center part.
- Isolate the Framers: Before you tie anything back, pull out two distinct curl clumps right at your temples. Do not touch them yet.
- Secure the Bun: Gather the rest of your hair at the nape of your neck. Twist it loosely into a bun and secure it with a hair tie.
- Refine the Curls: Take those two front pieces. If they look dry, wet them slightly and apply a tiny drop of curl cream. Twirl them around your finger to reshape the spiral.
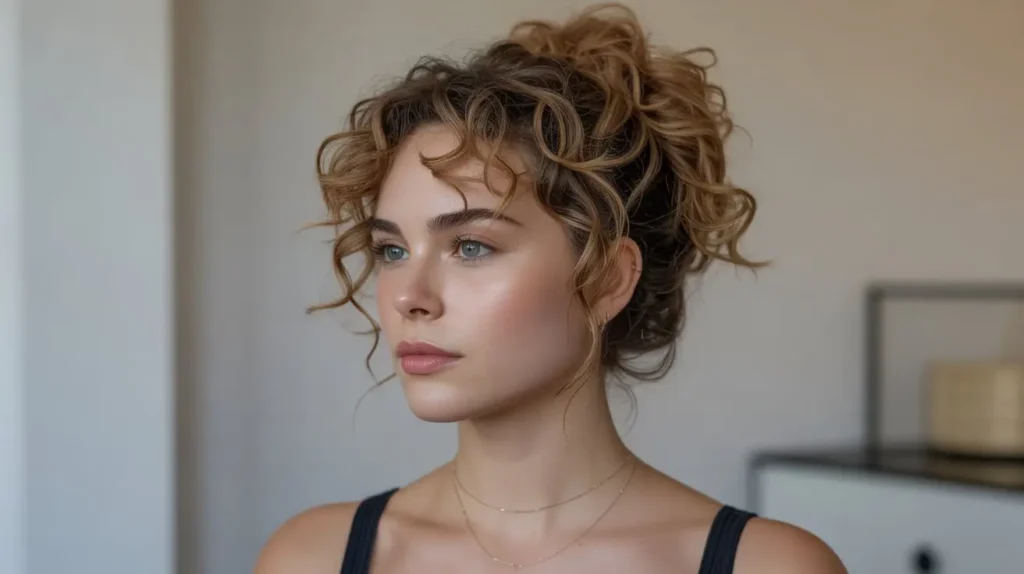
3. Half-Up Curly Bun
Can’t decide if you want your hair up or down? Why choose? The Half-Up Curly Bun gives you the best of both worlds. You get the hair out of your face (so you can actually eat without chewing on a curl), but you still get to show off your length.
This is my go-to “Day 3” hair. You know, when the top is flat but the bottom is still spiraling beautifully? This style fixes the flat top problem instantly.
creating the separation
- Section Ear-to-Ear: Use your thumbs to trace a line from the top of one ear to the other. Gather that top section.
- The Top Knot: Twist that top section into a tight little bun right on the crown of your head. Secure it with a small elastic.
- Volume Check: Fluff out the bottom half of your hair. Use a pick at the roots of the lower section to ensure the volume matches the bun on top.
Key Product: A lightweight shine spray. Spray the bottom curls to wake them up and give them a healthy sheen.
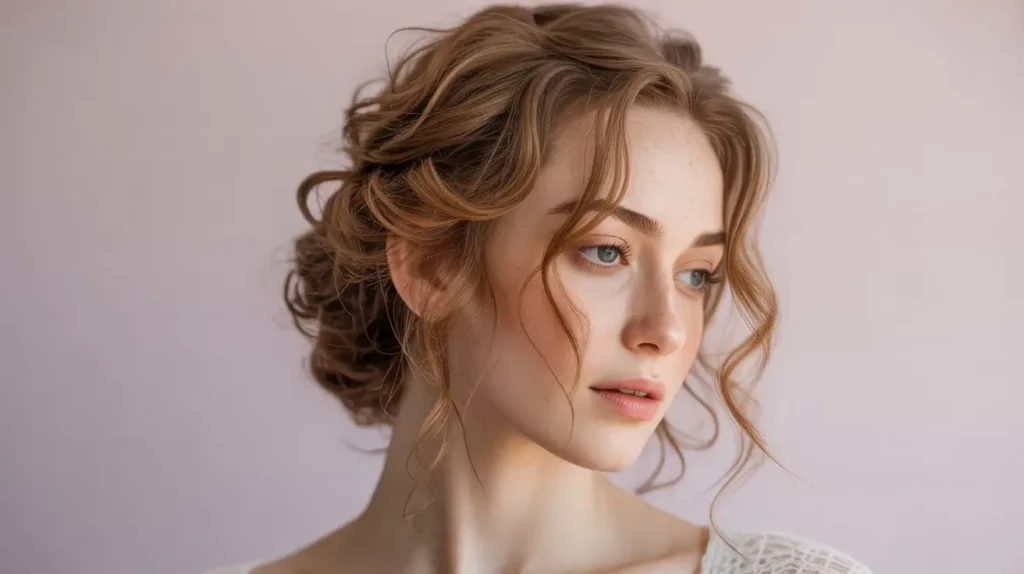
4. Loose Romantic Curly Bun
This one is for the dreamers. The Loose Romantic Curly Bun isn’t about structural integrity; it’s about vibes. We want this to look like it might fall out, even though we will secure it so it stays put through a hurricane.
Think of this as organized chaos. You want loops, swoops, and texture everywhere.
The Technique
- Forget the Brush: Seriously, hide it. Finger-comb your hair back loosely.
- The Twist and Pin: Instead of a hair tie, grab large sections of hair, twist them loosely, and pin them against your head in a circular formation.
- Leave the Ends Out: Don’t tuck the ends of your curls all the way in. Let them stick out of the bun to show off the curl pattern.
Why I love it: It puts zero tension on your hairline. If you suffer from traction alopecia or just have a sensitive scalp, this style feels like wearing nothing at all.
5. Textured Curly Top Knot
This is the Messy Bun’s sophisticated older sister. The Textured Curly Top Knot implies you mean business. It’s sharper, tighter, and more structured. I wear this when I have a deadline and need my hair to stop distracting me.
However, unlike a straight-hair top knot which looks like a tiny donut, our texture gives this bun massive size and personality.
Getting the Look
- Smooth the Base: Apply a little edge control or gel to your palms. Smooth the hair along your scalp upward. We want the base sleek but the bun textured.
- The High Pony: Secure a high ponytail with a strong elastic. This needs to be tight enough to hold the weight.
- The Wrap: Wrap your curls around the base of the ponytail. Use U-shaped pins (hairpins) rather than bobby pins. They anchor into curls better without squashing the volume.
- Spray It: Hit the sides with a firm-hold hairspray to prevent flyaways from ruining the sleek silhouette.
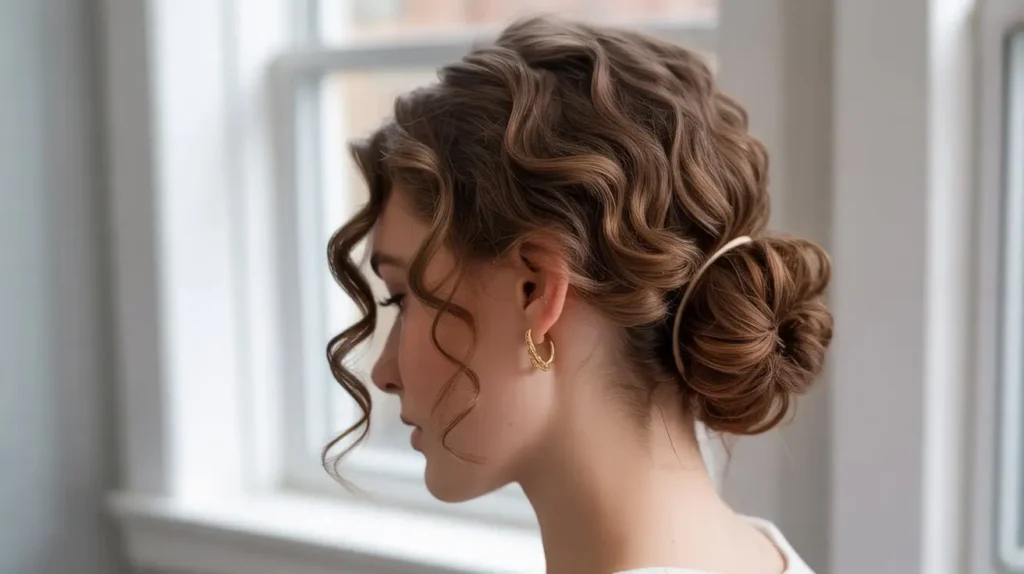
6. Curly Bun with Defined Tendrils
Remember the late 90s and early 2000s prom hair? Well, it’s back, but we are doing it better this time. The focus here is on intentional, hyper-defined tendrils escaping from the bun.
This isn’t just about face-framing; it’s about letting curls escape from the nape of the neck and behind the ears, too. It looks playful and incredibly feminine.
Defining the Tendrils
- Selection: Pull out thin pieces of hair around your entire hairline—forehead, temples, ears, and neck.
- The Bun: Throw the rest of the hair into a simple mid-height bun.
- The Product Mix: Mix a little water with a strong-hold gel in your hand.
- The Coil: Run this mixture down each tendril. Coil the hair tightly around your finger and hold it for ten seconds. Release gently. Do not touch them again until they dry!
Warning: If you touch the tendrils while they dry, they will frizz. Patience is your best friend here.
7. Sleek Base Curly Bun

Sometimes, you want to look like a ballerina who just happens to have amazing texture. The Sleek Base Curly Bun features a glass-like, smoothed-down scalp area that explodes into a textured curly bun. The contrast is the star of the show here.
I will be honest: this style takes a bit of elbow grease. You need to really smooth those roots down. But the payoff? Absolute elegance.
How to Smooth Without Heat
- Water is Key: Do not try to sleek dry curly hair. Dampen your roots with a spray bottle.
- Layering Products: Apply a leave-in conditioner first, followed by a heavy gel or pomade.
- The Brush: Use a boar bristle brush (or a vegan alternative). Brush the hair firmly back toward the ponytail holder. The dense bristles smooth the cuticle down.
- Tie and Fluff: Secure the ponytail tightly. Then, fluff the ponytail into a round shape and pin it loosely. The contrast between the flat roots and the fluffy bun looks incredible.
8. Curly Bun with Middle Part

The Gen Z crowd brought the middle part back with a vengeance. I fought it for a while, but IMO, it actually looks super chic with curls. A middle part adds symmetry to the face and gives the bun a more fashion-forward, editorial look.
This style works best if you have layers, as the shorter layers will naturally frame the face even when pulled back.
nailing the part
- Precision Matters: Use the tail of a rattail comb to draw a sharp line right down the center of your head. Stop the part at the crown (the highest point of your head).
- Sweep Low: Brush the hair down and back. This style usually looks better as a low or mid-height bun. A high bun with a middle part can look a bit… GEORGE WASHINGTON-esque if you aren’t careful.
- Secure: Tie the bun at the nape of your neck.
Style Note: Pair this with statement earrings. Since your hair is pulled back so severely and symmetrically, big hoops or architectural earrings balance the look perfectly.
9. Soft Curly Chignon
“Chignon” is just a fancy French word for a bun at the nape of the neck, but it sounds expensive, so we roll with it. The Soft Curly Chignon is perfect for formal events, job interviews, or meeting your partner’s parents. It says, “I have my life together,” even if your purse is full of old receipts.
The key difference here is the shape. A chignon is usually wider and flatter than a round bun.
The Roll and Tuck
- Low Pony: Start with a loose, low ponytail.
- Create a Pocket: Above the hair tie, separate the hair to create a small hole or “pocket.”
- The Flip: Flip the ponytail up and through that hole (topsy-tail style).
- Tuck: Take the remaining tail, roll it upward, and tuck it into the roll you just created.
- Pin Securely: Use bobby pins to lock the roll in place. It creates a seamless, sophisticated roll of curls.
10. Casual Curly Bun with Volume

We all love volume. We crave it. This style maximizes volume at the roots while keeping the hair contained. It eliminates that “flat head” look that sometimes happens when you pull curly hair back too tightly.
If you have fine curly hair, this style is a game-changer because it creates the illusion of thickness.
Boosting the Roots
- Teasing (Gently): Lift sections of hair at the crown. Use a comb to gently tease the underside of the curls near the scalp. Do not tease the top layer; you want that to stay smooth.
- The Push: When you gather your hair back, push your hands forward slightly before securing the elastic. This creates a small “pompadour” bumps at the front.
- The Bun: Keep the bun loose. Pull it apart until it creates a large silhouette.
Why it works: It balances your face shape. If you have a round face, adding height at the crown elongates your features.
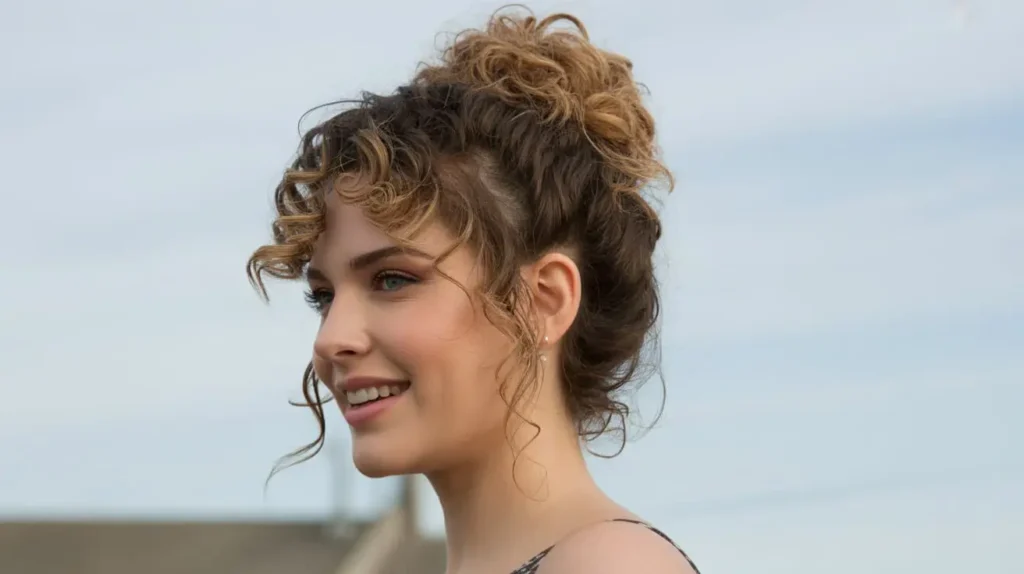
11. Curly Bun with Natural Flyaways
Stop fighting the frizz. Seriously, stop it. The obsession with perfectly sleek hair is exhausting. The Curly Bun with Natural Flyaways embraces the halo of frizz that naturally occurs with our texture. It looks ethereal, lived-in, and authentic.
This is the ultimate “effortless” style because it requires zero touch-ups. The messier it gets, the better it looks.
How to “Style” the Flyaways
- Dry Styling: Do this style on dry hair. Do not add water or gel to the roots.
- Finger Raking: Rake your hair back into a bun using only your fingers.
- The Friction Rub: Once the bun is secured, take the palms of your hands and gently rub your hairline in a circular motion. This encourages those little baby hairs to pop up and create a soft halo.
- Light Hold: If you must use product, use a very light flexible-hold hairspray just to keep the bun itself from unraveling, but leave the hairline alone.
Ever wondered why runway models often have frizzy hair? Because texture photographs beautifully. Embrace it!
12. Side-Part Curly Bun
The side part is a classic for a reason. It adds instant drama and volume to one side of the face. If you have a “good side” (come on, we all do), this bun highlights it.
I love this for day-to-night transitions. You can wear a center part all day, then flip it to the side, fluff the roots, and boom—you are ready for dinner.
The Deep Part
- Find Your Arch: align the part with the arch of your eyebrow. That is usually the most flattering placement.
- Swoop: Swoop the hair across your forehead before pulling it back. Pin that swoop behind your ear to secure it before you make the bun.
- The Bun Placement: You can place the bun in the center back, or for extra drama, shift the bun to the side opposite the part.
Pro Tip: If the swoop keeps falling in your face, use a decorative clip to hold it. It adds a bit of sparkle and solves the problem.
13. Minimal Effort Curly Bun
This is the reality of our lives. You have five minutes to get out the door. You need a bun that works immediately. No pins, no teasing, no gel cocktails. Just you and a hair tie against the world.
The Minimal Effort Bun relies on the natural shape of your curls to do the heavy lifting.
The “Loop” Method
- Gather: Grab all your hair like you are making a ponytail.
- Twist: Twist the tie around once.
- The Half-Pull: On the last twist of the hair tie, do not pull the ponytail all the way through. Leave it in a loop.
- Tighten: Tug on the loop to tighten the elastic.
- Done: Seriously, that’s it. If a piece falls out, let it. The charm is in the speed.
Why I rely on this: It puts the least amount of mechanical stress on my hair. Less manipulation equals less breakage.
14. Curly Bun for Second-Day Curls
We all know the struggle of the second (or third, or fourth) day. The curls are undefined, maybe a little flattened on one side from sleeping. This bun is designed to disguise the weird bits and highlight the survivors.
This style focuses on hydration. We are using the bun to actually condition the hair while we wear it. 🙂
The Refresh
- Mist: Spray your hair with a mix of water and leave-in conditioner. You want it damp, not soaking.
- The Tuck: Gather the hair into a mid-height bun. Tuck the ends in firmly.
- Cover the bad spots: If the back of your head is flat from your pillow, keep the bun lower to cover that area.
- Accessorize: This is the perfect time to use a headband or a scarf. Wrap a colorful silk scarf around your head. It hides the frizzy roots and makes you look intentionally bohemiam.
My Secret: I sometimes sneak a deep conditioner onto my ends before twisting them into this bun. It’s a treatment masquerading as a hairstyle.
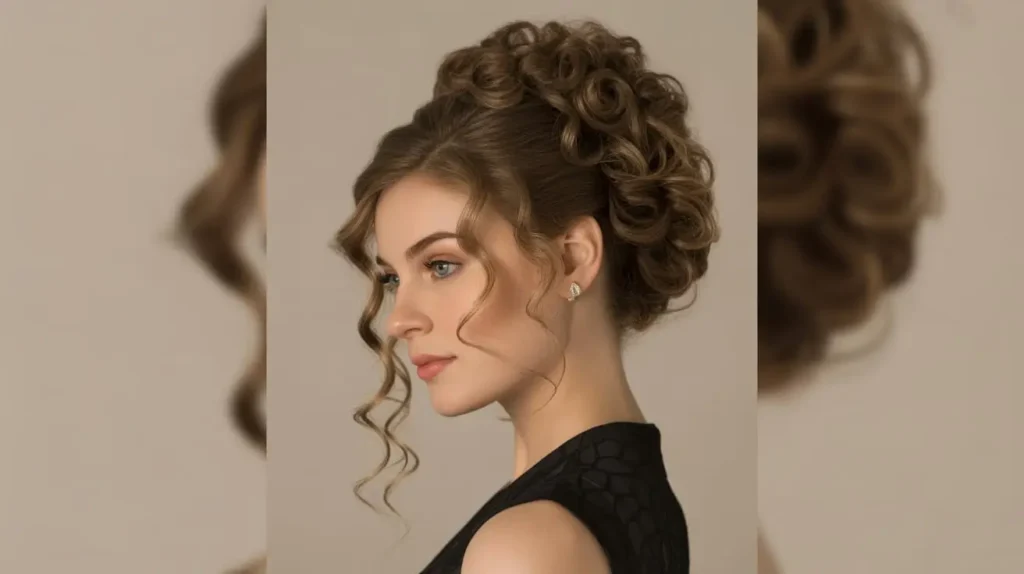
15. Elegant Curly Bun Updo
Finally, let’s get fancy. This is for when you are a bridesmaid, a guest of honor, or just feeling expensive. The Elegant Curly Bun Updo looks intricate, like you spent hours at a salon, but you can do it in fifteen minutes.
This style uses multiple sections to create a piled-high, architectural look.
The Multi-Pony Trick
- Sectioning: Divide your hair into three vertical sections (left, center, right).
- Center Bun: Tie the center section into a bun. This is your anchor.
- Cross and Pin: Take the left section, twist it loosely, pull it across the top of the center bun, and pin it on the right side.
- Repeat: Take the right section, twist it, pull it across the bottom of the bun, and pin it on the left side.
- Secure: Use bobby pins to tuck away any loose ends.
The result is an interwoven masterpiece that looks incredibly complex. No one needs to know it’s just three sections crossed over each other.
The Curly Conclusion
There you have it—15 ways to twist, tuck, and pin that glorious crown of yours. Whether you are hiding from humidity, recovering from a bad wash day, or just want to show off that neckline, there is a bun on this list for you.
Remember, the beauty of curly hair lies in its unpredictability. Don’t stress if your bun doesn’t look exactly like the Pinterest photo. Your curl pattern is unique, which means your style will be unique, too. FYI, perfection is boring anyway. Texture, volume, and a little bit of frizz? That’s where the magic happens.
So, grab that scrunchie and get to work. Try the “Messy High Bun” tomorrow morning. Attempt the “Elegant Updo” next Saturday night. Play with your hair. It’s an accessory you never take off, so you might as well have fun with it.
Which one of these are you trying first? Or do you have a secret bun technique I missed? Go experiment, and let your curls live their best life