
You probably think scene hair requires a flat iron and a prayer, but your curls actually offer a massive advantage. I spent years fighting my natural texture because I thought “scene” meant “board-straight.” Eventually, I realized that curls add the volume and grit that straight-haired people can only dream of. If you want that iconic alternative aesthetic without destroying your hair’s health, you’ve come to the right place.
I remember standing in front of my bathroom mirror at age 14, trying to straighten my ringlets into submission. It was a disaster. My hair ended up looking like a fried haystack. It wasn’t until I embraced the “curly scene” vibe that I finally felt like myself. If you’re tired of the same old look, these fifteen approaches to curly scene hair will change your life.
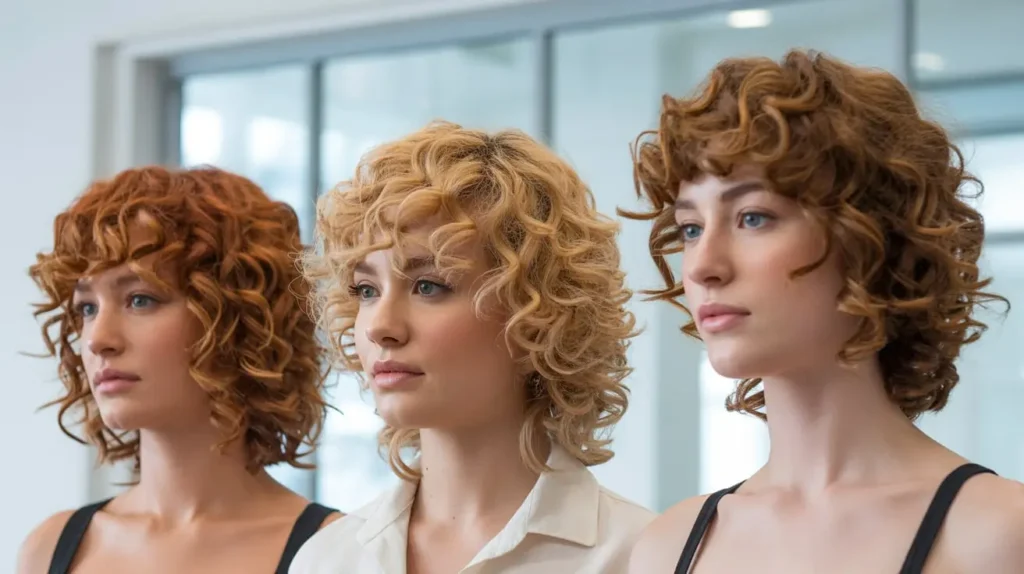
1. Edgy Curly Scene Haircuts for Every Face Shape
Finding the right cut feels like a gamble, but your face shape dictates the rules of the game. I always tell people that a choppy, layered cut works wonders for almost everyone if you position the weight correctly. You want layers that start high to create that signature “poof” at the crown. Ever wondered why some haircuts look great on your friend but “meh” on you? It’s all about the angles.
For round and heart-shaped faces, you need to avoid adding too much width at the sides. If you have a rounder face, you might fear that big curls make you look like a literal circle. Long, face-framing layers break up the roundness and add much-needed angles. I recommend keeping the length below the chin to elongate your silhouette. For heart-shaped faces, focus the volume around the jawline to balance a wider forehead.
Square and oval faces have a bit more wiggle room. Square faces benefit from soft, rounded layers that blur the sharpness of the jawline. You should avoid blunt cuts that stop right at the chin, as they emphasize the boxy shape you’re trying to soften. If you have an oval face, consider yourself lucky. You can pull off basically any level of chaos, from extreme asymmetry to a classic curly shag. IMO, the oval face shape is basically the “cheat code” of the hair world. 🙂
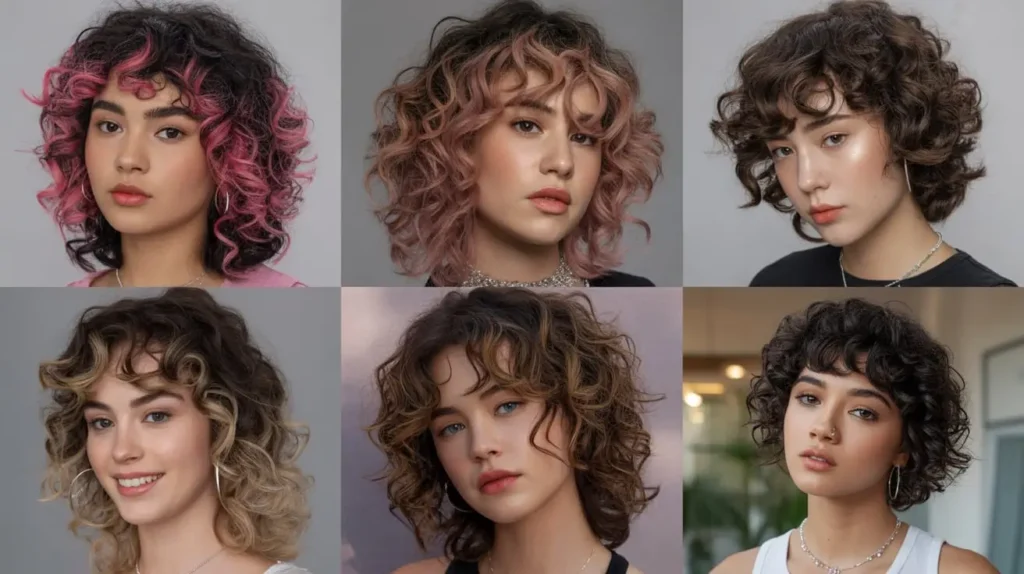
2. Top 10 Curly Scene Hairstyles for Short Hair

Short hair doesn’t mean you have fewer options; it just means you have less weight pulling your curls down. Short curly scene hair thrives on texture and intentional messiness. I’ve seen people pull off looks that make long hair look boring by comparison.
- The Curly Pixie with a Side-Shave: Shave one side and let your curls tumble over the other for a sharp, edgy contrast.
- The Micro-Shag: Use short, choppy layers throughout the crown to create a messy, “just rolled out of a mosh pit” vibe.
- The Curly Faux-Hawk: Keep the sides tight and pile your curls high in the center for maximum height.
- Asymmetrical Bob: One side stays short while the other features long, spiraling curls that graze your collarbone.
- The “E-Girl” Curly Bob: Add two bright, face-framing streaks of color to a short, curly cut.
- The Undercut Curls: Shave the back of your head and let the top curls fall over the buzzed area.
- The Spiky Curly Crop: Use a heavy-hold gel to turn small curls into soft, scene-style spikes.
- The Teased Curly Mullet: A modern take on the 80s, but with way more attitude and hairspray.
- The Rounded Bowl Cut: With curls and a choppy fringe, it looks incredibly retro-alternative.
- The Messy Side-Swept Crop: Push all your curls to one side and pin them back for a faux-shaved look.
Short hair also dries faster, which is a massive win for those of us who hate spending hours with a blow dryer. If you want a look that says “I’m edgy but I also value my sleep,” a short curly scene cut is your best bet.
3. How to Style Your Curly Scene Hair at Home
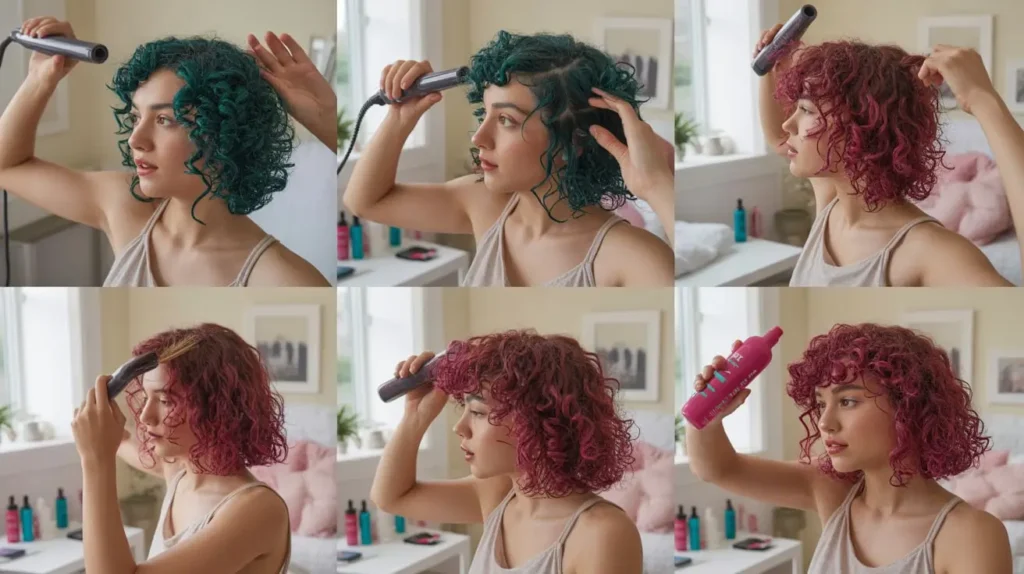
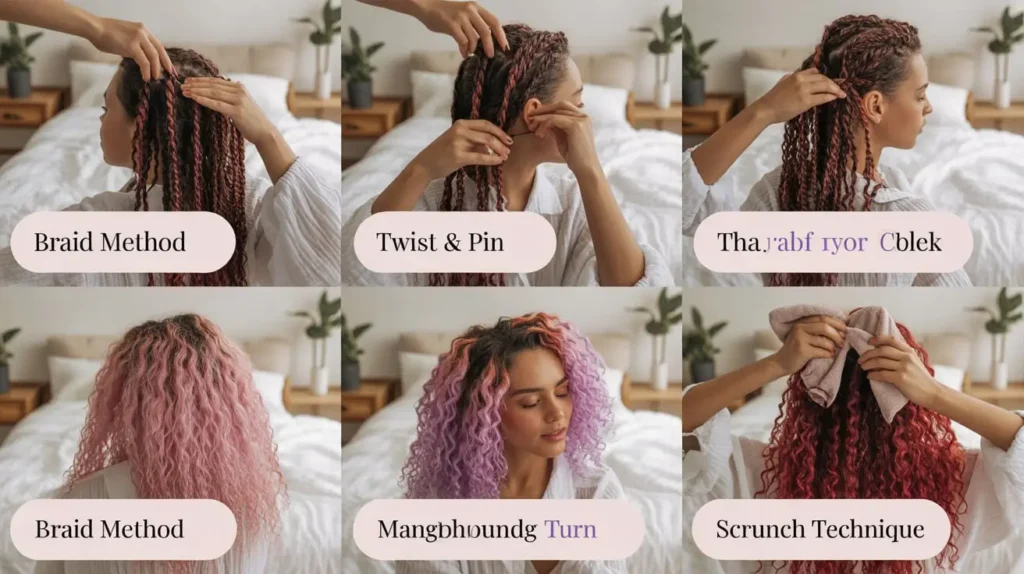
Styling your hair at home often feels like wrestling an octopus, but you can master it with the right sequence. First, never brush your curls while they are dry unless you want to look like a tumbleweed. I start with soaking wet hair and apply a generous amount of leave-in conditioner. This creates a smooth base for the more “aggressive” styling later.
Once your hair is damp, grab a diffuser attachment for your blow dryer. Flip your head upside down and scrunch the curls upward toward your scalp. This technique builds that massive volume that defines the scene aesthetic. After your hair is dry, you can selectively tease the roots at the crown. Use a fine-tooth comb and a bit of hairspray to get that “lift” without turning your head into a bird’s nest.
I personally love the “scrunch and pray” method. You apply your gel, scrunch like your life depends on it, and hope the humidity stays low. If you find your curls getting frizzy, try a lightweight hair oil to seal the cuticle after teasing. Does it take practice? Yes. Is it worth it? Absolutely.
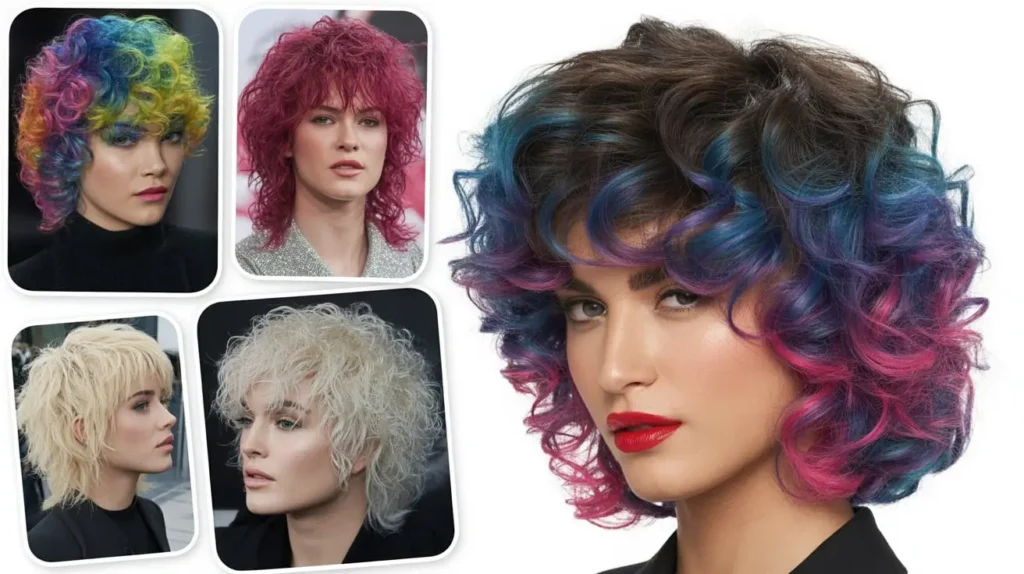
4. Curly Scene Hair Color Ideas That Pop
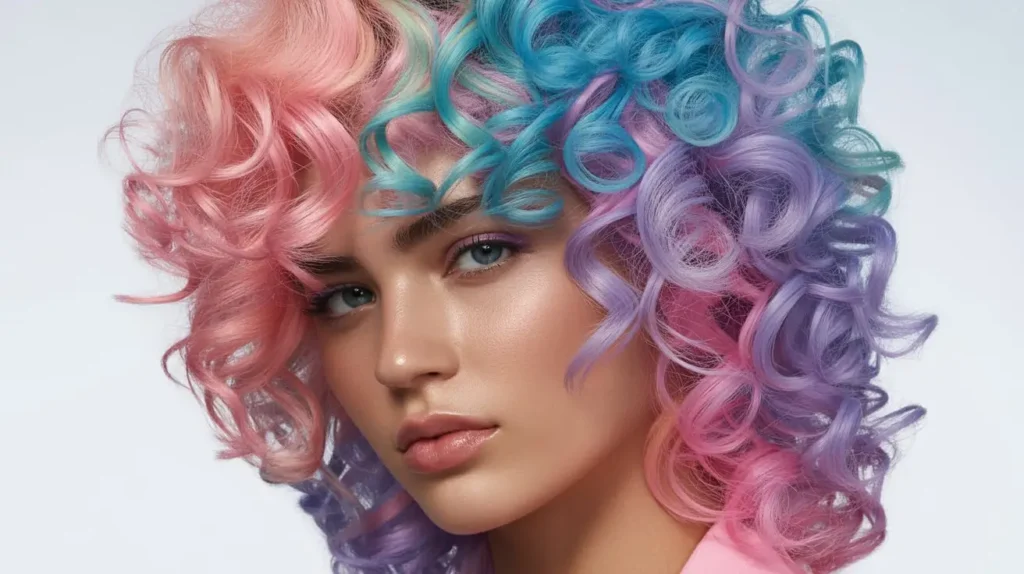
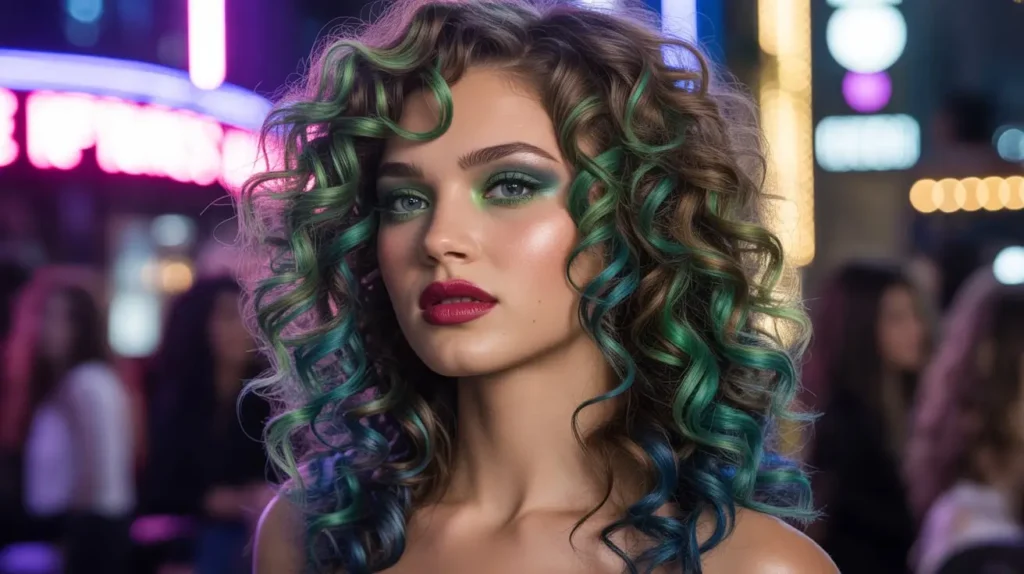
Scene hair is nothing without a color palette that screams for attention. While straight hair shows off “raccoon tails” easily, curls need a different approach to color placement. High-contrast highlights or “peek-a-boo” colors work best because the curls twist and reveal the hidden shades as you move.
Consider Electric Blue Tips or Neon Green and Black. These classic combos look incredible when the colors spiral through a dark base. Another fan favorite is the Sunset Gradient, where you blend orange, pink, and purple throughout your curls for a vibrant, multi-tonal look.
I personally love using semi-permanent dyes because they act like a deep conditioner. Since curly hair is naturally drier, avoid bleach whenever possible. If you must bleach, do it in stages so you don’t lose your curl pattern entirely. FYI, a healthy curl with a slightly duller color looks better than a bright color on “fried” hair.
5. Step-by-Step Guide to Perfect Curly Scene Bangs
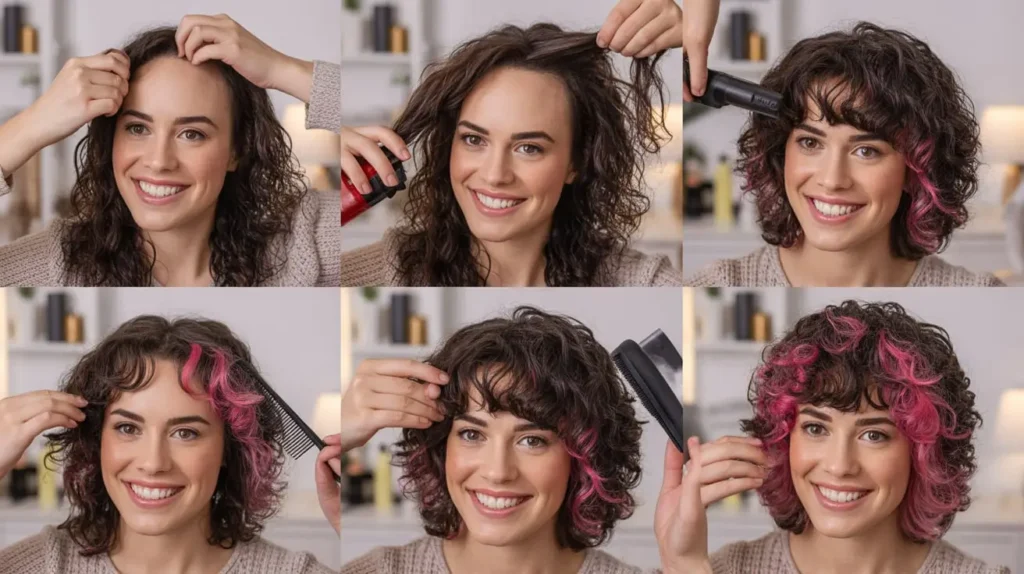
Bangs are the cornerstone of the scene look, but curly bangs are a whole different beast. Do you straighten them or leave them wild? I prefer a hybrid approach where the bangs are slightly smoothed but still retain some texture.
- Section off a triangle of hair at the front of your head, starting about two inches back from your hairline.
- Cut the hair at an angle, making it longer on one side so it sweeps across your forehead.
- Always cut longer than you think, as curls will “shrink” once they dry.
- Apply a light styling cream to the damp bangs and blow-dry them with a round brush.
- Use a flat iron on the lowest heat setting just to guide the direction if you want that “side-swept” look.
Don’t worry if they aren’t perfect. Scene hair is about defying perfection. If a few curls escape the fringe and hang over your eyes, you’re doing it right. Have you ever noticed how the messiest bangs often look the coolest?
6. Easy Everyday Curly Scene Hairstyles
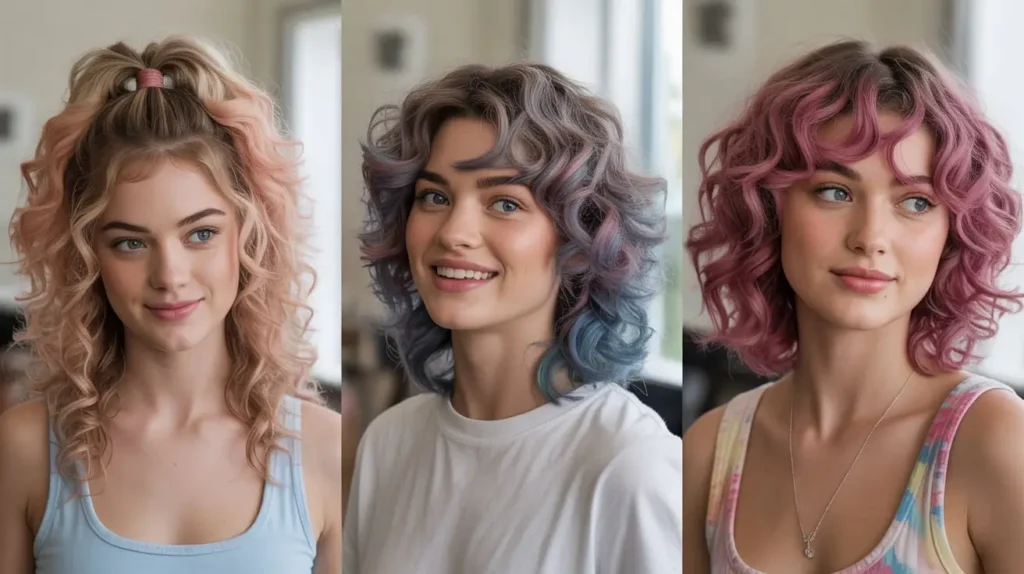
You don’t always have two hours to spend on your hair before school or work. On those days, I rely on the “Half-Up, Half-Down” chaos. Take the top section of your hair, tease the roots slightly, and secure it with a small elastic. Let the rest of your curls hang loose and wild around your shoulders.
Another quick fix involves Space Buns with a twist. Instead of neat, ballerina-style buns, keep them messy and let the curly ends stick out in different directions. Use a few bobby pins to “sculpt” the mess so it looks intentional rather than accidental.
A curly side-pony also screams early 2000s scene. Pull all your hair to one side, tie it low behind your ear, and tease the ponytail until it looks like a giant puff of candy. It’s cute, it’s fast, and it keeps your hair out of your mouth while you’re eating.
7. Curly Scene Hairstyles for School and Work
Sometimes you have to tone down the volume so you don’t accidentally knock over a display at work. You can still maintain your scene identity with low-profile volume. Try a deep side part and pin one side back behind your ear with a sleek, plain clip. This keeps the hair out of your face while maintaining that signature asymmetrical scene silhouette.
A slicked-back ponytail with curly ends also works well for professional environments. Use a bit of gel to smooth the hair on the top of your head, but let the ponytail explode with natural curls. This contrast looks sophisticated but still keeps that “alt” edge.
If your boss is particularly strict, try a curly crown braid. It looks elegant and tidy, but if you leave a few “scene-style” tendrils out around your face, you still keep your aesthetic. Who says you can’t be a corporate rebel? 🙂
8. Maintaining Volume in Curly Scene Hair
Volume is the lifeblood of the scene look, but curly hair can sometimes get weighed down by its own moisture. To prevent “flat-head” syndrome, I suggest avoiding heavy oils on your roots. Keep the heavy conditioners on the bottom two-thirds of your hair.
I swear by root-lifting powders for that midday boost. You just sprinkle a little at the crown, ruffle your hair with your fingers, and the volume returns instantly. Also, try sleeping with your hair in a “pineapple” (a very high, loose ponytail). This prevents your curls from getting crushed while you sleep.
Gravity is the enemy of the scene queen. If you find your hair falling flat by lunch, try flipping your head over and giving it a good shake. It sounds simple, but it works wonders for “re-activating” your style.
9. Accessorizing Curly Scene Hairstyles: Clips & Bands
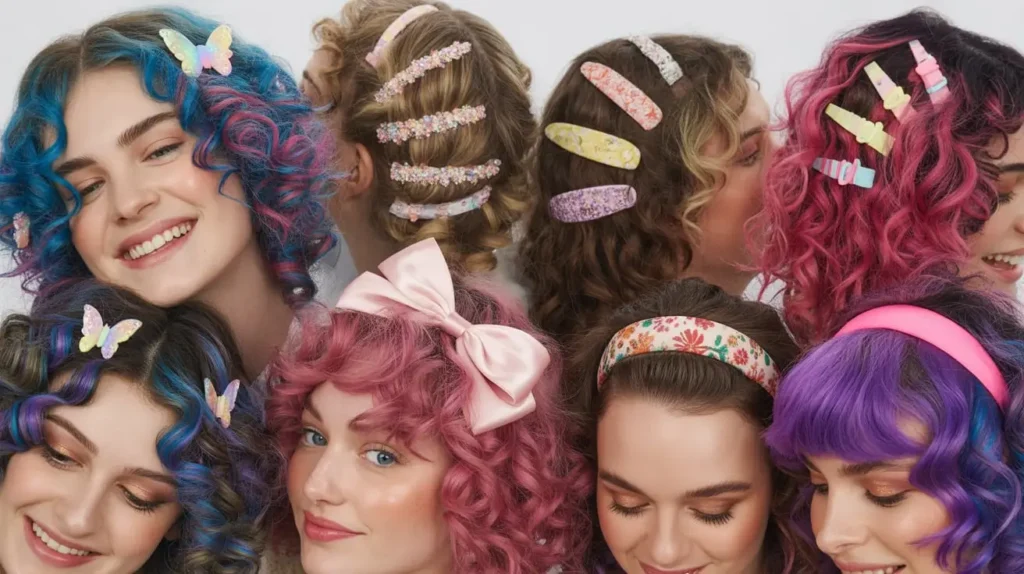
Accessories are where you can really have some fun and show off your personality. The scene subculture loves over-sized bows and colorful clips. I like to place a large bow right at the base of a teased section to hide the hairband and add a pop of color.
- Beaded Butterfly Clips: Scatter these throughout your curls for a nostalgic, 2000s-inspired look.
- Studded Headbands: Use these to push your hair back while keeping the volume at the crown intact.
- Bandanas: Fold a bandana into a narrow strip and tie it around your head, letting your curly bangs hang over the front.
Don’t be afraid to mix and match. The scene look thrives on more is more. If you think you have too many clips in your hair, you probably need one more. My personal record is twelve clips in one sitting. It was a lot, but the aesthetic was 10/10.
10. Curly Scene Hairstyles Inspired by Celebrities
Believe it or not, plenty of celebs have rocked the curly scene vibe over the years. Early Hayley Williams often showcased textured, choppy layers that perfectly fit the aesthetic. She proved that you don’t need a flat iron to be the queen of the scene.
I also look at Kelis for inspiration on how to use bold, monochromatic colors with tight curls. She often wore her hair in high-volume shapes that mimicked the traditional “scene queen” silhouette but with way more natural texture.
Even Rihanna had a curly-red-mohawk phase that was pure scene goals. Studying how these icons balance color and volume helps you figure out what might work for your specific curl type. If they can do it on the red carpet, you can definitely do it at the local mall.
11. Night Out Curly Scene Hair Looks
When you’re heading out for the night, you want your hair to be as loud as the music. I recommend adding hair glitter or tinsel to your curls for a reflective, high-energy look. You can buy clip-in tinsel that stays secure even if you’re dancing your heart out.
For a more dramatic night look, try the “Wet Look” curls. Use a high-shine pomade to create a glossy, defined finish that looks sleek under club lights. This style keeps your curls in place all night so you don’t have to worry about frizz taking over by midnight.
Another option is the extreme side-sweep. Pin one side of your hair back very tightly and let the other side explode with volume. It creates a striking silhouette that looks amazing in photos. Do you prefer a matte finish or a high-gloss shine for your night looks?
12. DIY Curly Scene Hairstyles Without Heat
Constant heat styling will kill your curl pattern faster than a bad breakup. Luckily, you can get incredible scene-style volume without touching a curling iron. I love using flexi-rods or foam rollers on damp hair. If you wrap the hair loosely around the rollers, you get those big, bouncy spirals that are easy to tease later.
Braid-outs are another great heat-free option. Braid your hair into four or five large sections while it’s damp and let it dry overnight. When you take the braids out, you’ll have a crimped, high-volume texture that looks perfectly “scenecore.”
“Plopping” is also a curly girl’s best friend. Wrap your wet hair in a cotton T-shirt for thirty minutes before air-drying. This helps define the curls without disturbing the cuticle, giving you a frizz-free base for your scene styling.
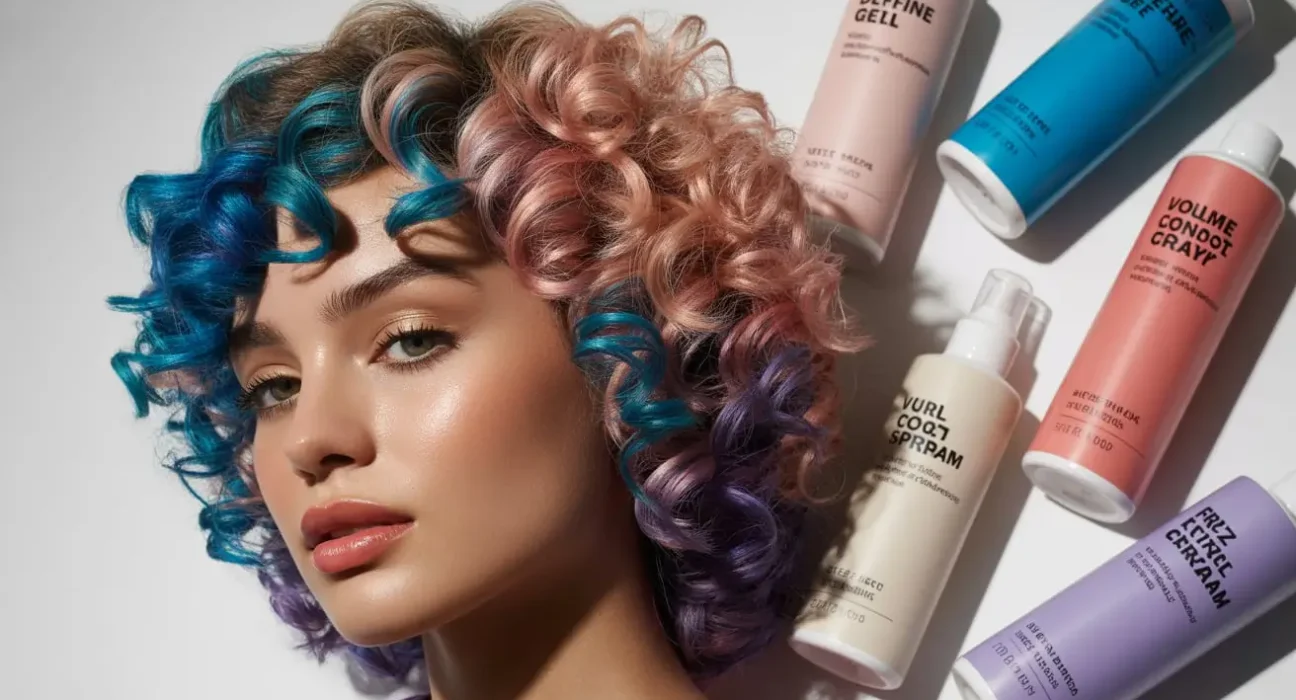
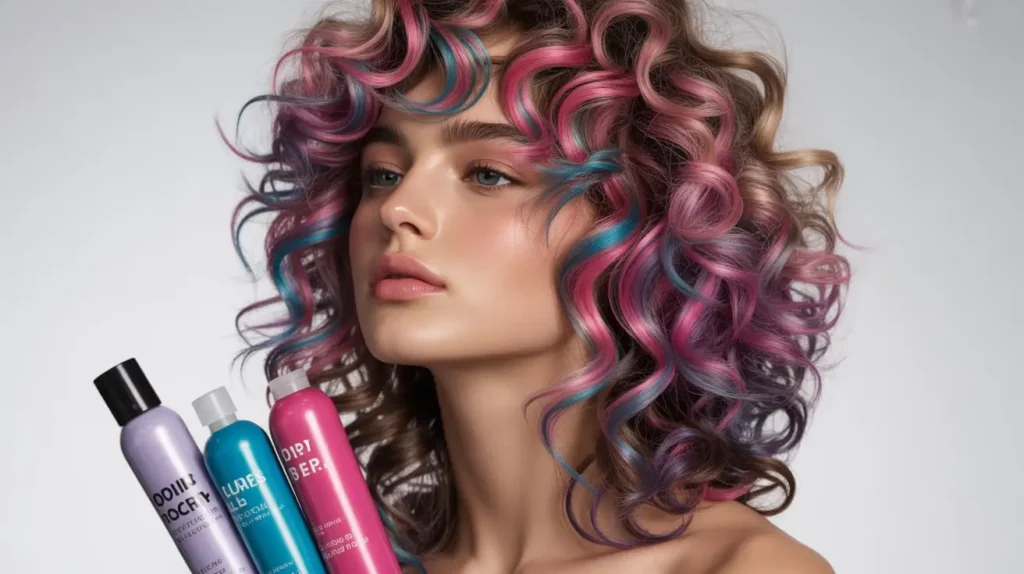
13. Best Products for Long-Lasting Curly Scene Hair
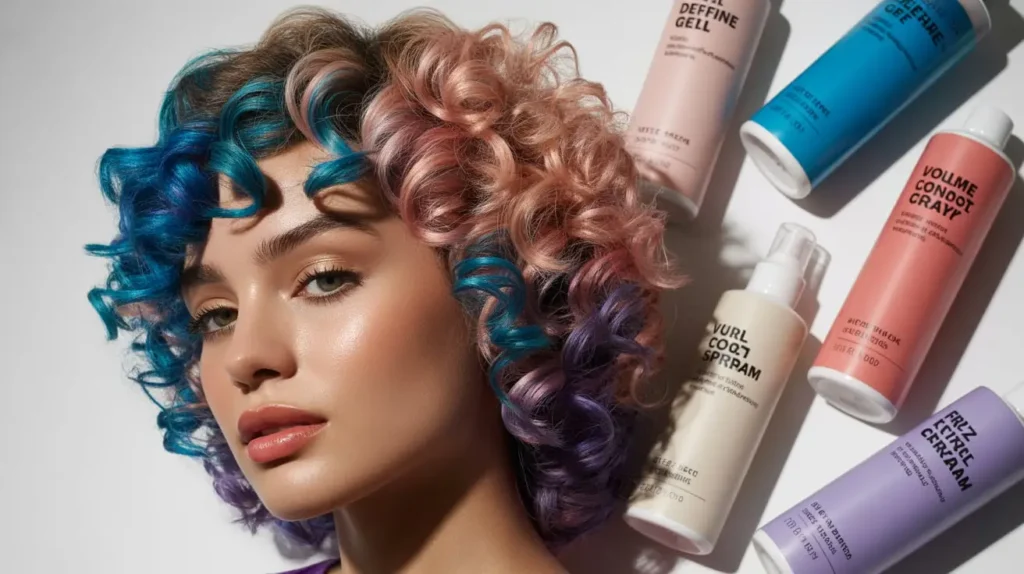
You need a toolkit of products that can withstand the weight of your curls and the demands of the style. Maximum-hold hairspray is a non-negotiable item. You want something that “freezes” the teased sections without making the rest of your hair feel like crunchy plastic.
- Volumizing Mousse: Apply this to wet hair to provide a “grip” for later styling.
- Lightweight Curl Cream: This keeps your spirals defined without adding extra weight.
- Clarifying Shampoo: Use this once a week to remove the buildup of hairspray and gel.
I personally avoid products with heavy silicones. They might make your hair look shiny for an hour, but they eventually build up and make your curls look limp. Stick to water-soluble products whenever you can. IMO, the right product is 90% of the battle. :/
14. Curly Scene Hairstyles for Thick vs. Thin Hair
Hair density changes the way a haircut behaves. If you have thick hair, you might struggle with the “triangle” shape where the bottom is wide and the top is flat. I suggest getting an undercut or internal thinning to remove some of that bulk. This allows the top layers to sit higher and creates that desirable “poofy” top.
If you have thin hair, your goal is to create the illusion of density. Use a sea salt spray to add grittiness to your curls, making them appear thicker than they actually are. Avoid long lengths, as they can make thin hair look “stringy.”
A shorter, choppier cut will always make thin hair look fuller. For thick hair, you can go as long as you want as long as you have enough layers to keep the weight manageable. Every hair type has its struggles, but they all look awesome in the scene style.
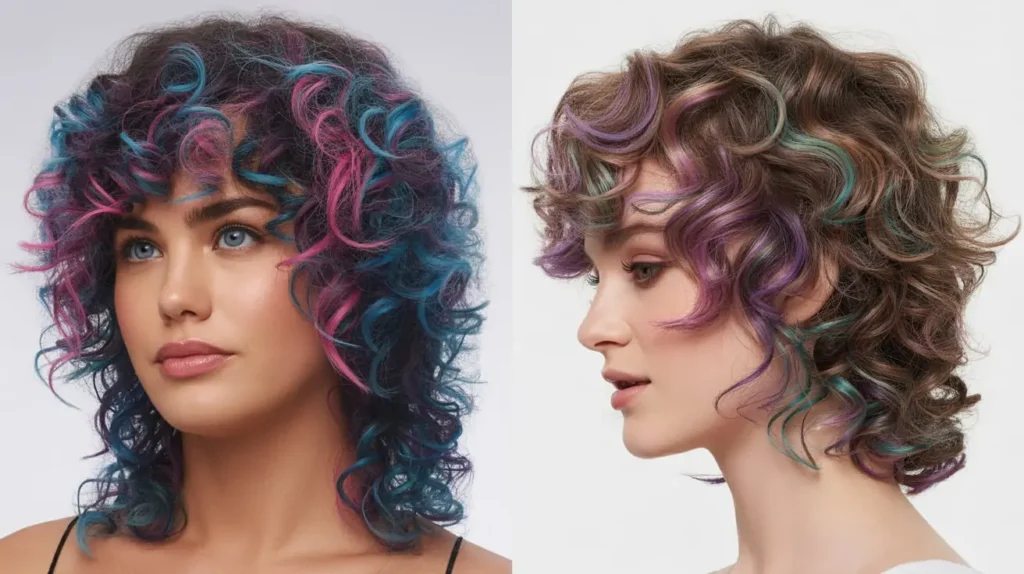
15. Transform Your Curls: Before and After Scene Haircuts
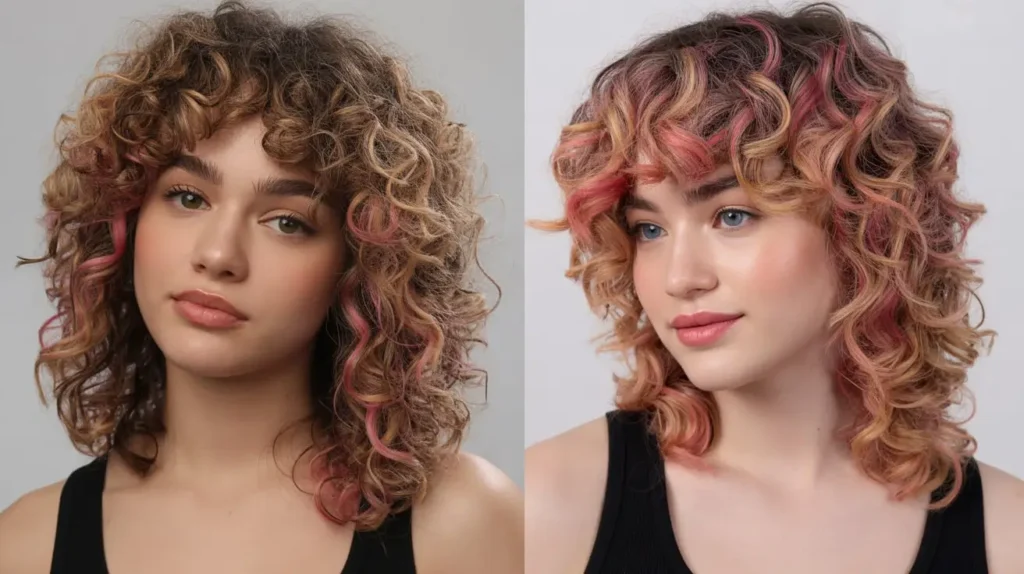
The biggest hurdle is the mental shift from “taming” your curls to “releasing” them. Before a scene cut, most people try to hide their volume. After a scene cut, you embrace the chaos. You’ll notice that your face looks brighter and your overall style feels more cohesive once your hair matches your personality.
I’ve seen people go from a boring, one-length haircut to a vibrant, multi-layered masterpiece, and their confidence skyrockets. It isn’t just about the hair; it’s about taking ownership of your look. Your curls are a superpower in the alternative world—use them.
When you see a “before and after,” the biggest difference is usually the shape. A standard curly cut is often rounded and “safe.” A scene curly cut is aggressive, angular, and unapologetic. Which one sounds more like you?
The Evolution of the Scene Aesthetic
To truly appreciate these hairstyles, we have to look at where the scene aesthetic came from. It started as a blend of emo, pop-punk, and rave cultures in the early 2000s. Back then, everyone used flat irons until their hair literally smoked. I remember the smell of burnt hair in the school hallways—it was a dark time for hair health.
By bringing curls into the mix, we are evolving the subculture. We are saying that you don’t have to look like a carbon copy of everyone else to belong. Curls bring a dynamic energy to the scene look that straight hair simply can’t replicate. The way a curl bounces when you walk adds a level of “life” to the style.
Why Layers Are Your Best Friend
If I haven’t hammered this point home enough yet: get layers. A scene hairstyle without layers is just a regular haircut with an identity crisis. Layers allow you to manipulate where the volume sits. Without them, the weight of your hair pulls everything down, leaving you with flat roots and a wide bottom.
Think of layers as the scaffolding for your style. They hold everything up. When you tease a short layer at the crown, it has much more “staying power” than a long strand of hair. It’s simple physics. Plus, layers show off your color work much better than a blunt cut.
The Importance of Hair Health
While the scene look often involves a lot of manipulation, you cannot ignore hair health. Curly hair is inherently fragile because the natural oils from your scalp have a harder time traveling down the coiled hair shaft. This means your hair gets thirsty—fast.
I recommend a deep conditioning treatment at least once a week. If you’re coloring and teasing your hair, your curls need that extra moisture to stay “bouncy” rather than “crunchy.” A healthy curl will hold a style much longer than a damaged one. If your hair starts feeling like straw, take a break from the teasing for a few days.
Dealing with “The Frizz”
Frizz is often seen as a bad thing, but in the scene world, a little frizz is actually okay. It adds to the messy, DIY aesthetic. However, there is a difference between “cool messy” and “I haven’t washed my hair in a month.”
To control frizz while maintaining volume, use the “praying hands” method to apply gel. You rub the product between your palms and smooth it over your curls without breaking them apart. This creates a “cast” that keeps the curls together while they dry. Once they’re dry, you can “scrunch out the crunch” for soft, defined volume.
The Psychological Impact of a Bold Look
Changing your hair to something as bold as a curly scene style changes how you interact with the world. People will stare, and that’s okay. In fact, that’s kind of the point, right? When you wear your hair in a way that truly reflects your inner self, you project a level of confidence that is infectious.
I found that once I stopped trying to have “normal” hair, I stopped trying to have a “normal” life. It’s liberating. You start meeting people who share your interests because your hair acts like a signal. It’s a way of finding your tribe without saying a word.
Final Thoughts on Your Curly Journey
We’ve covered a lot today—from face shapes and color to the best products and celebrity inspiration. The most important thing to remember is that your hair is an expression of you. There are no strict rules in the scene community, only guidelines to help you look your best.
If you want to shave half your head and dye the rest neon purple, do it. If you want to keep your natural color but tease it into the stratosphere, go for it. The “curly scene” look is all about unapologetic self-expression.
Summary of Key Takeaways
- Customization is key: Tailor your layers to your face shape for the most flattering silhouette.
- Embrace the volume: Use diffusers, root powders, and a little teasing to get that signature height.
- Color creatively: Curls look best with high-contrast, multi-tonal shades that reveal themselves with movement.
- Protect your texture: Use heat-free styling methods and deep conditioners to keep your curls healthy.
- Accessorize often: Don’t be afraid to use bows, clips, and headbands to finish the look.
Curly scene hair is all about balance and attitude. You’re taking a classic alternative look and making it your own by working with your natural texture rather than against it. Whether you’re going for neon green spirals or a subtle, teased-up bob, remember that the “scene” is what you make of it. Now, go grab that hairspray and show the world what your curls can do! 🙂