
Let’s be real for a second. We love our curls, coils, and waves. We nurture them like delicate houseplants, feed them expensive conditioners, and sleep on satin pillowcases to keep the peace. But sometimes? Sometimes you just want that hair off your neck. Maybe it’s the humidity threatening to turn your definition into a fuzz-ball, or maybe you just want to look elegant without spending three hours on a wash-and-go.
Finding the right updo for textured hair isn’t always straightforward. Straight-hair tutorials lie to us. They tell us to “just twist and pin,” and suddenly we look like a chaotic art project rather than a sophisticated goddess. I’ve been there, staring in the mirror with a mouth full of bobby pins, wondering why my bun looks more like a lopsided mushroom.
But here is the good news. Curly hair holds shape better than straight hair ever could. We have texture, volume, and grip naturally built in. We don’t need a gallon of texturizing spray to get a bun to stay put. We just need the right strategy.
I’ve compiled a list of 15 stunning curly updo hairstyles that actually work. These aren’t just for models with a team of stylists; these are for you and me. Whether you have a fancy wedding to attend or just need to survive a Tuesday at the office, I’ve got you covered. Let’s get your hair up and your confidence high. 🙂
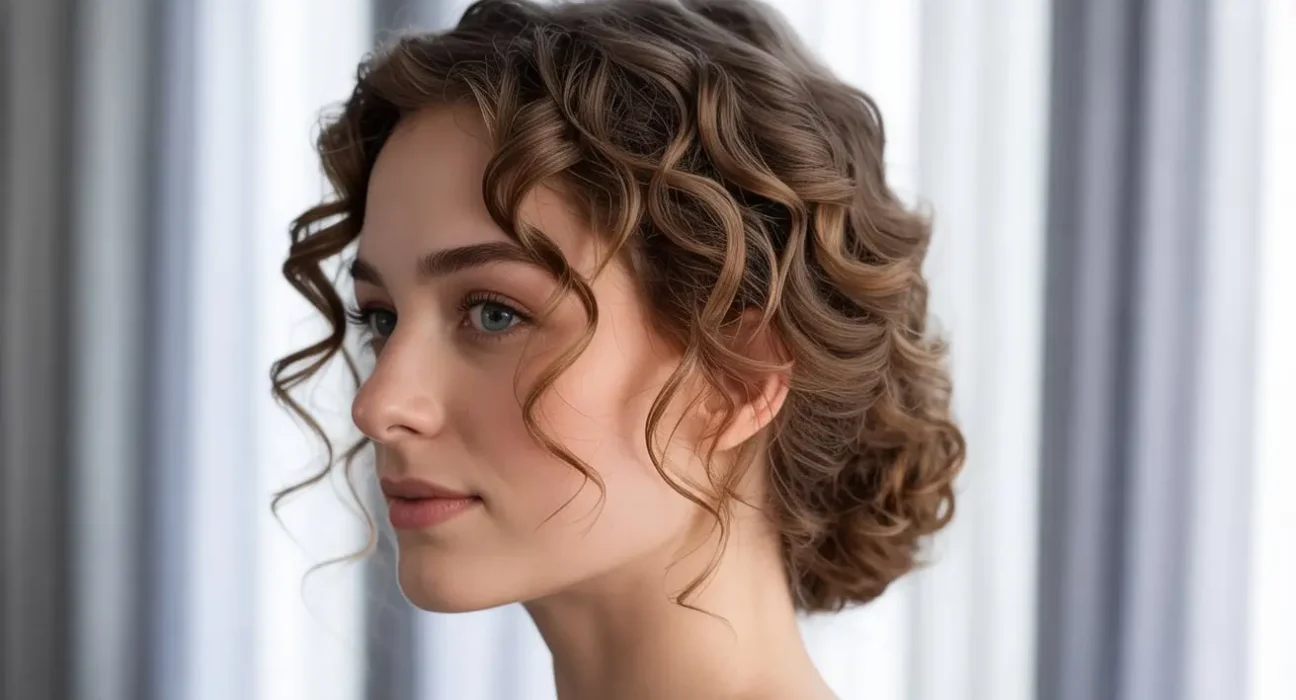
1. Elegant Low Curly Bun
You can never go wrong with a classic. The low curly bun acts as the “little black dress” of hairstyles. It fits every occasion, from a high-stakes board meeting to a first date where you want to look effortless yet put-together.
Why It Works
This style focuses on smoothing the roots while letting the texture shine in the back. It creates a beautiful contrast. You get the sleekness that frames your face and the personality of your curls tucked away neatly. Plus, it protects your ends from friction, which is a major win for length retention.
How to Achieve It
Start by parting your hair. A deep side part adds instant drama, while a middle part keeps it modern and symmetrical. Apply a good quality edge control or styling gel to your roots. Brush your hair back using a boar bristle brush to smooth down any flyaways.
Gather your hair at the nape of your neck. Don’t pull too tight—tension alopecia is real, and we don’t want that drama. Secure it with a hair tie. Now, take your ponytail and wrap it loosely around the base. Use bobby pins to secure the shape. Do not aim for perfection here. If a few ringlets escape, let them live.
Pro Tip: Use a silk scarf to tie down your edges for 10 minutes before you head out. This sets the style and keeps it looking polished all day.
2. Messy Curly Updo with Face-Framing Curls

“Messy” is a funny word, isn’t it? It implies you didn’t try, but we all know the “messy look” actually requires strategic placement. This style screams romantic and carefree. It gives off major “I woke up like this” vibes, even if you spent 20 minutes curating the chaos.
The Aesthetic
This look relies on volume and softness. It’s perfect for brunch or a casual day out. You want to pile the hair high but keep the tension low. The magic lies in the pieces you leave out.
Step-by-Step
- Flip your head upside down and gather your curls loosely on top of your head.
- Use a scrunchie to secure the hair, but don’t pull the hair all the way through on the last loop. You want a floppy bun structure.
- Grab random sections of the bun and pin them loosely to your head to create shape.
- Pull down tendrils near your ears and temples.
If those face-framing pieces look a little limp, wet them slightly and twirl them around your finger with a dab of curl cream. Let them air dry to re-activate the bounce.
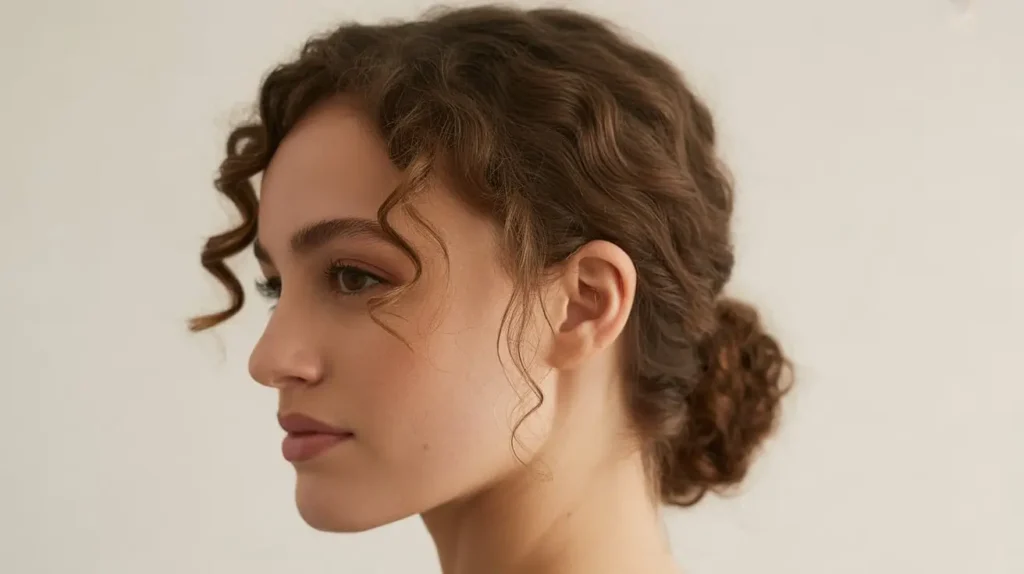
3. Romantic Curly Chignon
If you have a wedding to attend or simply want to feel like a character in a Jane Austen novel, the chignon is your best friend. It sounds fancy (and French), but it’s essentially just a low, tucked roll.
Why I Love This Look
It looks incredibly intricate, but it’s shockingly easy to execute. It hides dirty hair better than almost any other style. Seriously, if you are on day 4 hair and the frizz is starting to take over, the chignon disguises it as “texture.”
The Technique
Start with a low ponytail. Create a small hole in the hair right above the hair tie. Flip the ponytail up and through that hole (the classic topsy-tail maneuver). Now, take the hanging tail and roll it upward until it meets the nape of your neck.
Secure this roll with U-shaped pins if you have them—they hold thick curly hair better than standard bobby pins. Fan out the bun slightly to make it look fuller. Finish with a flexible hold hairspray. You want movement, not a helmet.
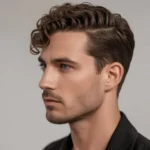
4. High Curly Puff Updo
The puff is a lifestyle. It’s the go-to for naturals everywhere for a reason. It gets the hair out of your face, creates an instant facelift effect, and showcases the sheer volume of your hair.
The “Pineapple” Concept
Think of this as an elevated version of the nighttime “pineapple” method. You gather all your hair at the crown of your head. The placement is key here; too low, and it’s a ponytail; too high, and it’s… well, actually, the higher the better.
Essential Tools
- Wide headband or shoelace: Regular hair ties often snap or squeeze too tight.
- Water spray bottle: To wake up the curls.
- Pick comb: For volume.
Wrap the headband around your neck, push it up your forehead, and slide it up the back of your head until it creates a puff. Tighten it just enough to hold the shape but not enough to cause a headache. Pick out the roots gently to maximize volume. This style demands attention. It says, “Yes, my hair is big, and yes, it’s fabulous.”
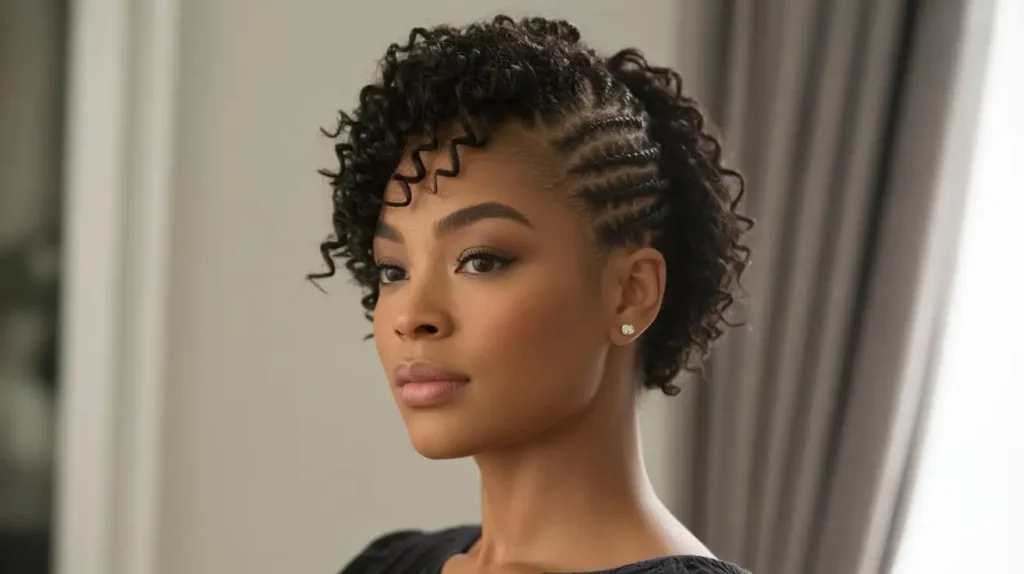
5. Twisted Curly Updo for Natural Hair
Sometimes you need a style that protects your hair for days. This updo incorporates flat twists, which look intricate and keep your roots neat. It’s a great option if you have tighter coils (type 4 hair) and want longevity out of your style.
Creating the Base
Section the front of your hair from ear to ear. Create vertical flat twists leading toward the crown of your head. You can do three or four big twists or several smaller ones depending on your patience level.
The Finish
Gather the ends of the twists along with the rest of your loose hair into a high or mid-level bun. Since the front is sleek and patterned with the twists, the bun can be as big and textured as you like.
Why this wins: You can wear the twists for a few days, then unravel the bun for a twist-out ponytail later. It’s the hairstyle that keeps on giving.
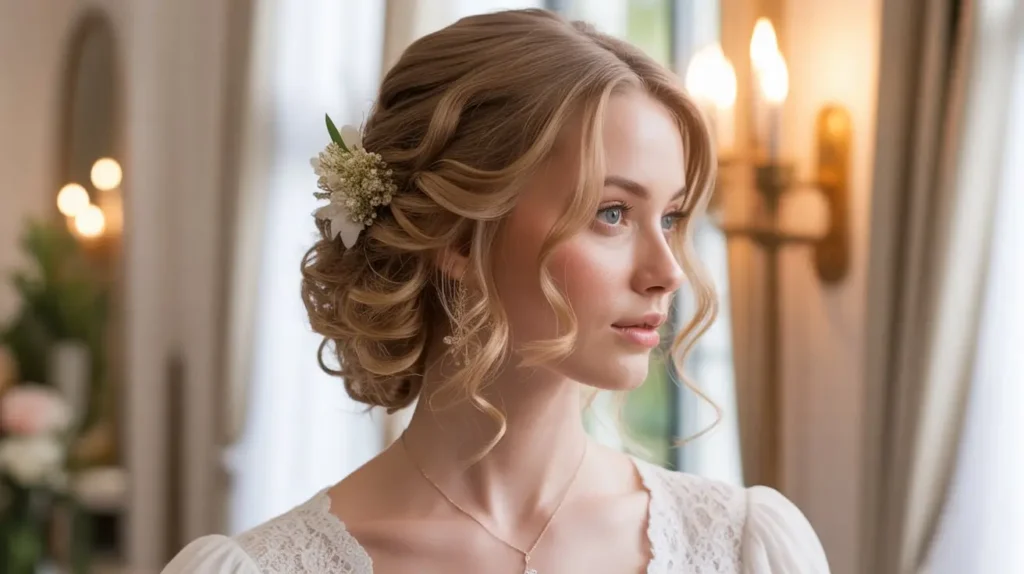
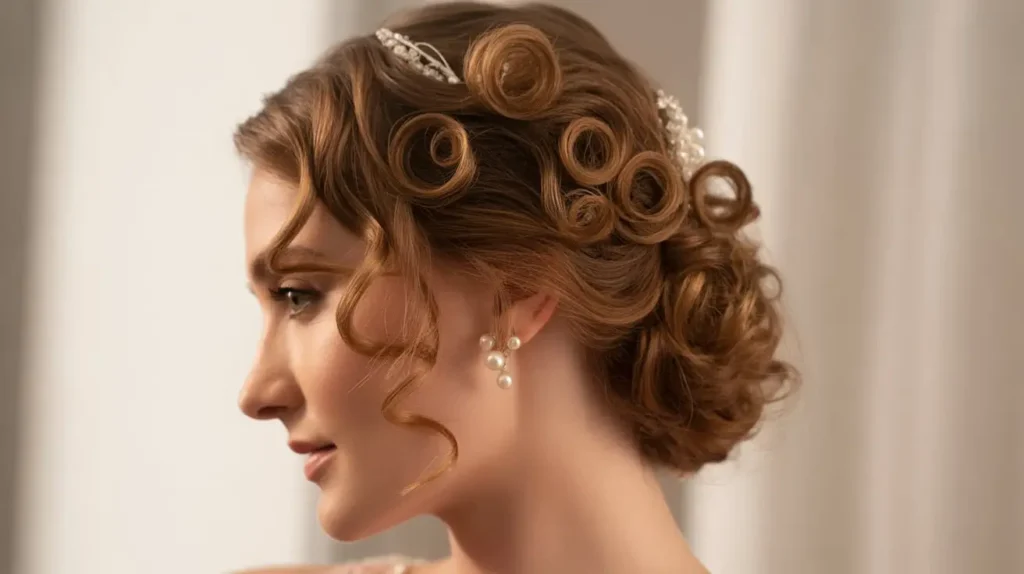
6. Loose Curly Updo for Weddings
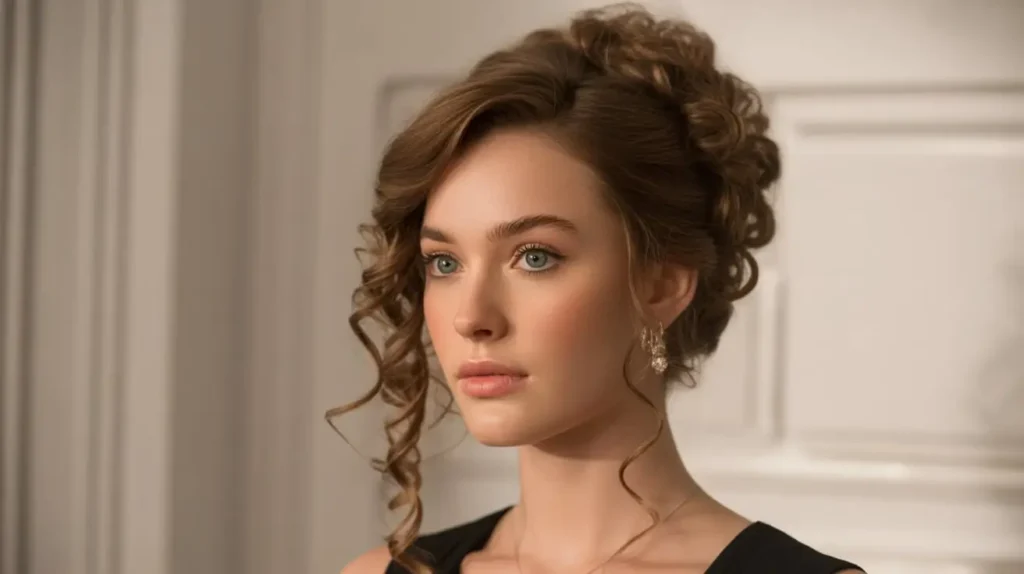
Weddings require a balance. You want to look formal, but you don’t want to look like you’re wearing a costume. A loose curly updo bridges this gap perfectly. It’s soft, ethereal, and photographs beautifully.
Texture is Everything
Start with defined curls. If your curl pattern is inconsistent (happens to the best of us), touch up a few pieces with a curling wand that matches your natural diameter.
The Assembly
Section your hair into three parts: left, right, and back. Twist the back section into a loose, low bun and pin it. Now, take the side sections, twist them loosely away from your face, and drape them over the bun. Tuck the ends underneath.
Accessorize it! This style begs for accessories. Slide a jeweled comb into the side or weave in some baby’s breath flowers. IMO, this is the most romantic look on the list. It looks effortless, but we know you put the work in.
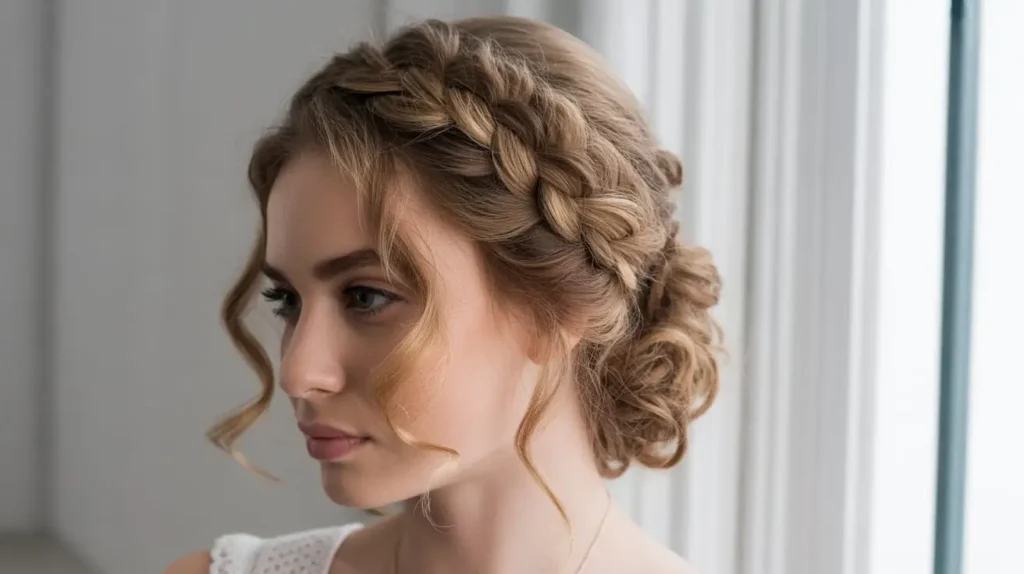
7. Curly Updo with Braided Crown
Do you want to look like a Greek goddess? Of course you do. The braided crown, or halo braid, wraps around your head and keeps your hair completely secure. This is an excellent choice for hot summer days when you don’t want hair touching your neck at all.
The Method
Part your hair down the middle or slightly to the side. Start braiding (Dutch or French braid) from the nape of your neck, moving up around your ear, across your forehead, and down the other side.
If your hair isn’t long enough to do one continuous braid, don’t panic. Fake it. Make two pigtail braids and pin them across the top of your head, tucking the ends under each other.
Making it “Curly”
Since the braids take up most of the hair, pull out small wisps around the hairline and the nape. Let those natural curls spring free. It softens the severity of the braid and frames the face beautifully.
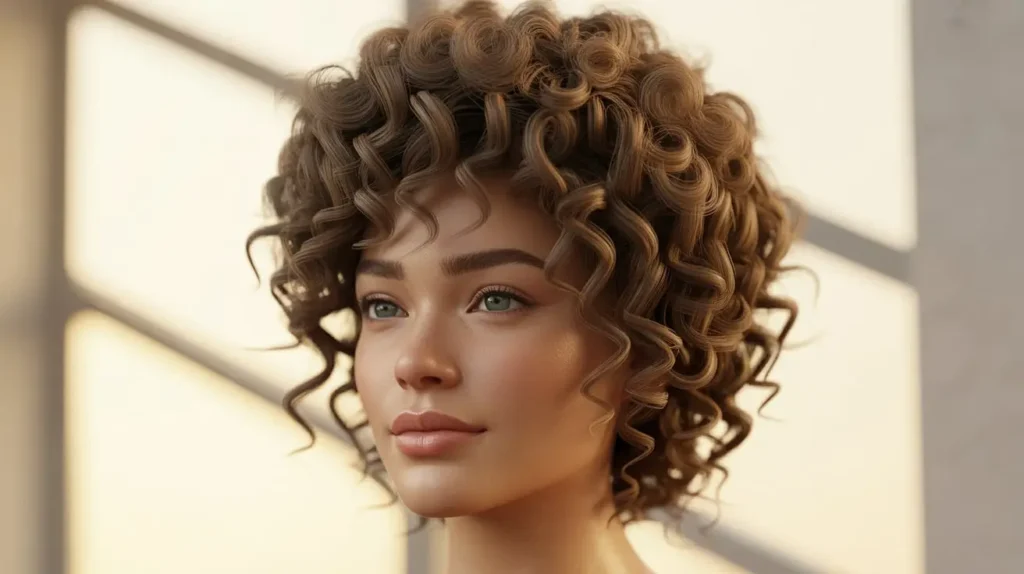
8. Quick Curly Updo for Short Hair
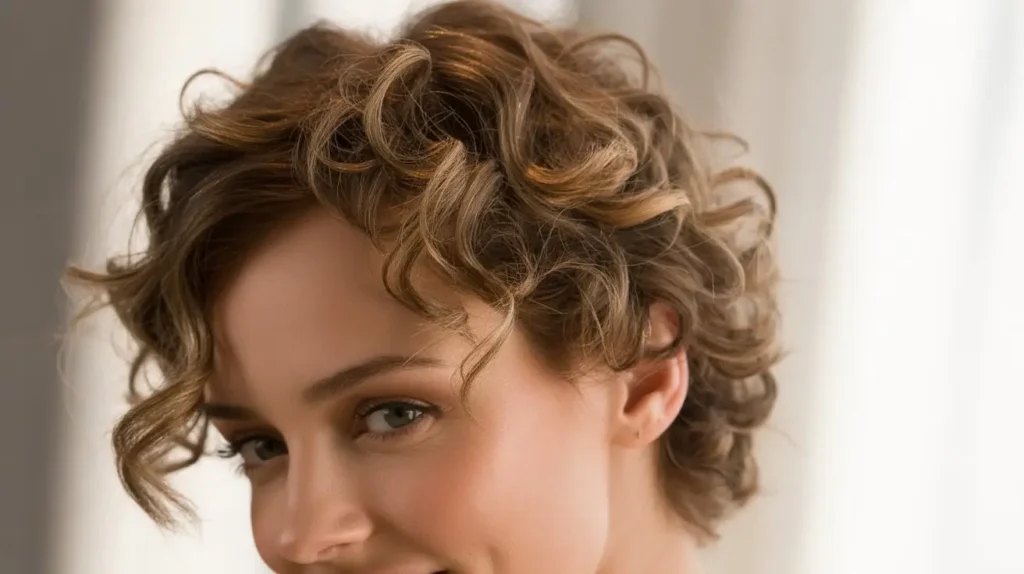
Having short hair doesn’t mean you are excluded from the updo club. It just means you need to be a bobby pin ninja. I chopped my hair off a few years ago and felt stuck, until I realized that updos on short hair are actually just optical illusions.
The “Faux-Updo”
You aren’t making one big bun; you are making three or four tiny ones. Section your hair vertically into three parts (top, middle, bottom). Make a small messy bun with each section. Arrange them so they touch each other.
To the naked eye, it looks like an intricate Mohawk-style updo. In reality? It’s three tiny ponytails. Use bobby pins to tuck away any pieces that are too short to fit in the ties.
Pro Tip: Use a texture spray or dry shampoo to give your short curls some grit. This helps the pins stay in place without sliding out.
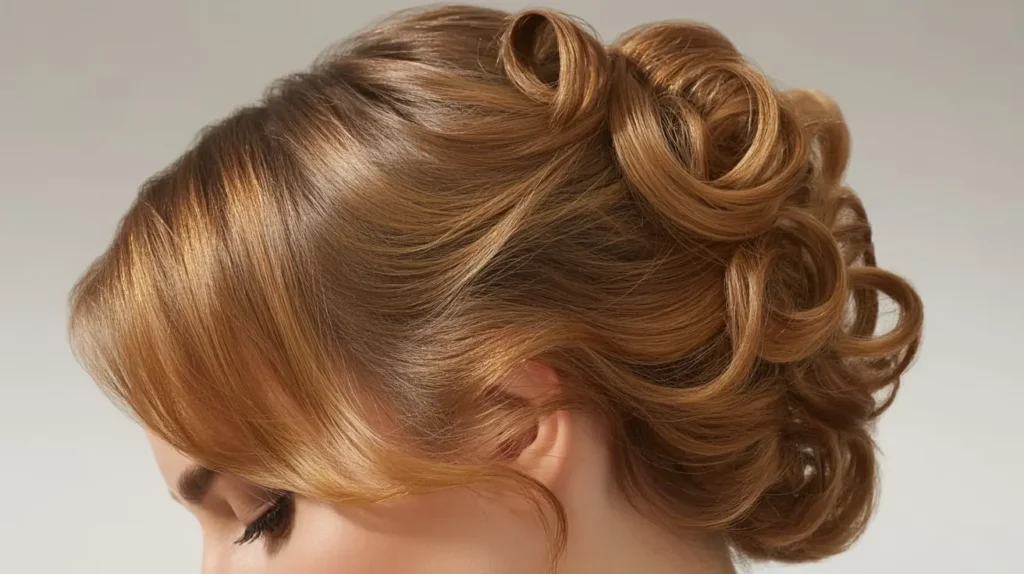
9. Soft Curly Updo for Formal Events
Formal doesn’t have to mean stiff. We’ve all seen those prom hairstyles that look like a helmet of hairspray. We aren’t doing that. This style is about polished structure that retains softness.
The French Twist Variation
A traditional French twist is usually sleek and straight. A curly French twist is superior because the texture hides the pins. Sweep all your hair to one side. Insert a row of bobby pins vertically up the back of your head to anchor the hair.
Roll the hair back toward the center, creating a vertical cylinder. Pin it in place. Instead of tucking the top ends in smoothly, let the curls spill over the top. It adds height and drama.
This look pairs perfectly with statement earrings since your neck is exposed. It’s elegant, but the curls keep it lively.
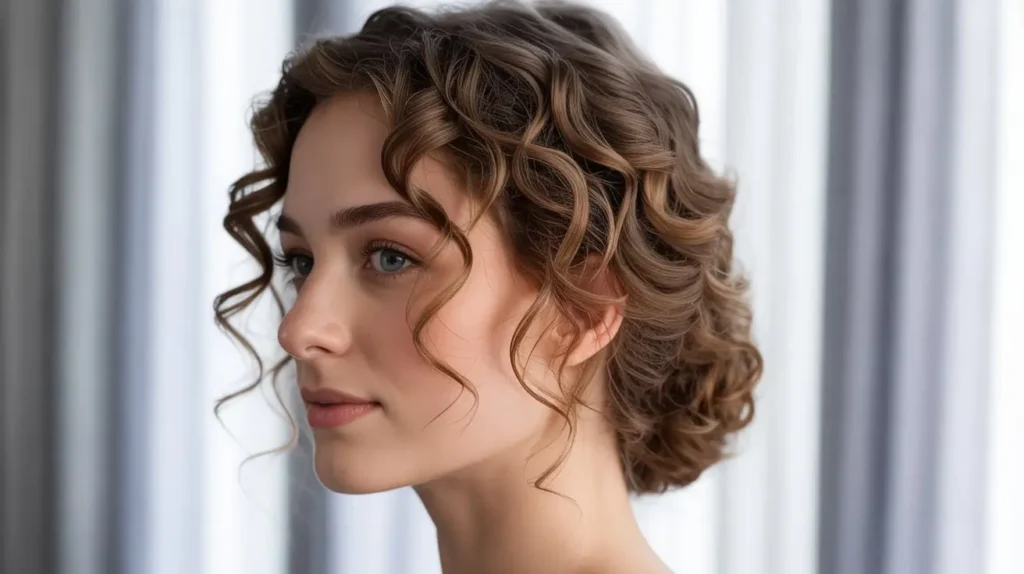
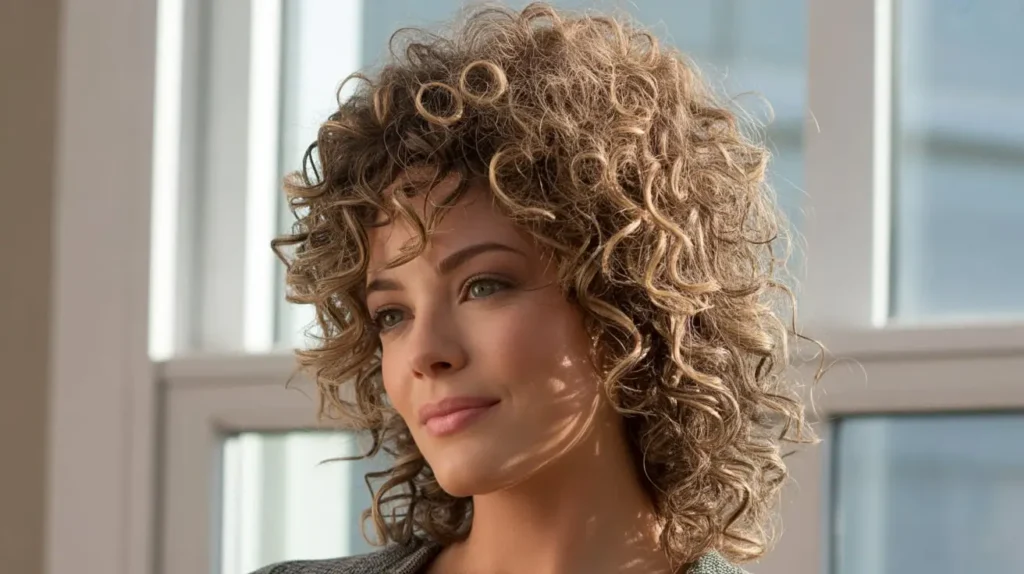
10. Curly Updo with Defined Ringlets
This style focuses on high-definition curls. It’s less about the “messy” look and more about showcasing perfect spirals. This requires a bit of prep work in the shower, but the payoff is worth it.
Hydration Station
Start with soaking wet hair. Apply a leave-in conditioner and a strong-hold gel. Use the “shingling” method or finger coils to define each ringlet. You need these curls to pop. Diffuse your hair until it is 100% dry.
The Styling
Pile the curls on top of your head, but don’t crush them. Use hair pins (the open U-shaped ones) rather than tight elastics. Gently pin sections up, allowing the ends of the ringlets to cascade down.
Do not touch the curls more than necessary. The goal is zero frizz. This look is glossy, sharp, and incredibly chic. It’s a great way to show off a new color or highlights.
11. Textured Curly Updo with Volume
Sometimes, bigger really is better. If you have fine hair and struggle with looking flat, or if you have thick hair and just want to take up space, this is for you.
Teasing (Gently!)
I know, teasing curly hair sounds like a recipe for a tangle disaster. But you only need to tease the roots at the crown. Use a pick or a teasing brush and gently backcomb the under-layers at the top of your head.
The Build
Gather the hair back into a mid-height ponytail. Before you wrap it into a bun, fluff the ponytail. Use your fingers to separate the curls and create maximum width. Then, loosely pin the hair around the base.
The result is a massive, voluminous bun that looks like you have three times the amount of hair you actually do.
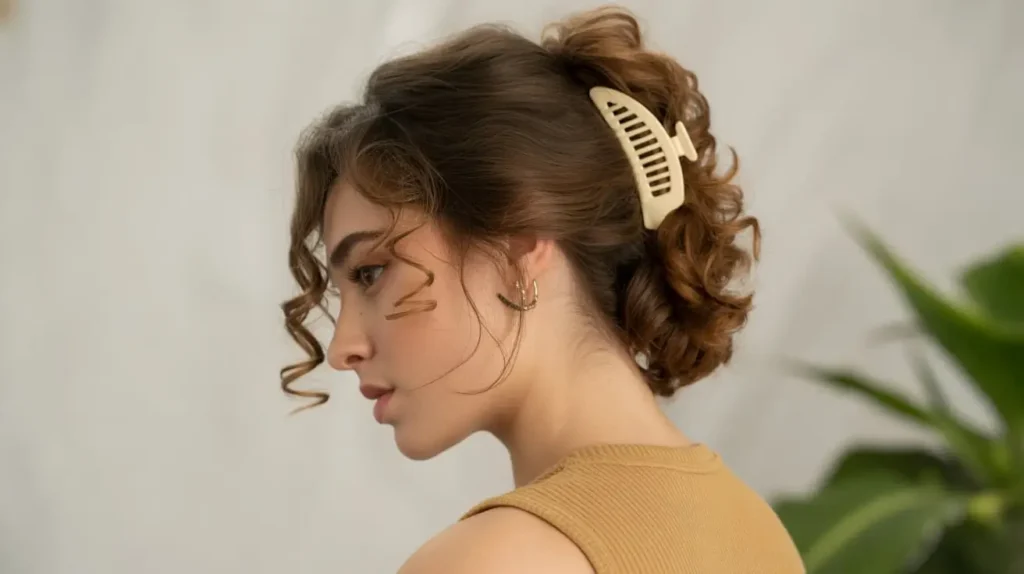
12. Curly Updo with Claw Clip
The 90s called, and they brought gifts. The claw clip is arguably the best thing to happen to hair trends in the last decade. It is fast, it is gentle on curls, and it looks effortlessly cool.
The Twist and Clip
Gather your hair at the nape. Twist the ponytail upward against the back of your head. Open the claw clip (make sure you get a large one designed for thick hair—the flimsy ones will snap, trust me) and clamp it over the twist.
The Waterfall
Let the ends of your curls spill over the top of the clip. Arrange them so they cover the plastic handle of the clip if possible.
Why I use this daily: It takes literally 10 seconds. You can keep a clip in your bag, your car, and your desk. It’s the ultimate emergency hairstyle that still looks intentional. FYI, matte-finish clips look more expensive than shiny plastic ones.
13. Low Curly Updo for Frizzy Hair
Humidity happens. Sometimes we wake up and the frizz has already won. Instead of fighting it and trying to slick it down (which usually just results in a weird crunchy helmet), lean into it.
Embrace the Halo
This style uses the frizz to create an ethereal “halo” effect. Do not use heavy gels. Use a light pomade. Gather your hair low. Twist it into a knot.
The Trick
Pull small sections of hair loose all over your head—not just at the front. The frizz creates a soft-focus effect, almost like a filter in real life.
If the frizz is focused on the ends, tuck them securely into the bun. If the frizz is at the roots, wear a decorative headband to distract the eye. Confidence is the main ingredient here. If you act like the texture is intentional, everyone else will believe it too.
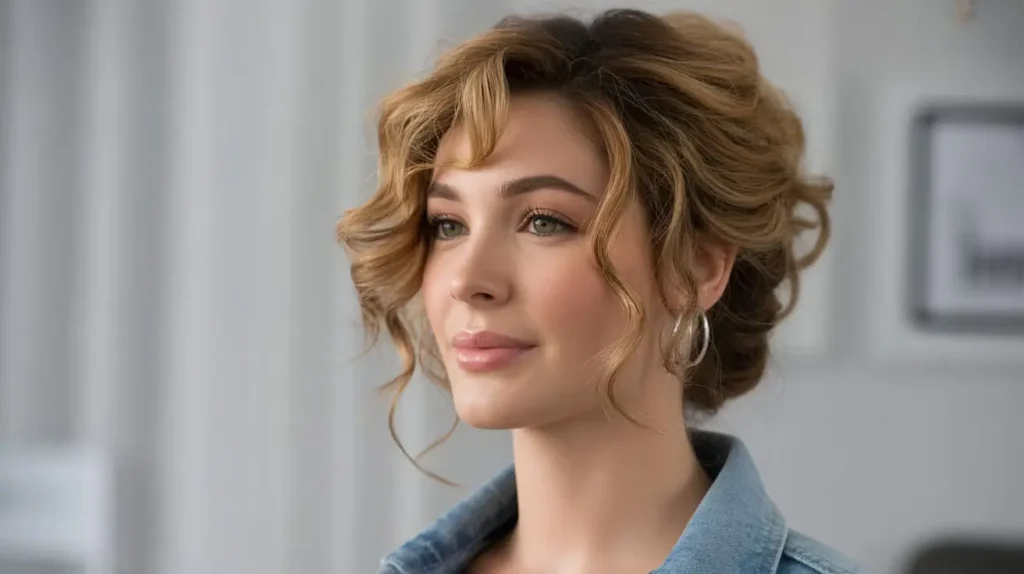
14. Half-Up Curly Updo Style

Can’t decide between showing off your length or keeping hair out of your face? The half-up style is the compromise that feels like a victory. It’s playful and youthful.
Sectioning
Part your hair from ear to ear. Clip the bottom half away so it doesn’t get involved. Gather the top half high on your head. You can do a ponytail, a bun, or even a braid.
Volume on Top
I love doing a high bun on the top section while leaving the bottom loose. It gives you height, which elongates your face shape.
Styling the Bottom: Refresh the bottom curls with a little water and serum. Since they are resting against your back/shoulders, they might get frizzy faster, so use a little extra product there. This style is fantastic for concerts or festivals.
15. Minimalist Curly Updo for Everyday Wear
We finish with the workhorse of hairstyles. The minimalist updo is clean, simple, and functional. It’s not trying to be the center of attention; it’s just there to let you get things done.
The Sleek Middle Part
Start with a precise middle part. Use a brush to slick the hair back tightly behind your ears. You want the front to look very controlled.
The Compact Bun
Gather the hair into a tight, small bun at the back. Secure it firmly. This isn’t a messy bun; it’s a structural knot.
Why it works: The contrast between the sleek, controlled front and the textured knot at the back is very high-fashion. It pairs well with turtlenecks, blazers, and oversized glasses. It says, “I am a professional, but I also have great hair texture.”
Conclusion: Own Your Texture
There you have it—15 stunning curly updo hairstyles that range from “I woke up like this” to “I am ready to accept my award.”
Remember, the key to any great updo is patience and the right products. Don’t force your hair into a shape it hates. Listen to your curl pattern. If it wants to go left, maybe pin it left. If it’s having a volume day, go for the puff. If it’s a definition day, go for the ringlets.
Experiment with these styles. Stand in front of the mirror this weekend and try the Braided Crown or the French Twist. You might surprise yourself with what your hair can do. And hey, if it all goes wrong? That’s what the Messy Bun is there for. It’s got your back.
Which one of these are you trying first? Or do you have a secret weapon hairstyle I missed? Go grab some bobby pins (if you can find them—they definitely vanish into another dimension) and get styling