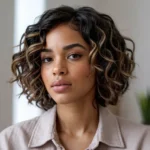

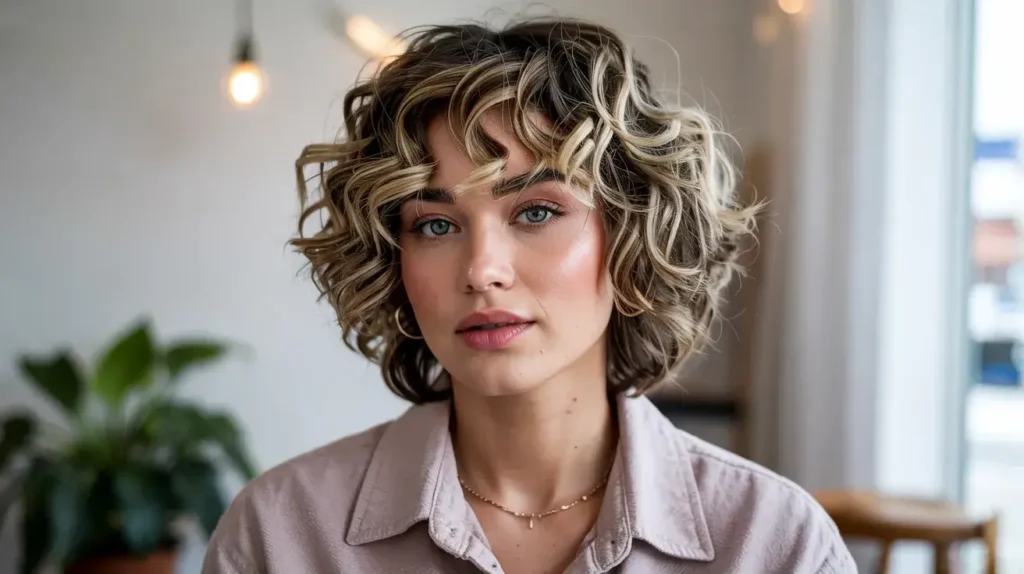
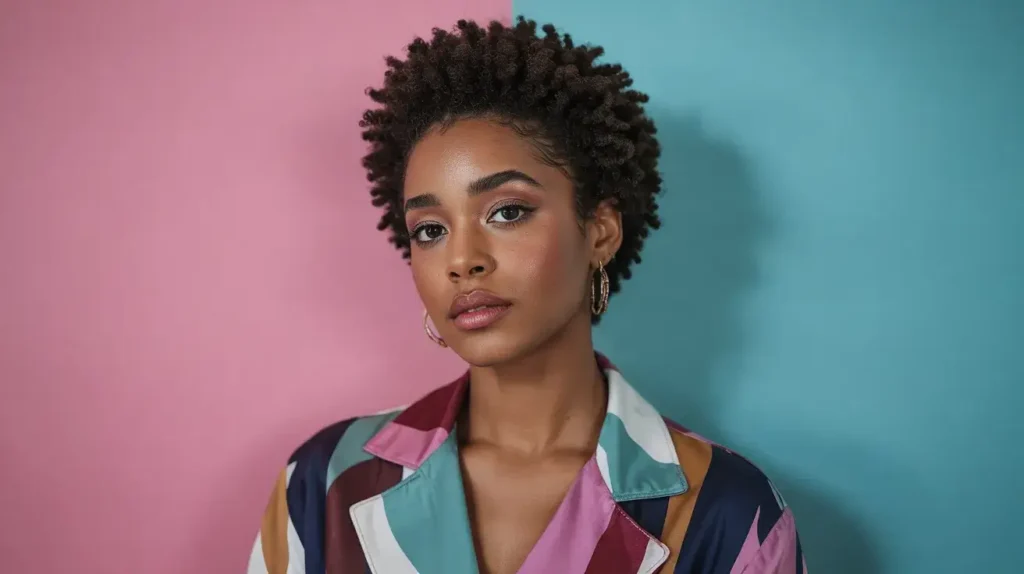
You cut it all off, didn’t you? Welcome to the club where we spend half our lives wondering if we look like a sophisticated French actress or a very confused poodle. Short curly hair brings a specific kind of chaos to your morning routine, but it also offers a level of chic that long-haired people simply cannot touch. I remember the first time I chopped my curls; I stared at the mirror for twenty minutes trying to figure out if I needed a professional stylist or a priest for an exorcism. Turns out, I just needed a better plan and a few tricks.
Finding the perfect balance between “I woke up like this” and “I actually put in effort” feels like a full-time job sometimes. However, short curls offer incredible versatility if you know how to manipulate them. You don’t need a massive arsenal of products to look good, but you do need to understand how your texture behaves when it’s not weighted down by length. Let’s talk about how to turn that mane into a masterpiece without losing your sanity.
1. Effortless Twisted Pixie Looks

The twisted pixie solves the “my hair is too short for a ponytail” dilemma perfectly. You don’t need expert-level braiding skills to pull this off, which is a massive win for those of us who lack basic hand-eye coordination. Twisting small sections of hair away from your face creates an instant polished look while keeping stray curls out of your eyes during a workout or a long day at the office. I usually find that this style works best on second-day hair because the natural oils give the twists more “grip.”
To start, grab a small section near your temple and split it into two. Cross the front piece over the back piece, adding a tiny bit of hair to the bottom strand as you move toward the back of your head. Secure it with a bobby pin tucked discreetly under the rest of your curls. Why do people think short hair is boring? This look proves them wrong in about sixty seconds.
How to Maintain the Twist
If you want the twist to stay sharp all day, apply a tiny bit of edge control to your hairline before you start. This prevents those annoying “baby hairs” from escaping the twist and making you look like you’ve been through a wind tunnel. I personally love a matte pomade for this because it doesn’t leave that weird, greasy shine that makes people wonder when you last showered.
Pro-Tip for Extra Grip
Ever noticed how bobby pins just slide right out of curly hair? Spray your bobby pins with hairspray before you slide them in. This creates a tacky surface that grips your hair like superglue. It’s a game-changer for those of us with “slippery” curls that refuse to stay put.
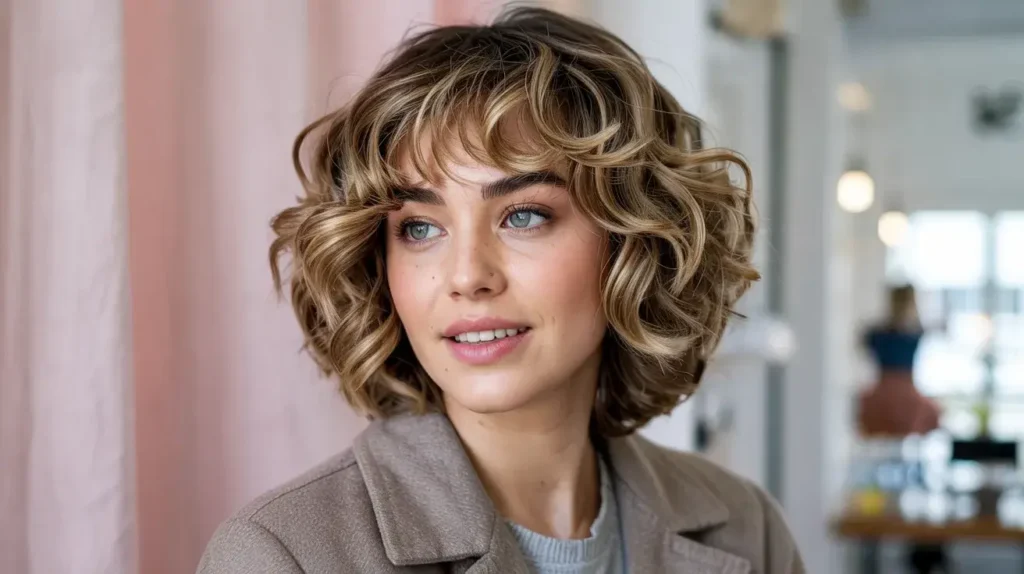
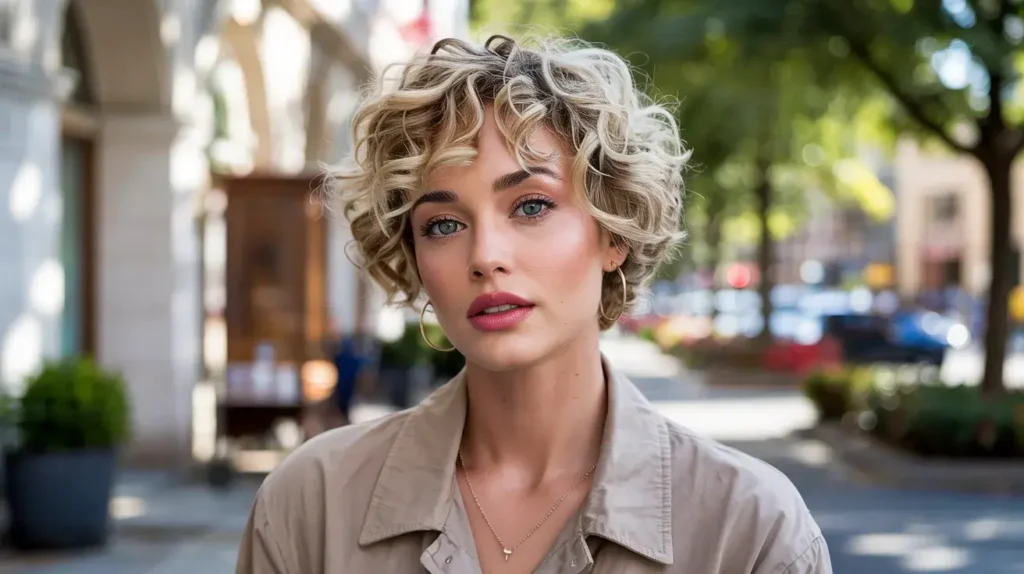
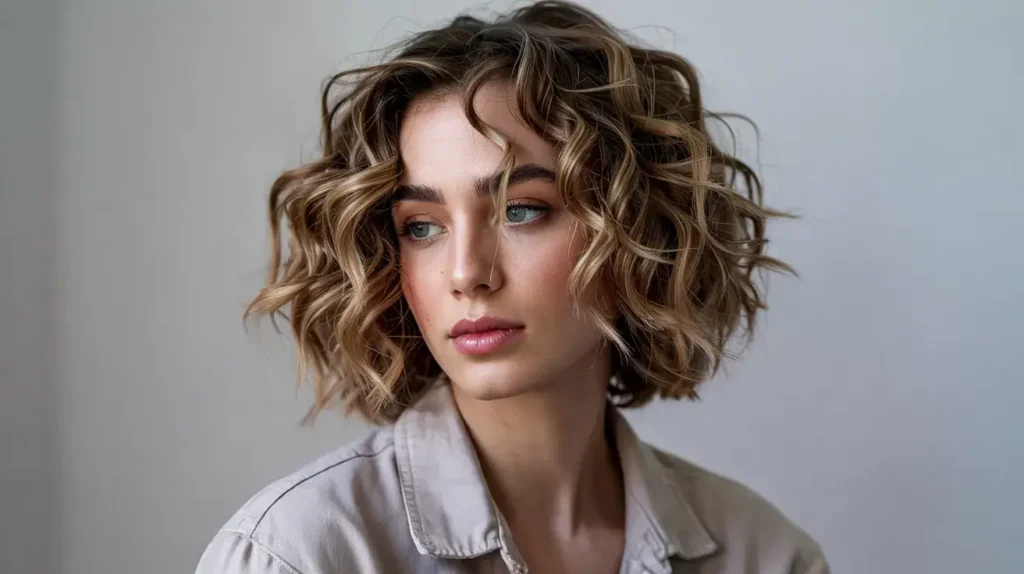
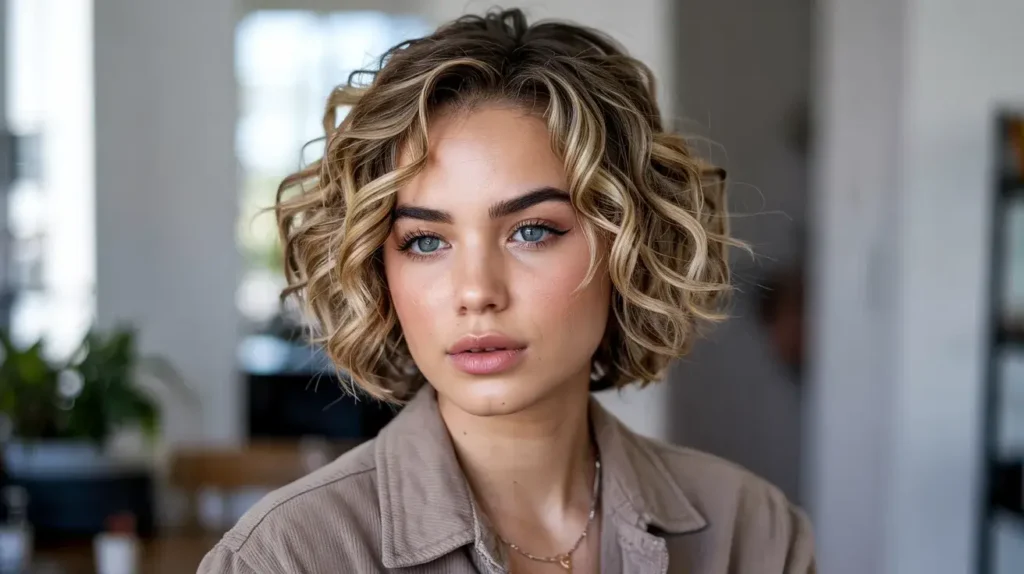
2. Voluminous Curly Bob Styles
Ah, the curly bob—the classic “cool girl” haircut that can easily turn into a “triangle head” if you aren’t careful. We’ve all been there, looking like a literal Christmas tree because the bottom flared out while the top stayed flat. To master the voluminous bob, you must focus on root lift during the drying process. I personally swear by “clipping at the root” while my hair air-dries to ensure the top layers don’t fall flat against my scalp.
When you style a curly bob, layering your products makes all the difference. Start with a leave-in conditioner, then rake a firm-hold gel through your strands while they are soaking wet. Ever wondered why your curls look crunchy? You probably didn’t “scrunch out the crunch” once the hair dried completely. Use a silk scarf or a tiny bit of hair oil to break that gel cast, leaving you with soft, bouncy volume that lasts all day.
Avoiding the Triangle Effect
If you find your bob looking too wide at the bottom, ask your stylist for “internal thinning” or “carving.” This removes bulk from the mid-lengths without changing the overall length of the cut. It allows the curls to sit into each other rather than stacking on top of each other until you look like a pyramid.
The Best Drying Technique
I highly recommend using a diffuser on low heat. Hold the diffuser at your roots and tilt your head to the side. This encourages the curls to dry “away” from the scalp, which creates that sought-after height at the crown. If you air dry, try flipping your part every thirty minutes to prevent the hair from setting flat in one direction.
3. Cute Wash-and-Go Short Curls
The term “wash-and-go” is arguably the biggest lie in the beauty industry, isn’t it? We all know it involves significantly more than just washing and leaving the house. For short hair, a successful wash-and-go depends entirely on moisture retention and curl definition. If you skip the leave-in conditioner, you’re basically inviting frizz to live on your head rent-free.
I recommend the shingling method for short curls if you want maximum definition. You apply product to every single curl individually, which sounds tedious but actually saves you time over the next three days. Apply a curl-defining cream to soaking wet hair and use your fingers to smooth the product from root to tip. FYI, if your hair isn’t making a squelching sound when you scrunch it, you need more water, not more product 🙂
The Importance of Water
Most people apply product to “damp” hair, but for a wash-and-go, the hair should be dripping wet. Water is the ultimate moisturizer; the product just locks that moisture in. If you apply gel to hair that has already started to air dry, you’ll end up with a frizzy mess instead of defined coils. Keep a spray bottle nearby to re-wet sections as you work.
Product Selection Matters
Don’t use a heavy butter if you have fine hair. Opt for a botanical gel or a lightweight foam. These products provide the structure your curls need without dragging them down. You want your curls to bounce when you walk, not stay frozen in place like a helmet.
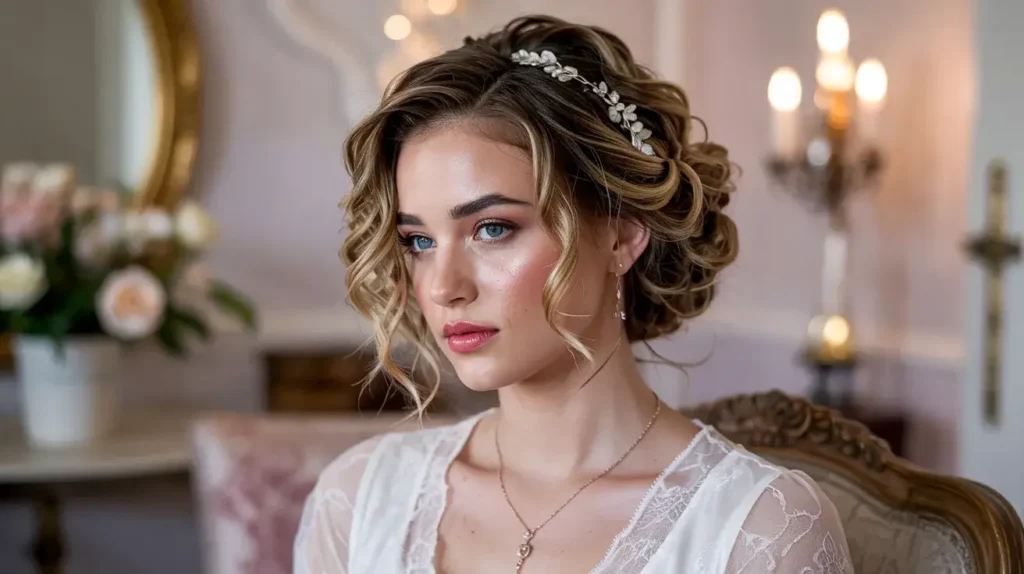
4. Short Curly Hair Updos
Think you can’t do an updo with four inches of hair? Think again. The “multi-ponytail” trick saves the day here. Instead of trying to force all your hair into one elastic—which usually results in a pathetic little nub at the nape of your neck—divide your hair into three horizontal sections. Secure each section into a small ponytail, then tuck the ends of the top ones into the base of the lower ones.
This creates the illusion of a long, sophisticated updo or a thick braid. Use U-shaped pins instead of standard bobby pins to secure the curls; they hold more hair without squashing the curl pattern. Does anyone else feel like a genius when they successfully hide ten bobby pins in their hair? It’s a legitimate talent. This style works wonders for weddings or when you just really need your hair off your neck during a heatwave.
The “Faux-Hawk” Updo
You can also arrange those three ponytails vertically to create a curly mohawk look. Fluff the curls in the center so they overlap and hide the hair ties. It looks incredibly intricate, but it takes about five minutes. It’s my go-to look for when I want to look “edgy” but I also haven’t washed my hair in four days.
Accessorizing Your Updo
Add a few small flowers or decorative pins into the “tucks” of your updo. Small details draw the eye away from the fact that your hair is actually quite short. It adds a touch of whimsy and makes the style look much more expensive than it actually is.
5. Side-Part Curly Hairstyles
A deep side part acts like an instant facelift for short curly hair. It shifts the volume to one side, creating a dramatic, asymmetrical silhouette that looks intentional and high-fashion. I find that a side part works best when the hair is about 70% dry. Use a rattail comb to create a clean line, then apply a bit of edge control or heavy-duty gel to the “short” side to slick it back.
The contrast between the slicked-back side and the wild, bouncy curls on the other side creates a gorgeous balance. This style highlights your bone structure—specifically your cheekbones and jawline. It’s the perfect “I’m professional but also a little bit of a wild card” look.
Why the Part Matters
Changing your part is the easiest way to give yourself a “mini-makeover” without cutting a single strand. If you usually part in the middle, a side part adds instant volume to the roots because the hair isn’t used to laying in that direction. It’s like a push-up bra for your curls.
Balancing the Look
Since one side of your face is more “exposed,” wear a statement earring on the slicked-back side. It balances the visual weight of the curls on the other side. This small styling choice makes the whole look feel cohesive and planned rather than accidental.
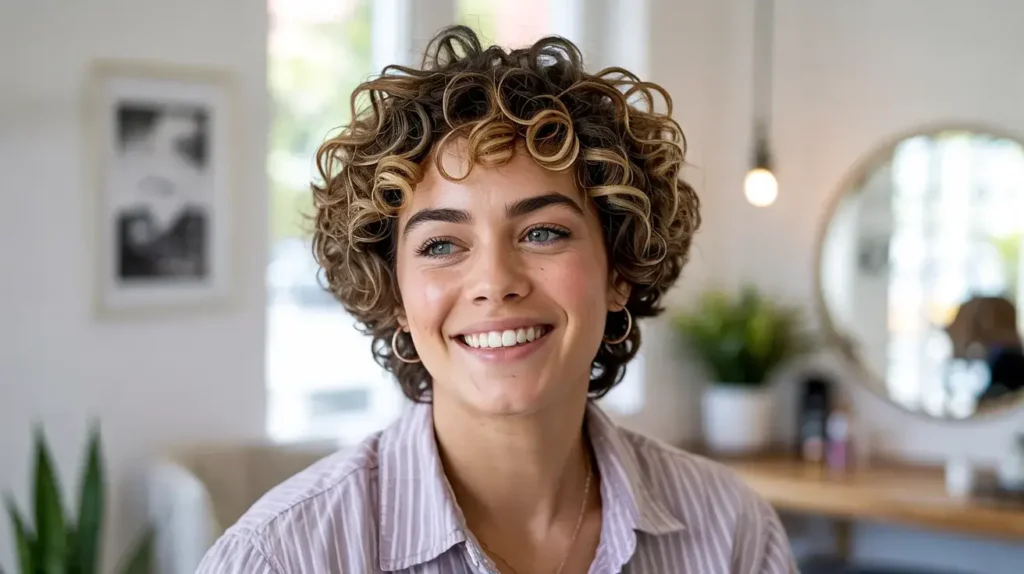
6. Chic Curly Afro Cuts
There is something incredibly powerful about a perfectly shaped curly afro. Whether you’re rocking a TWA (Teeny Weeny Afro) or something with a bit more length, shape is everything. You want to visit a stylist who understands “dry cutting.” If they try to cut your afro while it’s soaking wet and stretched out, run away. You need to see the shape as it lives in its natural, curly state.
To maintain the shape at home, invest in a high-quality hair pick. Use the pick at the roots only—never pull it all the way through the ends—to fluff the hair and create that iconic rounded silhouette. Mist your hair with a refresh spray containing water and a little lavender oil every morning to wake the curls up. This style celebrates your natural texture better than almost any other look on this list.
Moisturizing the Afro
Afros thrive on moisture. Apply a cream-based sealer every other day to keep the coils from becoming brittle. If your hair feels “crunchy” to the touch, it’s screaming for hydration. A light misting of water followed by a tiny amount of jojoba oil works wonders for maintaining that soft, touchable texture.
Nighttime Care
Never go to sleep without a silk bonnet if you’re rocking an afro. Cotton pillowcases suck the moisture right out of your hair and cause the shape to “deflate” on one side. If you don’t like bonnets, a silk pillowcase is a decent alternative, though a bonnet keeps the shape much better.
7. Layered Short Curls for Volume
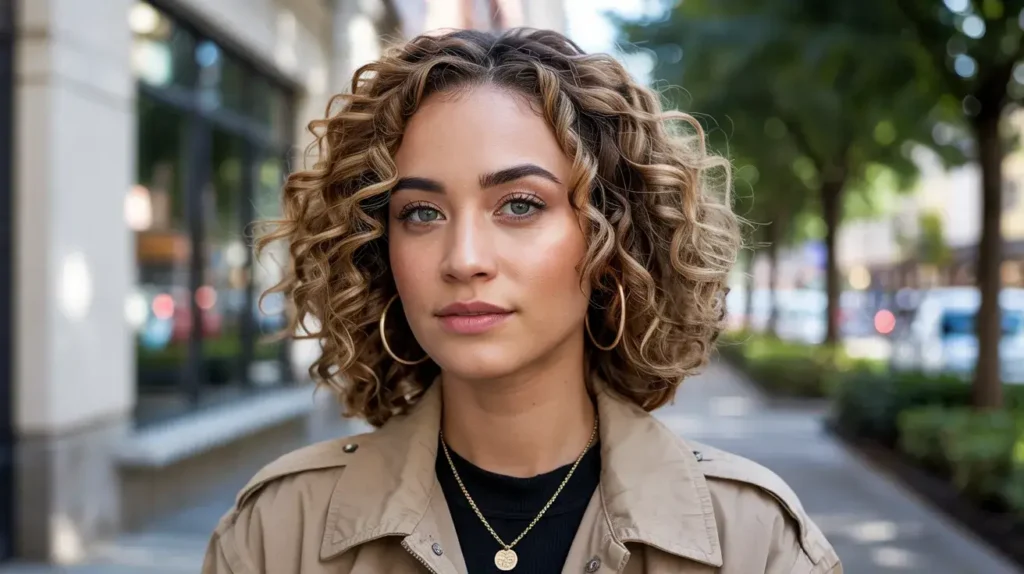
If your hair feels heavy and lifeless, you probably need layers. Short curly hair thrives on layers because they remove weight from the bottom, allowing the top curls to spring upward. I remember thinking layers would make my hair look shorter, but they actually made it look fuller and more “alive.” Ask your stylist for internal layers to create movement without sacrificing the overall length of your cut.
Styling layered curls requires a “less is more” approach with heavy products. Because the hair is shorter and lighter, mousse often works better than heavy creams. Scrunch a golf-ball-sized amount of volumizing mousse into your damp layers and blow-dry with a diffuser while hanging your head upside down. This technique forces the roots to stand up, giving you that “lioness” energy we all crave.
The “De-Bulking” Trick
If your layers feel too “poofy,” you can use a bit of hair oil on just the ends. This adds a little weight back to the tips, causing the curls to hang in a more controlled way. It prevents the “fuzz-ball” look that can sometimes happen when short layers get too dry.
Layering Products
Even with layers, you still need a base of moisture. Use a liquid leave-in conditioner (the spray kind) instead of a thick cream. This ensures every layer gets hydrated without getting weighed down. It keeps the hair bouncy and reactive to movement.
8. Protective Styles for Short Curls
Even short hair needs a break from daily manipulation. Protective styling isn’t just for long tresses; it’s a vital part of maintaining hair health and length retention. For short curls, I love flat twists or small Bantu knots. These styles keep your ends tucked away and protected from the friction of your pillowcase or sweaters.
When you take down these protective styles after a few days, you’re left with incredible definition and zero frizz. It’s the gift that keeps on giving. Just make sure you don’t wrap the hair too tightly; we want to protect the edges, not cause them to retreat in fear.
Bantu Knots for Definition
Bantu knots are essentially a two-for-one deal. You wear them as a cute, geometric style for two days, then unravel them for the perfect “knot-out.” This technique creates a very specific, uniform curl pattern that you can’t get with just a wash-and-go. IMO, it’s the best way to handle a “bad hair week” 🙂
Flat Twists for Elegance
Flat twists are easier than cornrows but give a similar “slick” look. They keep the hair close to the scalp, which is great if you’re trying to grow out a pixie cut and the middle section is at that awkward, shaggy stage. Use a heavy pomade to keep the twists looking neat and professional.
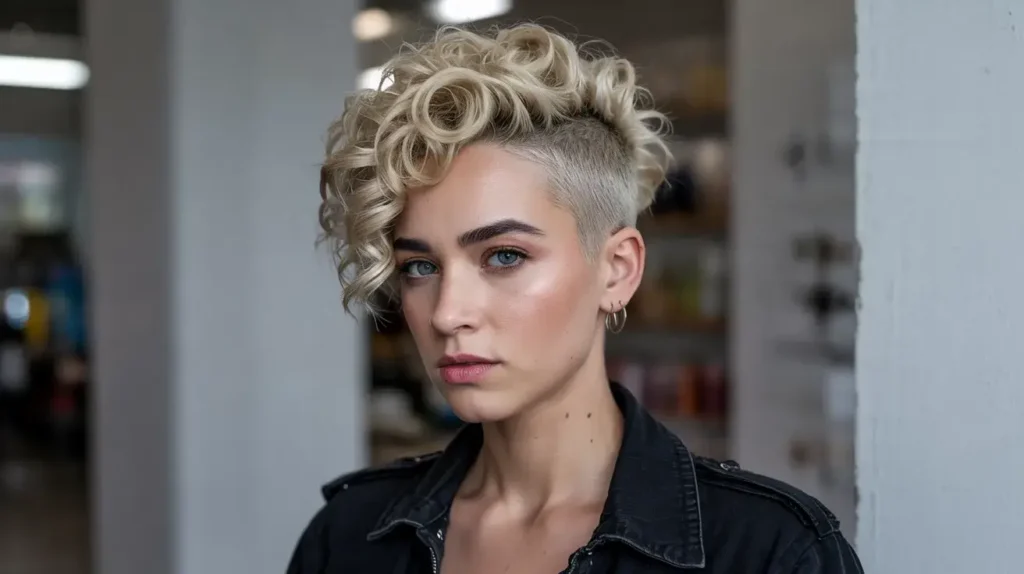
9. Curly Mohawk Ideas for Women
Ready to channel your inner rockstar? The curly mohawk, or “Fro-hawk,” is surprisingly easy to achieve on short hair. You don’t actually have to shave your sides (unless you want to, which is also a total vibe). You can create a faux-hawk by slicking the sides of your hair upward toward the center of your head and securing them with pins or small combs.
This style highlights your face and neck beautifully. To keep the center section looking tall and proud, use a pick to lift the roots and a bit of hairspray to lock the curls in place. It’s an edgy look that works just as well at a concert as it does at a fancy dinner. Who says curly hair has to be “soft” all the time? Sometimes it needs a little grit.
Styling the “Hawk”
For the center section, use a curl-enhancing smoothie to give the curls a “chunkier” look. You want the curls in the middle to look intentional and defined, not just like a frizzy strip of hair. If your hair is very short, you can use small rubber bands to create a series of “bubbles” down the center to mimic the mohawk shape.
Edge Control is Key
The success of a faux-hawk depends on how “flat” you can get the sides. Use a soft-bristled brush and a generous amount of gel to smooth the side sections toward the middle. The flatter the sides, the more dramatic the center curls will appear. It’s all about that contrast.
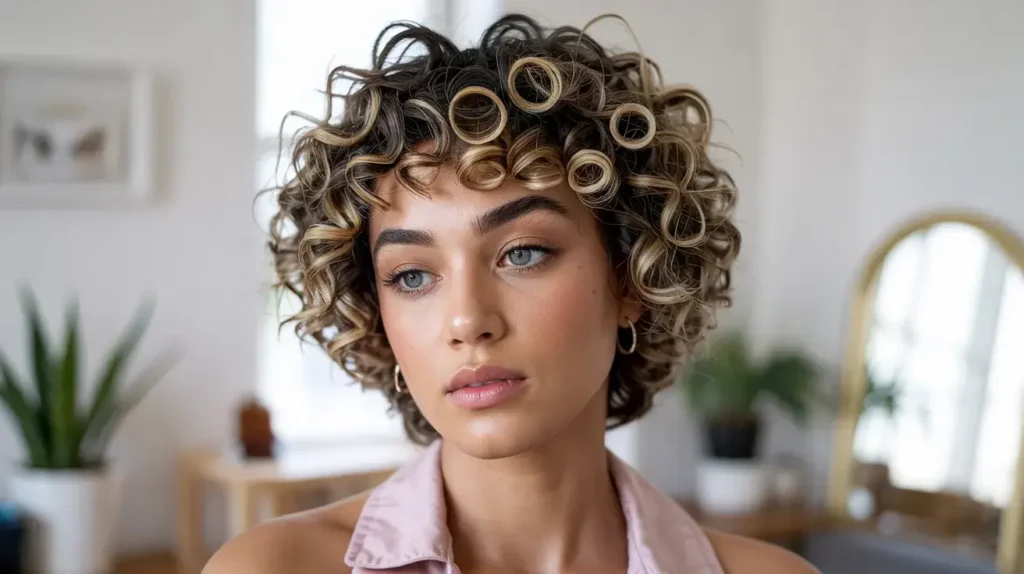
10. Finger Coil Inspiration for Short Hair
If your curl pattern is a bit inconsistent—some parts are wavy while others are tight—finger coils are your best friend. They unify the texture of your hair and create a very tidy, manicured look. I do this when I have a big event and I can’t risk my curls deciding to “act out” that day.
You take a small section of hair, apply a bit of curl-defining gel, and literally wrap the hair around your finger from root to tip. Hold it for a second, then let it go. Be warned: this takes time. But the results? Absolutely stunning. Your curls will look like perfect little springs. Since the coils are so tight, this style can easily last five to seven days with minimal refreshing.
Why Finger Coils Last
Because you are manually “setting” the hair in a tight spiral, it’s much harder for the environment (like humidity) to disrupt the shape. The gel “locks” the coil in place as it dries. When you finally take them down or they start to loosen, you still have beautiful, defined waves.
Drying Coils
Don’t touch them while they dry! Finger coils take a long time to dry because the hair is clumped so tightly together. Sit under a hooded dryer if you have one, or use a diffuser on a very low setting. If you mess with them while they’re damp, you’ll just end up with a frizzy puff.
11. Short Curly Hair with Bangs
Curly bangs are a polarizing topic, but I am firmly on the “pro-bangs” side. They frame the face and add a youthful, trendy element to a short haircut. The trick is to cut them longer than you think you need. Curls shrink—sometimes up to 50% of their length—so if you cut them at your eyebrows while wet, they will end up at your hairline when dry.
Ever wondered why some people pull off curly bangs so well? It’s because they don’t try to make them perfect. A little bit of “messy” fringe adds to the charm. Let them live their own life! Style your bangs first before the rest of your hair to ensure they lay exactly where you want them.
Maintaining the Fringe
Bangs get oily faster than the rest of your hair because they touch your forehead. Wash just your bangs in the sink if the rest of your hair still looks good. It takes two minutes and makes your whole style look fresh again.
Shaping the Bangs
When you apply product to your bangs, use your fingers to “coil” them in the direction you want them to lay. I usually coil mine toward the center of my forehead and then shake them out once they’re dry. This prevents them from sticking straight out like a visor.
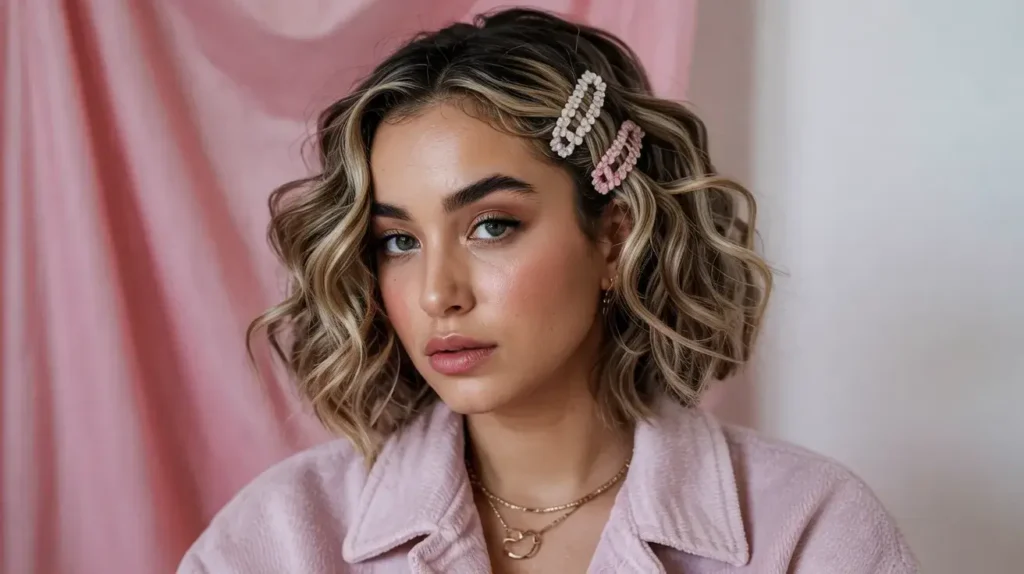
12. Curly Hair Accessories for Short Styles
When your curls aren’t cooperating, distract everyone with something shiny. Accessories are the “cheat code” for short curly hair. A wide headband can hide frizzy roots, while a delicate pearl clip can make a messy pixie look like a bridal style. I keep a stash of claw clips and silk scarves in my car for “hair emergencies.”
Don’t be afraid to use bold, oversized accessories. Because your hair is short, it won’t get “lost” in the volume. A bright silk scarf tied around a short curly bob gives off major Mediterranean vacation vibes, even if you’re just going to the grocery store. A good accessory is the difference between “I haven’t washed my hair in four days” and “I am a fashion icon.”
The Silk Scarf Wrap
If your hair is having a truly terrible day, wrap it in a silk scarf leaving just the front curls or bangs peeking out. It’s a chic, vintage look that protects your hair while looking incredibly stylish. Plus, it saves you the 30 minutes you would have spent fighting with your curls.
Statement Clips
Stack three or four gold bobby pins on one side of your hair. This “stacking” technique is very popular right now and looks amazing on short curls. It holds the hair back while acting like jewelry for your head.
13. Elegant Short Curly Styles for Events
For formal events, you might feel the urge to straighten your hair. Resist that urge! Short curls look incredibly elegant when styled with a bit of “structure.” One of my favorite event looks is the slicked-back tuck. You apply a high-shine gel to the sides and top, smoothing it back, but let the curls at the crown and back stay wild and voluminous.
This creates a “red carpet” look that feels sophisticated but still honors your natural texture. Pair this with statement earrings since your ears will be visible. You can also try a side-swept look secured with a vintage brooch. The key to elegant short curls is shine. Use a lightweight shine spray as the final step to give your hair that healthy, reflective glow.
The “Wet” Look
The “wet look” is very trendy and works exceptionally well on short curly hair. Mix a bit of hair oil with a strong-hold gel and rake it through your hair from front to back. It gives you a sleek, editorial vibe that looks great with formal wear.
Volume at the Crown
For extra elegance, tease the curls at the crown just a little bit. This creates a “beehive” silhouette that looks very 1960s glam. Just make sure you don’t tease too hard—you don’t want to break your hair. Use a wide-tooth comb to gently lift the roots.
14. Messy Curly Pixie Cuts
The “messy” look is actually an art form. It’s that perfect state of disarray that looks intentional. For a messy curly pixie, you want to avoid using too much “hold” product. Instead, go for a sea salt spray or a dry texture spray. These products give the hair “grit” and allow the curls to clump together in a more organic, lived-in way.
When styling, scrunch your hair in different directions. Don’t worry about where the part is. The goal is to create a soft, tousled cloud of curls. If a certain piece is sticking out too far, just tuck it behind your ear or pin it down. This is the ultimate low-maintenance look for people who hate spending more than five minutes on their hair.
Texture Over Definition
In this style, you aren’t looking for perfect ringlets. You want volume and movement. If the hair looks a little frizzy, that’s actually okay—it adds to the “effortless” vibe. Just make sure the frizz looks “soft” rather than “damaged.” A tiny bit of hair oil can help achieve that balance.
The Morning Shake
To style this in the morning, flip your head upside down and shake. Use your fingers to massage your scalp and loosen up the curls. Flip back up, arrange a few pieces around your face, and you’re done. It’s the easiest style on this list.
15. Quick Morning Hairstyles for Short Curls

We’ve all had those mornings where the alarm didn’t go off and we have ten minutes to become a functional human. For these moments, the “Refresh and Pin” technique is a lifesaver. Don’t try to re-wash your hair. Instead, mist your curls with a mix of water and conditioner. This reactivates the products already in your hair from the day before.
Once the curls are damp, scrunch them to bring back the shape. If the front looks disastrous, simply pin it back with two crisscrossed bobby pins. Add a drop of oil to your ends to hide any overnight frizz. You’ll look put-together in about three minutes flat. Is it magic? No, it’s just the power of a good spray bottle.
The Power of the “Pineapple”
If your hair is long enough, wear it in a “pineapple” (a high, loose ponytail) to sleep. This keeps the curls from getting crushed. In the morning, you just take the hair tie out, shake your head, and 80% of the work is already done.
Dry Shampoo for Curls
Yes, curly-haired people can use dry shampoo! Spray it on your roots to absorb oil and add volume. Just make sure to massage it in well so you don’t have white powder sitting on your scalp. It’s a great way to stretch your wash day even further.
The Golden Rules of Short Curly Maintenance
Before I let you go, let’s talk about the fundamentals. You can have the best haircut in the world, but if you treat your curls like straight hair, you’re going to have a bad time.
- Throw away your traditional towel. Normal towels have tiny loops that act like Velcro for your curls, ripping them apart and causing instant frizz. Use an old cotton T-shirt or a microfiber towel to gently squeeze the water out of your hair.
- Stop touching it while it’s drying. I know it’s tempting. I know you want to see if it’s soft. But every time you touch a damp curl, you break the “clump,” and that clump is what prevents frizz. Hands off until it’s 100% dry.
- Invest in a diffuser. If you don’t have time to air-dry (which takes approximately four business days), a diffuser is your best friend. It distributes the air evenly so your curls don’t get blown around and tangled.
Choosing the Right Products for Your Texture
Not all curls are created equal. If you have fine, thin curls, a heavy shea butter cream will make your hair look like a grease trap. If you have thick, coarse coils, a light mousse will do absolutely nothing.
- For Fine Curls: Look for volumizing mousses and lightweight lotions. You want products that provide hold without weight.
- For Medium Curls: A standard curl cream or a light gel usually does the trick. You have the most flexibility here.
- For Coarse/Tight Coils: You need butters, oils, and heavy-duty gels. Your hair craves moisture, so don’t be stingy with the leave-in conditioner.
Why Short Hair Actually Saves You Money (Mostly)
Let’s be real: products for curly hair are expensive. However, when your hair is short, you use significantly less of them. That $30 jar of deep conditioner that used to last two weeks? It now lasts two months. You’re basically making money at this point.
However, you will spend more on frequent trims. Short curly hair loses its “shape” much faster than long hair. If you wait too long between appointments, you’ll enter the “awkward growth phase” where you look like a 1970s TV host. Aim for a trim every 6–8 weeks to keep your style looking sharp and intentional.
Embracing the Chaos
At the end of the day, curly hair has a mind of its own. Some days the humidity will win, and some days your curls will decide to go on strike for no apparent reason. That’s part of the charm. Short curly hair is a statement. It says you’re confident enough to show off your face and bold enough to handle a little bit of wild texture.
Which of these styles are you going to try first? Maybe the twisted pixie for a workday or the curly mohawk for a night out? Whatever you choose, remember that confidence is the best styling product you own. If you act like your hair is supposed to look that way, people will believe you.
Short curls are a journey, not a destination. You’ll have good hair days and “I’m wearing a hat today” days. But when those curls hit just right? There is no better feeling in the world. So, grab your spray bottle, find your favorite gel, and go show the world what those short curls can do. You’ve got this! 🙂