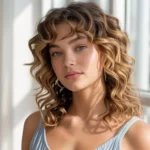

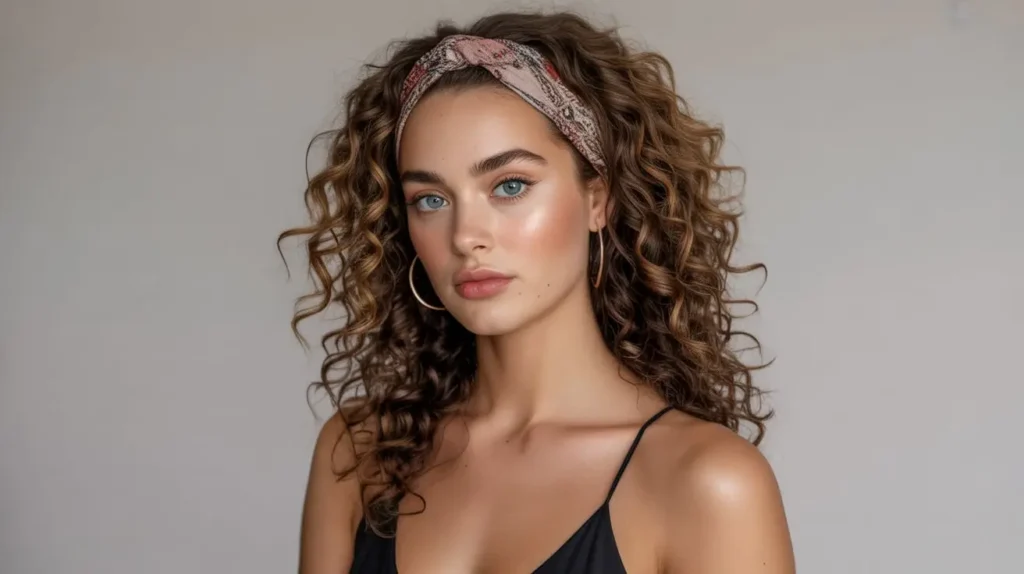
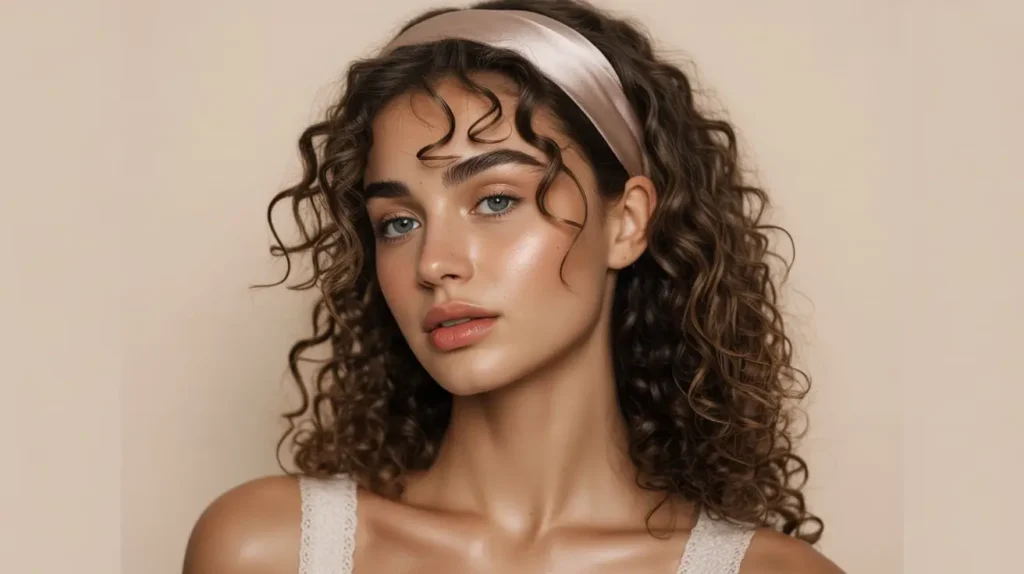
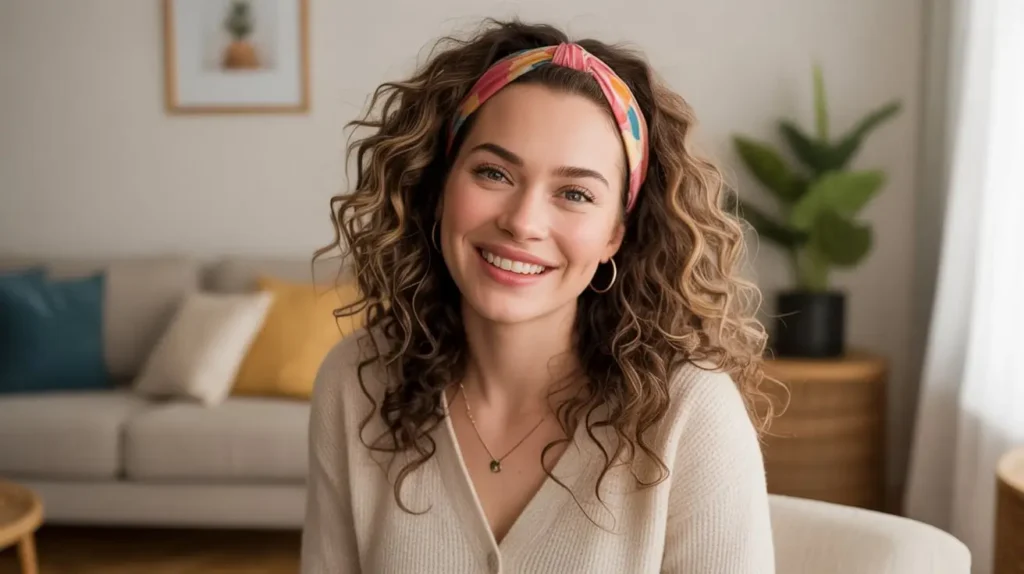
Let’s be honest: curly hair possesses a mind of its own. Some mornings I wake up looking like a majestic lioness, and other mornings I look like I’ve survived a localized electrical storm. We love our curls, but the maintenance can feel like a part-time job that doesn’t pay nearly enough. When the humidity hits or the “day three” frizz settles in, I usually reach for my secret weapon. Headbands save my sanity and my style.
I’ve spent years figuring out how to make a piece of fabric or plastic actually stay on my head without popping off like a champagne cork. If you’ve ever felt that struggle, you’re in the right place. We’re going to talk about the best ways to style those ringlets, waves, and coils using the simplest accessory in your drawer. Ever wonder why a simple band can transform a look from “just rolled out of bed” to “effortlessly chic”? Let’s get into the nitty-gritty of keeping your hair under control without losing your mind.
1. 5-Minute Headband Hairstyles for Curly Hair
I don’t always have forty minutes to diffuse my hair, especially when I’ve hit the snooze button three times. On those mornings, I rely on the “Push-Back Volume” method. I start with my natural, air-dried curls and a wide, fabric headband. I slide the band from my forehead toward the crown, stopping just before it reaches the middle of my head.
This technique pushes the curls upward, creating instant height at the front while letting the back flow freely. I love how it keeps the hair out of my face while I’m grabbing my morning latte. Active volume looks much better than flat roots. I recommend using a band with a bit of grip if your hair feels slippery. This style works because it embraces the messiness rather than fighting it.
Quick Styling Tips for the 5-Minute Look
- Step 1: Mist your hair with a little water or leave-in conditioner to wake up the curls.
- Step 2: Position the headband at your hairline and apply gentle pressure.
- Step 3: Slide it back about two inches to create a “pouf” effect at the crown.
- Step 4: Shake out the back to ensure the curls sit naturally and haven’t bunched up.
If you have an extra thirty seconds, I suggest pulling two tiny curls out at the temples. This frames the face and keeps the look from feeling too “slicked back.” It’s the perfect balance of “I tried” and “I’m naturally this fabulous.”
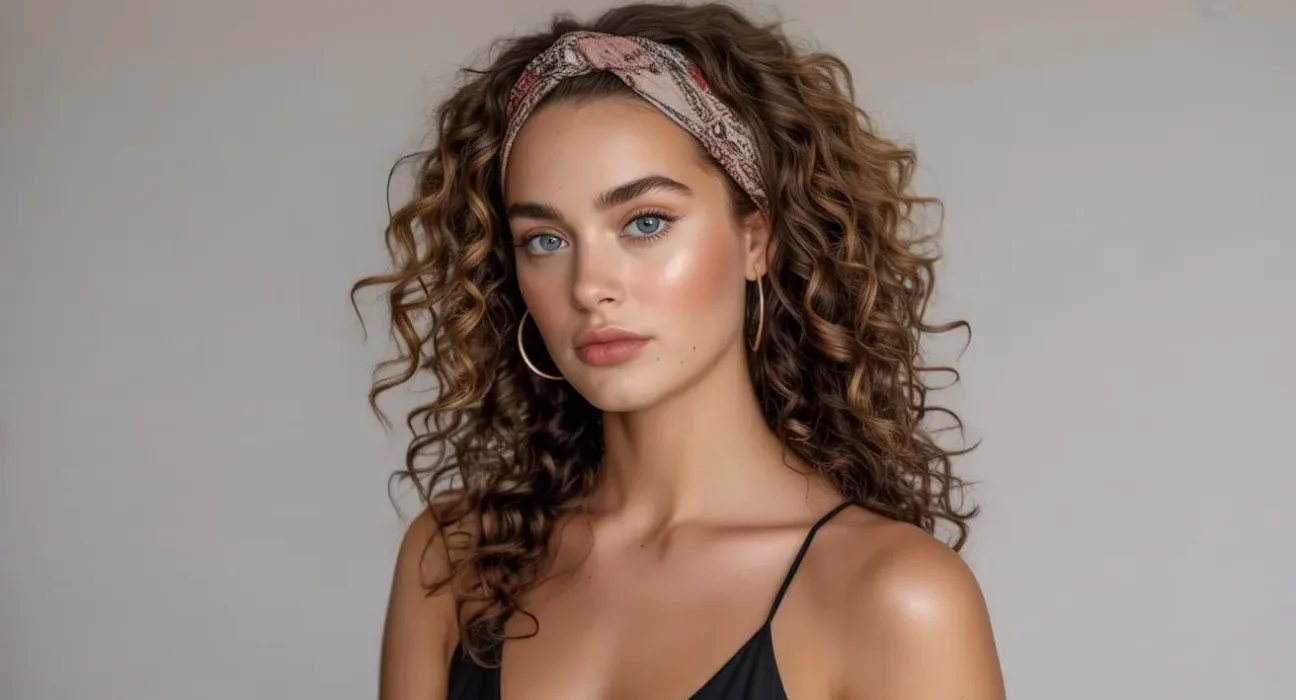
2. Cute Headband Styles for Curly Hair Bad Hair Days
We all have those days where one side of our head decided to go flat while the other side went full-blown frizz. It’s annoying, right? On these “disaster” days, I go for the “Total Coverage Wrap.” I use a very wide, turban-style headband that covers the first three or four inches of my hair.
By covering the roots and the temples, I hide the most problematic areas. The curls that peek out from the back still look intentional and cute. I find that knotted headbands add a focal point that distracts from any lack of definition. It’s a total lifesaver when I haven’t washed my hair in four days and don’t plan to start now.
Why the Turban Style Wins
- Focus on the knot: Position the knot slightly off-center for a more playful, high-fashion look.
- Fabric choice: Use cotton or jersey for better “grip” on frizzy roots.
- The “Fluff” Factor: Pull a few tendrils out near your ears to soften the overall appearance.
I’ve personally used this trick to hide a cowlick that refused to surrender. It’s a confidence booster when you know the “mess” is hidden under a gorgeous piece of fabric. Plus, people usually compliment the headband, and they never have to know about the chaos underneath.
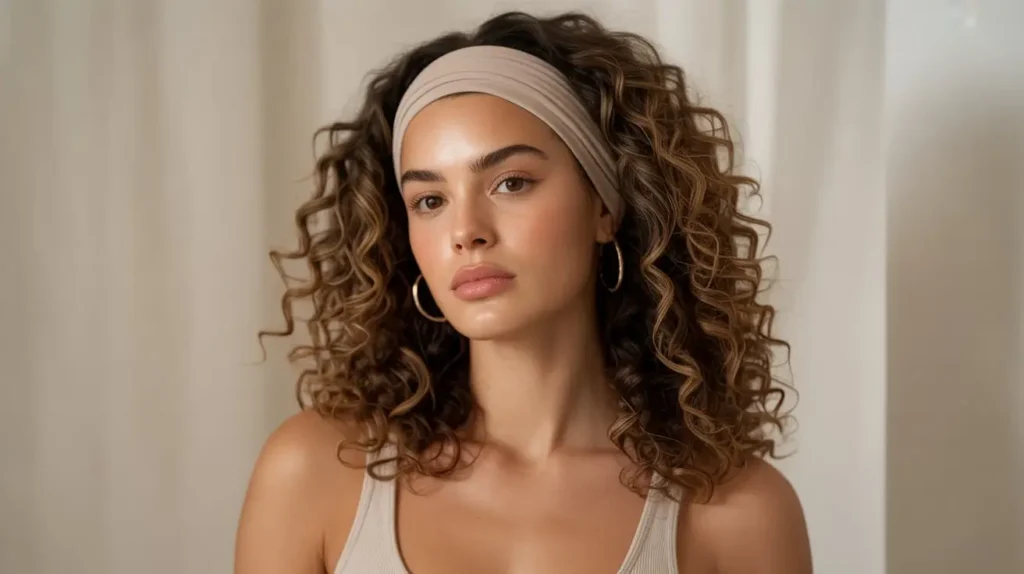
3. No-Heat Headband Hairstyles for Natural Curly Hair
I try to avoid heat as much as possible to keep my curl pattern healthy. Headbands allow me to look put-together without touching a blow dryer or curling wand. My favorite no-heat move is the “Tucked Halo.” I place a stretchy, circular headband over the top of my hair, resting it like a crown.
Then, I take sections of my curls and tuck them up and over the band, securing them into the elastic. It creates a beautiful, rolled updo that looks incredibly intricate but actually takes about three minutes. This style protects your ends from environmental damage while you go about your day. Plus, when you take it down later, you often end up with beautiful, heat-free waves.
Benefits of the Tucked Halo
- Zero Heat Damage: You don’t need a single curling iron to achieve this elegant look.
- Protective Properties: Your ends stay tucked away from friction and dry air.
- Easy Removal: Simply slide the band off at the end of the day for a soft, wavy “refresh.”
Does anyone else find it satisfying to tuck those curls perfectly into the band? It’s almost therapeutic. I find that using a silk-covered elastic band works best here to avoid any snagging when you decide to let your hair down later in the evening.
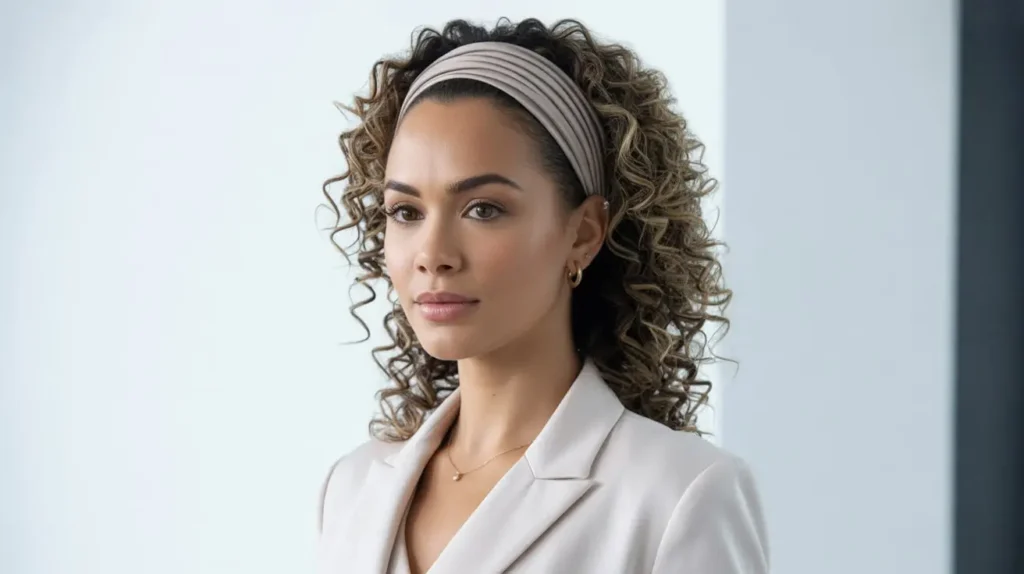
4. Easy Work-Ready Headband Hairstyles for Curly Hair

Can curly hair look professional? Absolutely. When I need to look like a “serious adult” at the office, I opt for the “Sleek-Front Low Bun.” I use a bit of gel to smooth down the front of my hair and then slide on a thin, metallic or tortoiseshell headband.
I pull the rest of my curls into a low, loose bun at the nape of my neck. The headband acts as a barrier, keeping those pesky flyaways in check throughout the long workday. Hard-shell headbands offer a more polished vibe than fabric ones. They scream “I have my life together,” even if I actually just finished a bag of chips for breakfast.
Professional Styling Keys
- Pro Tip: Match your headband to your jewelry or watch for a coordinated, deliberate aesthetic.
- Placement: Keep the band about an inch behind your hairline to show off a bit of smooth texture.
- Hold: Use a tiny bit of edge control or a light-hold gel for a super clean, professional finish.
I’ve worn this to interviews and board meetings alike. It keeps my hair out of my eyes so I can focus on the tasks at hand. There is something about a structured headband that just makes an outfit feel “finished.”
5. Headband Hairstyles That Actually Work on Curly Hair
Let’s be real for a second: some headbands are total garbage. They slide right off the back of your head because curls have so much “push.” If you want a style that actually stays put, you need to try the “Double-Band Security” look. I use two thin, elastic bands with silicone grips on the underside.
I place the first one right at the hairline and the second one about an inch behind it. This creates a “ribbed” effect that looks intentional and sporty. Silicone-lined bands are non-negotiable for high-volume hair. IMO, if a headband doesn’t have a grip, it’s just a colorful halo waiting to fly away. 🙂
What Makes a Headband “Curly-Proof”?
- The Grip: Look for silicone strips or small velvet linings on the inside.
- The Width: Wider bands distribute the “push” of the curls better.
- The Tension: It needs to be tight enough to stay, but not so tight it gives you a headache by noon.
Ever wondered why athletes use those specific rubberized bands? It’s because they work. I use this method when I know I’m going to be active or if I’m running errands in the wind. It provides the ultimate security for those of us with a lot of “hair power.”
6. Lazy Day Headband Hairstyles for Curly Girls
Sometimes I just want my hair away from my neck without having to deal with a hair tie that will inevitably get tangled. Enter the “Loose Pineapple with a Band.” I pile my curls on top of my head and instead of a scrunchie, I use a thick, circular fabric headband to hold the base.
It’s loose, it’s comfortable, and it doesn’t cause the dreaded “ponytail headache.” Wide bands distribute the weight of your hair more evenly than a thin elastic. This is my go-to for binge-watching Netflix or running to the grocery store for “emergency” ice cream. Does anyone else feel like a pineapple looks better on them than a regular bun?
Why the Pineapple Band is the Ultimate Lazy Look
- Volume Preservation: It doesn’t crush your curls like a tight elastic would.
- Neck Comfort: Keeps that heavy hair off your neck on hot summer days.
- Zero Effort: You can literally do this with your eyes closed.
I love that this style transitions perfectly from “sleep mode” to “coffee run.” Just fluff the curls falling over the front of the band, and you look like you’ve intentionally gone for a voluminous, high-fashion look.
7. Frizz-Free Headband Hairstyles for Curly Hair

Frizz happens to the best of us, especially when the humidity levels start climbing. To combat this, I look for satin-lined headbands. Most people don’t realize that cotton headbands actually suck the moisture out of your hair, leading to more frizz and breakage. I choose a style where I leave my curls down but use the band to “compress” the frizziest part—the crown.
By keeping the roots flat and compressed, the overall look stays much smoother. I also apply a drop of hair oil to my palms and run them over the “free” curls before putting the band on. Satin is your hair’s best friend. It prevents friction and keeps your cuticle laying flat. FYI, your curls will thank you for making the switch to silk or satin accessories.
Combating Frizz with Accessories
- Material Matters: Swap your cotton wraps for silk or satin options immediately.
- Seal the Moisture: Apply a light serum before placing the headband to lock in hydration.
- Avoid Friction: Don’t move the headband back and forth once it’s on; set it and forget it.
I’ve noticed a huge difference in my hair health since I stopped using rough fabrics. It’s a small change that yields massive results. Plus, satin headbands always look a bit more expensive and “luxe,” don’t they?
8. Beginner-Friendly Headband Hairstyles for Curly Hair
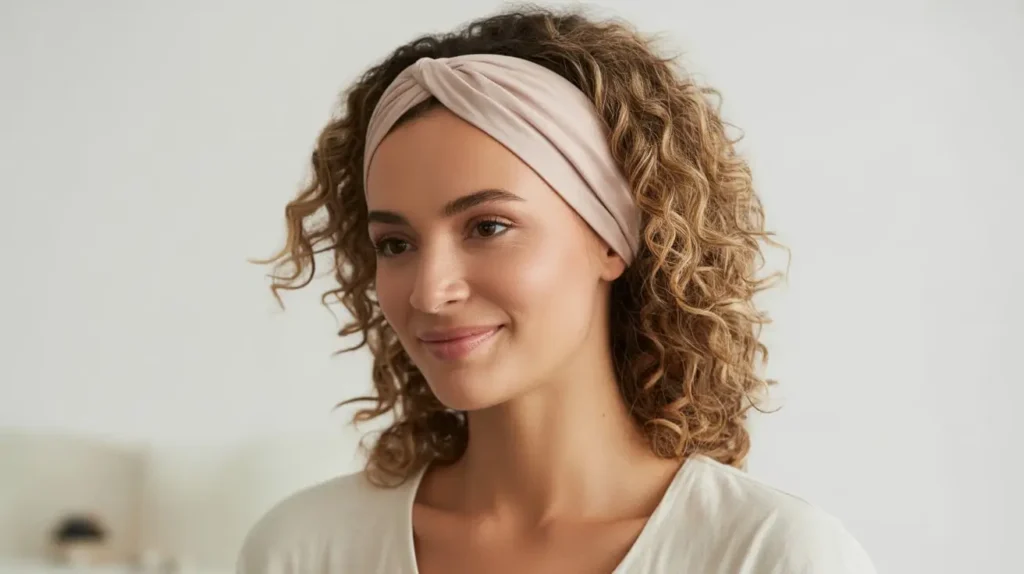
If you’re new to the “curly girl method” or just haven’t used accessories much, don’t overcomplicate it. The “Classic Slide” is your best bet. I take a standard U-shaped headband and simply push it into my hair from the front. The key is to not push it all the way back.
Leave about half an inch of your natural curls visible at the front. This creates a soft, framed look for your face. Focus on the “squeeze” of the headband—it should be snug but not painful. If it pinches your temples, you’ll have a migraine by lunch. Start with a neutral color like black or brown to build your confidence.
Easy Entry Styling Tips
- Tool Tip: Plastic bands with small “teeth” help hold curly hair in place better than smooth plastic.
- Volume Check: After sliding the band in, use your fingers to “fluff” the hair behind the band.
- The “Why”: This style takes zero skill and works on every curl pattern from 2a to 4c.
I remember when I first started styling my curls; I was terrified of “ruining” them. This style taught me that you can manipulate your hair without destroying the pattern. It’s the perfect entry point for anyone who feels intimidated by complex updos.
9. Everyday Headband Hairstyles for Short Curly Hair
I used to think headbands were only for long hair, but I was so wrong. Short curls look incredible with a “Side-Swept Accent.” I use a thin headband to push my hair back, but I leave the bangs or the front layers out. Then, I tuck one side of those front layers behind the headband while letting the other side hang free.
This asymmetrical look adds a lot of personality to a pixie or a bob. Thin bands don’t overwhelm short styles. I personally think a jeweled headband on a short curly bob is one of the most underrated looks out there. Why should long hair have all the fun?
Tips for Short Curls
- Scale the Band: Keep the headband thin so it doesn’t bury your hair.
- Use Texture: Short curls benefit from a bit of sea salt spray to keep them “perky” behind the band.
- Play with Color: Use a headband that contrasts with your hair color to make the style pop.
If you have a pixie cut, a headband can act as a gorgeous frame. It defines the shape of your head and keeps your curls from looking like a “puff ball.” I always feel a bit more feminine and “dressed up” when I add a headband to my shorter styles.
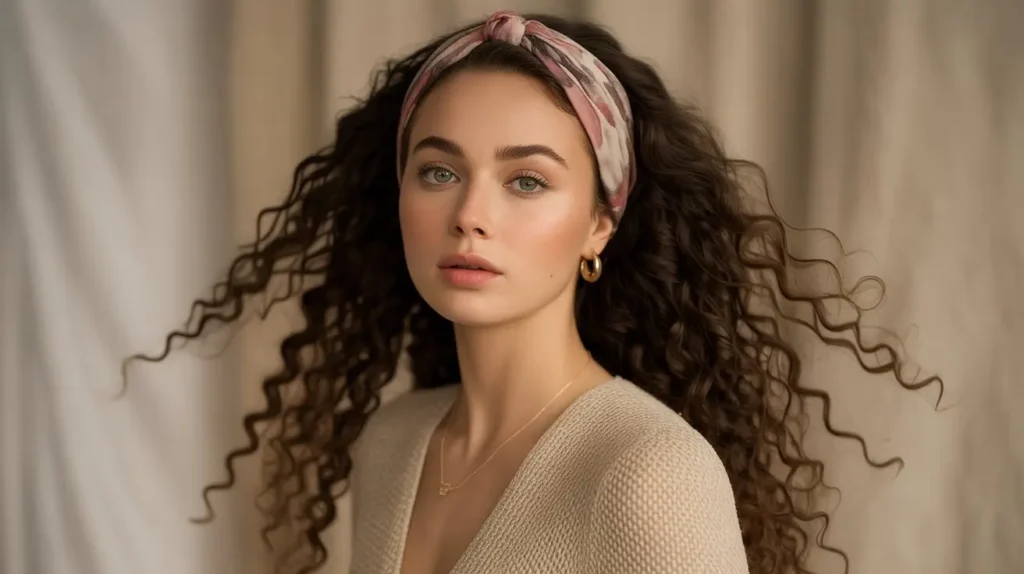
10. Chic Headband Hairstyles for Long Curly Hair
If you have hair down to your waist, you know the struggle of it getting caught in everything. For a chic look that manages the mane, I love the “Triple-Threat Braid.” I put on a headband first, then I braid my long curls into a loose side braid.
The headband keeps the top layers from falling into my eyes, while the braid keeps the length contained. Braids and headbands are a power duo for long-haired girls. It looks like you spent an hour on your hair, but it really only takes about six minutes. I find this works best with a velvet headband because it stays put against the weight of the braid.
Mastering the Long-Hair Braid
- Loosen Up: Once the braid is done, pull at the edges to make it look fuller and more “boho.”
- Headband Choice: Use a velvet-lined band to prevent it from sliding forward due to the braid’s weight.
- End Care: Secure the braid with a silk scrunchie to prevent breakage at the bottom.
There’s something very “fairytale” about a long braid paired with a beautiful headband. It’s my favorite look for outdoor weddings or garden parties. It’s elegant, but it keeps my hair from becoming a tangled mess by the end of the night.
11. Protective Headband Hairstyles for Curly Hair
Protecting our ends is the goal of every curly-haired human. I use a “Silk Wrap Updo” to keep my hair safe from the elements. I use a large silk scarf as a headband, tying it at the base of my neck. Then, I tuck all of my hair into the back of the scarf, creating a pocket.
This is a full-coverage protective style that keeps your hair from rubbing against your clothes. Friction is the enemy of length retention. I do this whenever the wind is high or the weather is particularly dry. It looks very “old Hollywood” and keeps my curls hydrated.
Protective Style Essentials
- Material: Only use 100% silk or high-quality satin for true protection.
- Security: Use a few bobby pins to keep the scarf from sliding forward during the day.
- Benefit: Keeps moisture locked in for the entire day, preventing “crunchy” ends.
I swear by this method during the winter months. The cold air is so drying, and the silk scarf acts like a shield. Plus, it’s a great way to use those vintage scarves you’ve been collecting but haven’t known how to wear.
12. Headband Hairstyles to Refresh Day-Old Curly Hair
We’ve all been there—day three hair that looks a bit… sad. Instead of washing it, I use a “Spray and Band” technique. I mist my hair with a curl refresher spray to reactivate the products already in my hair. Then, I use a thick, padded headband to lift the roots.
The padding in the headband adds height that day-old hair usually lacks. Padded headbands create fake volume. I then scrunch my ends with a tiny bit of water. It’s a total illusion that makes people think I’ve just finished a fresh styling routine. Ever wonder how some girls always have “fresh” curls? They’re probably just using a really good headband. :/
The Refresh Routine
- Moisturize: Use a water-based spray to get the curls moving again.
- Lift: Position the padded band right at the front to hide any flatness.
- Finish: Add a tiny bit of shine spray to the lengths to mimic the look of clean hair.
This is my Monday morning secret. I don’t always have time for a full wash day on Sunday night, and this trick buys me at least another 24 hours. It’s all about the illusion of volume and shine.
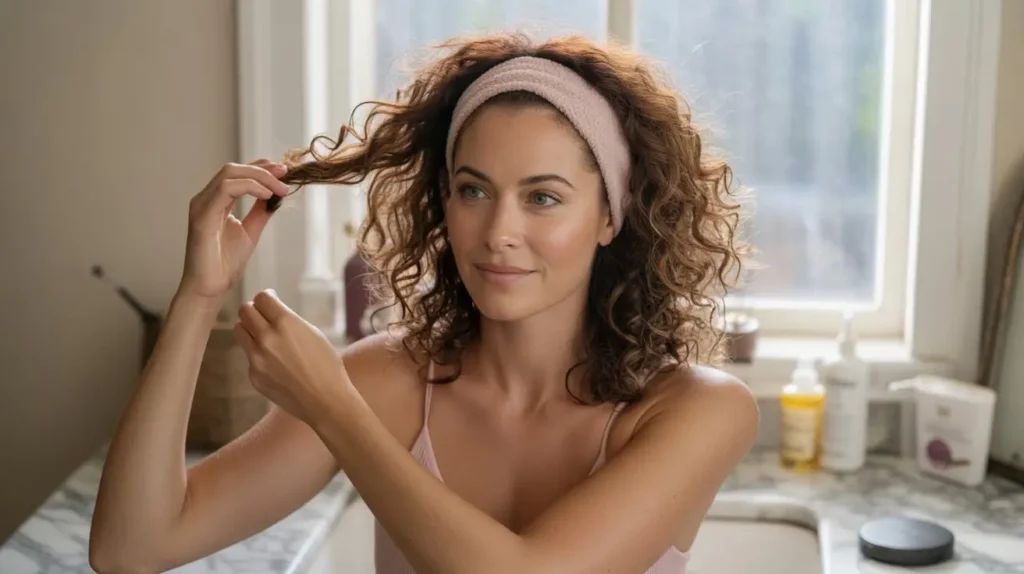
13. Casual Headband Hairstyles for Curly Hair at Home

When I’m cleaning the house or working from my couch, I want zero hair in my face. The “Spa-Style Band” is my go-to. I use those thick, fluffy microfiber headbands usually reserved for washing your face. They are incredibly soft and don’t dent your curls.
I just push everything back and let the curls live their best life behind the band. Comfort is the priority for home styles. These bands are cheap, washable, and incredibly effective at keeping sweat and products off your forehead. Plus, they make me feel like I’m at a luxury spa even when I’m actually just doing laundry.
Why Microfiber is Key at Home
- Gentleness: It doesn’t pull or snag your delicate hairline.
- Absorbency: Perfect for keeping sweat away if you’re doing a home workout.
- Washable: You can toss it in the machine with your towels.
I have a drawer full of these in different colors. They are the ultimate “I’m not leaving the house” accessory. It keeps my skin clear and my hair out of my way while I’m tackling my to-do list.
14. Trendy Headband Hairstyles for Curly Hair 2026
Let’s look into the future. I’m seeing a huge trend toward “Minimalist Metallic Wraps.” These are thin, wire-like headbands that look like jewelry for your hair. In 2026, we’re moving away from the “bulky” look and toward sleek, futuristic accents.
I like to wear these by placing them further back on the head—almost toward the crown—rather than near the forehead. This allows the natural “curtain” of your curls to frame your face while the metal adds a flash of modern style. Contrast is key for upcoming trends. The softness of the curls against the hard, cold metal creates a really interesting visual.
Future Trends to Watch
- The Look: Industrial but feminine; think “sculptural” accessories.
- Trend Tip: Look for silver, gunmetal, or matte gold tones to stay ahead of the curve.
- The “Why”: It’s an easy way to look “high fashion” with zero effort.
I’m already seeing these pop up on runways and in high-end boutiques. It’s a much more understated way to wear a headband. It doesn’t scream for attention, but it adds a level of sophistication that fabric bands just can’t match.
15. Quick Headband Hairstyles for Thick Curly Hair
Thick hair is a blessing and a curse. Sometimes, a regular headband just snaps under the pressure of all that volume. For my thick-haired friends, I suggest the “Scarf-Tie Method.” Instead of a fixed-size headband, use a long, narrow scarf.
Wrap it around your head and tie it firmly at the nape of your neck or in a cute bow at the top. Because you’re tying it yourself, you can control the tension. Adjustable tension is vital for thick hair. No more snapped plastic or stretched-out elastics. I find this much more comfortable for long-term wear because I can loosen it if I start to feel a “hairday” headache coming on.
Strategies for High-Density Hair
- Custom Fit: Tying your own band ensures it fits your head perfectly every time.
- Secure the Base: Use a few large bobby pins at the back to keep the scarf from sliding.
- Style Options: You can tie the knot at the top for a vintage look or at the bottom for something more subtle.
If you’ve ever broken a headband just by putting it on, you know the struggle. Switching to scarves changed my life. They are more durable, more versatile, and they never pinch my head.
Choosing the Right Headband for Your Curl Type
Not all headbands are created equal. If you have fine curls, a heavy, padded headband might weigh your look down and make your hair look thinner. Conversely, if you have thick, coily hair, a tiny wire band might disappear into your mane like it never existed. I’ve learned that matching the scale of the headband to the scale of the curl is the secret to a balanced look.
I personally keep a variety of textures on hand. I have the “grippy” plastic ones for when I’m active, the silk ones for when I’m sleeping or lounging, and the “fancy” jeweled ones for when I actually leave the house for social reasons. A good collection makes styling effortless. Don’t be afraid to experiment with colors that contrast with your hair—a bright yellow band on dark curls is a total mood.
How to Prevent the “Headband Headache”
We’ve all experienced it: that dull throb behind the ears after wearing a headband for two hours. I’ve found a few ways to stop this. First, I always stretch out my plastic headbands before wearing them. I leave them over a stack of books overnight to widen the “grip.”
Second, I try to switch the placement of the headband throughout the day. Moving it just half an inch can relieve the pressure points on your skull. Listen to your head. If it starts to hurt, take it off! No hairstyle is worth a migraine. I also suggest looking for headbands that have fabric-wrapped ends—they are much gentler on the sensitive skin behind your ears.
Maintenance and Care for Your Accessories
If you’re using fabric headbands, you need to wash them. Think about it: they’re sitting right on your hairline, absorbing sweat, oils, and hair products. I throw mine in a mesh laundry bag and wash them on a delicate cycle. Clean accessories lead to clear skin. I’ve definitely had “hairline breakouts” from wearing a dirty headband for too long.
For plastic or metal bands, a quick wipe with a damp cloth and some mild soap does the trick. I store mine on a dedicated “headband tower” so they don’t get tangled or bent out of shape. Organization saves time during your morning rush. There’s nothing worse than digging through a junk drawer when you’re already five minutes late.
The Final Verdict on Headbands and Curls
At the end of the day, headbands are the most versatile tool in a curly girl’s kit. They hide frizz, manage volume, and add a touch of personality to even the most chaotic hair days. I’ve gone from hating my curls to absolutely loving them, mostly because I stopped trying to force them to be “perfect” and started using accessories to embrace their wild nature.
Whether you’re going for a 5-minute quick fix or a trendy 2026 look, the key is confidence. Your curls are your crown; the headband is just the jewel. Stop overthinking it and just slide one on. You might be surprised at how much easier your “easy days” become when you have the right accessory by your side.
Remember, there are no “rules” in hair styling—only what makes you feel good. If you want to wear three headbands at once, go for it! If you want a headband with cat ears, do it! I’ll be over here with my satin-wrapped turban, enjoying my frizz-free day and my third cup of coffee. Headband hairstyles aren’t just a trend; for us curly girls, they are a lifestyle.
So, which of these styles are you going to try first? I highly recommend starting with the “Tucked Halo” if you want to feel like a Greek goddess with minimal effort. Or, if you’re feeling particularly lazy (we’ve all been there), just grab that wide fabric band and let your lioness mane roar. Happy styling!