
Let’s be real for a second. That alarm clock went off twenty minutes ago, and you hit snooze three times. Now you have exactly twelve minutes to get out the door, and your hair looks like it partied harder than you did last night. If you have straight hair, you just run a brush through it and leave. Must be nice, right? But for us, brushing dry curls equals immediate social suicide via puff-ball explosion. We need a plan, and we need it fast.
I have spent years battling my own mane in the wee hours of the morning. I know the struggle of waking up with one side perfectly defined and the other side looking like a flattened pancake. It’s frustrating. But through trial, error, and a ridiculous amount of gel, I’ve curated a list of styles that actually work. These aren’t those complex Pinterest tutorials that require three extra hands and a degree in engineering. These are survival tactics.
We are fixing that morning mess right now. Here are 15 easy, quick curly hairstyles that save your morning and make you look like you have your life together.
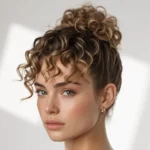
1. The 5-Minute Pineapple Puff
You probably sleep in a pineapple to protect your curls, so why not just keep it there? This is the holy grail of lazy-girl styling. It lifts your curls up, creates instant volume, and keeps hair off your sweaty neck during your commute. I rely on this look at least twice a week because it highlights the best part of our hair—the volume—while hiding the flattened roots at the back.
Why This Works
Gravity pulls your curls down all day. By piling them on top of your head, you create a cascading effect that looks intentional and chic. It mimics a faux-hawk without the commitment of shaving your sides. Plus, it creates an instant facelift effect. Who needs Botox when you have a tight scrunchie?
How to Achieve It
- Flip your head upside down. Let gravity do the heavy lifting here.
- Gather all your hair at the very top of your head, right near your forehead.
- Secure it loosely. Use a satin scrunchie or a spiral hair tie. Do not wrap it twice if you have thick hair; just pull it through once to avoid the “dent.”
- Fluff the bangs. Pull a few tendrils down around your ears and forehead to soften the look.
Pro Tip: If your ends look a little dry, rub a dime-sized amount of hair oil between your palms and scrunch the ends of the puff. It adds shine and breaks up any frizz cast.
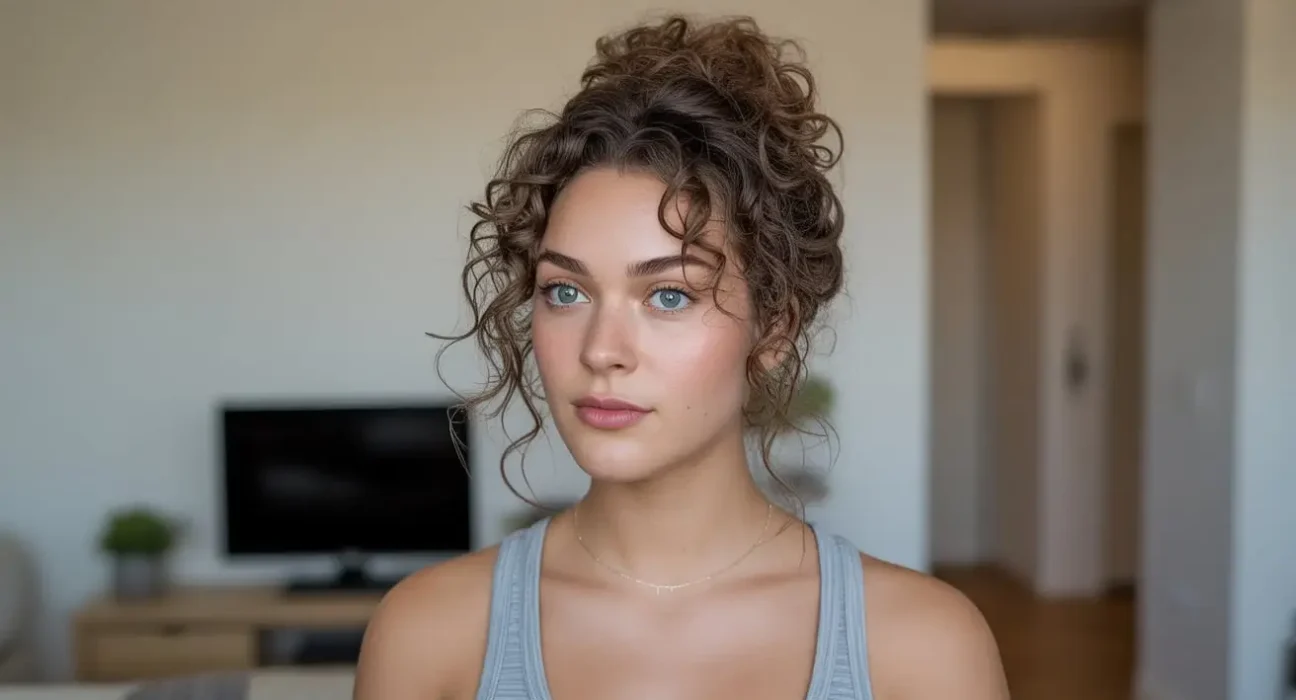
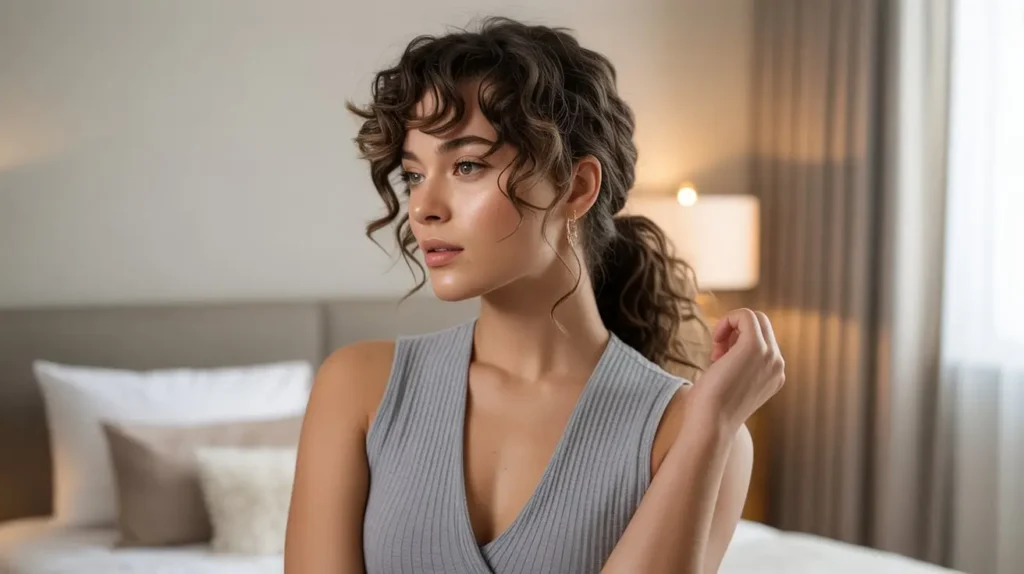
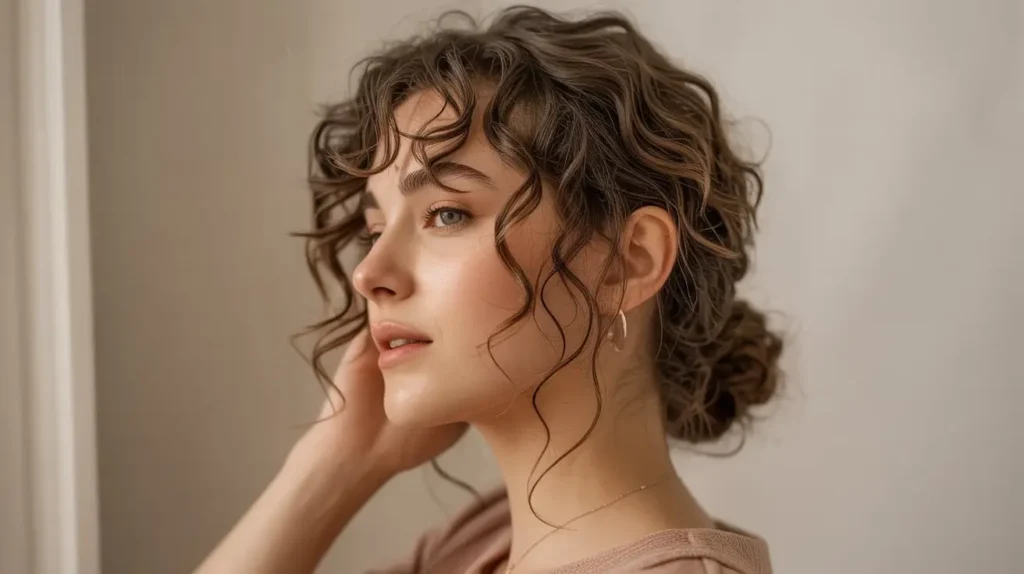
2. Low Messy Curly Bun
Sometimes the top of your hair looks a bit wild, or maybe your part is doing something weird. The low messy bun solves this. It gives off serious “off-duty model” vibes, even if you’re actually just “late for a Zoom meeting.” It’s romantic, soft, and takes zero precision.
The Strategy
We aren’t aiming for a ballerina bun here. Active perfectionism ruins this style. You want texture. You want bumps. You want character.
Step-by-Step
- Part your hair where it naturally falls. A middle part looks modern; a side part looks classic.
- Pull your hair back toward the nape of your neck. Keep your grip loose to maintain volume at the crown.
- Twist the ponytail around itself to form a loose bun shape.
- Secure with a hair tie. Wrap it around the base.
- Pull at the bun. Gently tug on sections of the bun to make it bigger and messier.
- Release the front pieces. Pull out face-framing curls. If they look limp, wet your finger and twirl them back to life.
My honest take: I love this style because it hides the greasy roots that often appear on day four hair. IMO, it’s the best way to extend your wash cycle one more day.
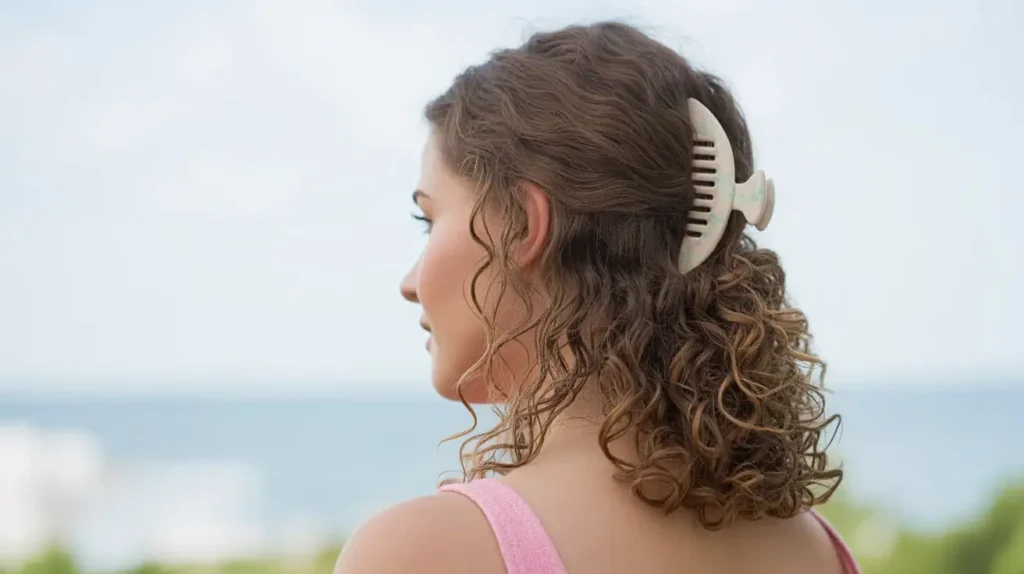
3. Half-Up Curl Clip Style
The claw clip made a massive comeback, and I am here for it. This style is arguably the fastest on this list. It removes the bulk of hair from your face while still showing off your length. It’s practical yet flirty.
Choosing Your Weapon
You need a claw clip that actually fits your hair density. If you have thick, coily hair, buy the jumbo matte clips. Those tiny tortoiseshell ones from the drugstore will snap in half the moment they touch your head. Trust me, I’ve broken dozens. :/
Execution
- Section your hair from just above your ears.
- Gather the top section and pull it back.
- Twist the hair once at the back of your head to create an anchor point.
- Clamp the clip over the twist.
- Adjust the top. Pull the hair at the crown slightly upward to create volume. You don’t want it plastered to your skull.
This style works exceptionally well if the bottom layer of your hair retained its curl definition overnight, but the top layer got frizzy against your pillow. The clip hides the frizz and highlights the good curls underneath.
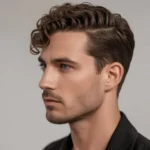
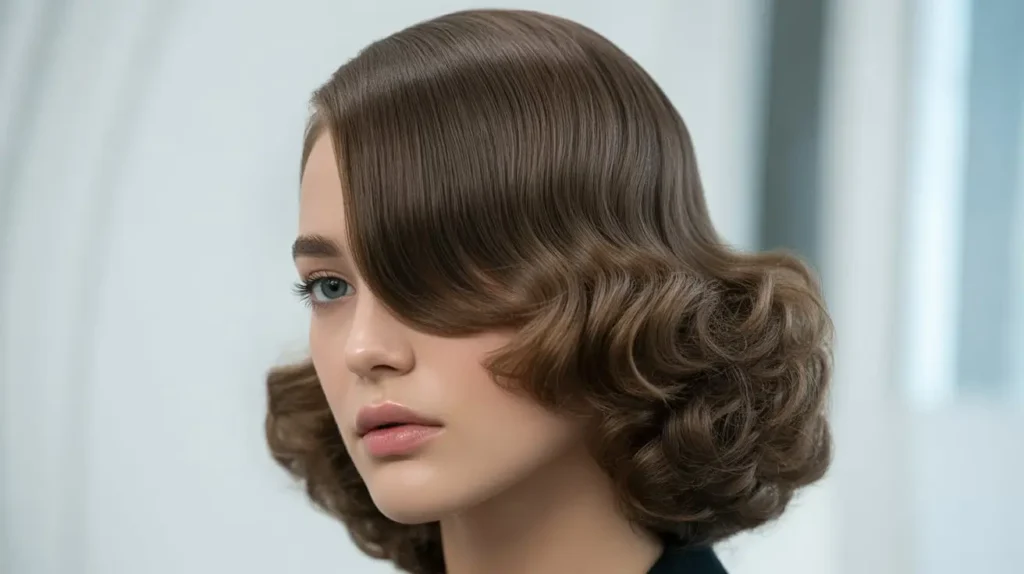
4. Sleek Front, Curly Back Look
This is the “Clean Girl Aesthetic” adapted for texture. It creates a striking contrast between a polished, controlled root and a wild, voluminous back. It looks incredibly high-effort, but it actually just relies on a good brush and some strong-hold gel.
The Essentials
- A spray bottle with water.
- Strong-hold gel or edge control.
- A soft bristle brush (boar bristle works best).
- Two hair ties.
The Method
- Dampen the front section of your hair (from your hairline back to your ears).
- Apply gel liberally. Don’t be shy. You want this sleek.
- Brush the hair back. Smooth it down flat against your head.
- Secure the ponytail tightly at the middle or back of your head.
- Fluff the ponytail. Use a pick or your fingers to make the loose curls as big as possible.
Why I recommend this: It controls the frizz around your hairline, which is usually the first place to go rogue in humidity. You look polished from the front, but you still get to rock your natural texture in the back.
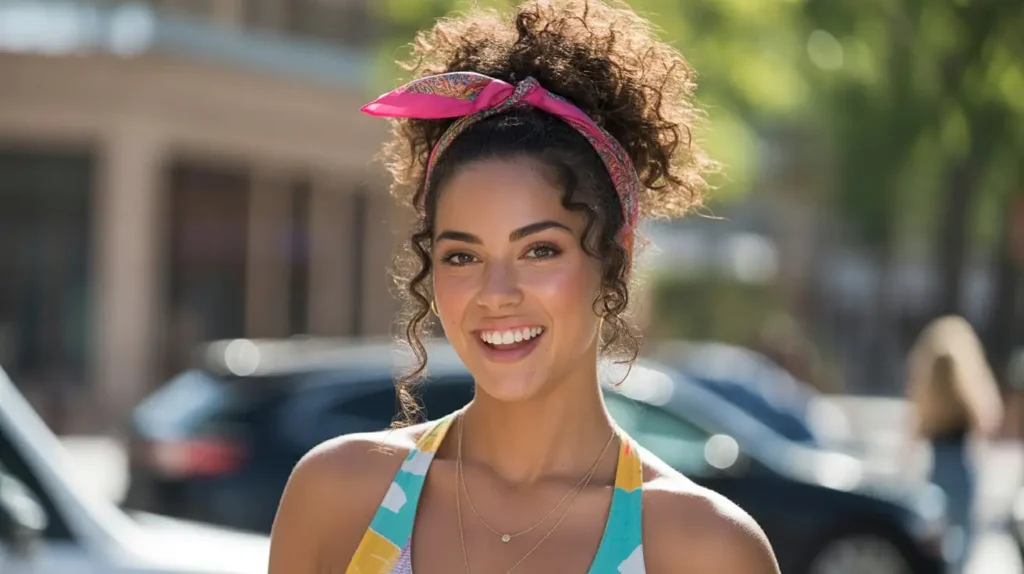
5. Curly High Puff with Scarf
Sometimes, the edges just won’t lay down, or you have serious bedhead frizz that no amount of water will fix. Enter the silk or satin scarf. This adds a pop of color to your outfit and completely hides the “trouble zones” of your hairline.
Styling Steps
- Create a high puff. Follow the same steps as the Pineapple Puff (Style #1).
- Fold your scarf. Fold a square silk scarf into a long rectangle or triangle.
- Wrap it up. Place the center of the scarf at the nape of your neck and bring the ends forward.
- Tie the knot. Tie a cute knot or bow at the front of your hairline, or slightly off-center.
- Tuck the ends. If you don’t want a bow, tuck the ends under the scarf for a headband look.
Personal note: This is my go-to for video calls. The scarf adds a level of intentionality to the outfit. People think you accessorized; really, you’re just hiding undefined edges. It’s our little secret.
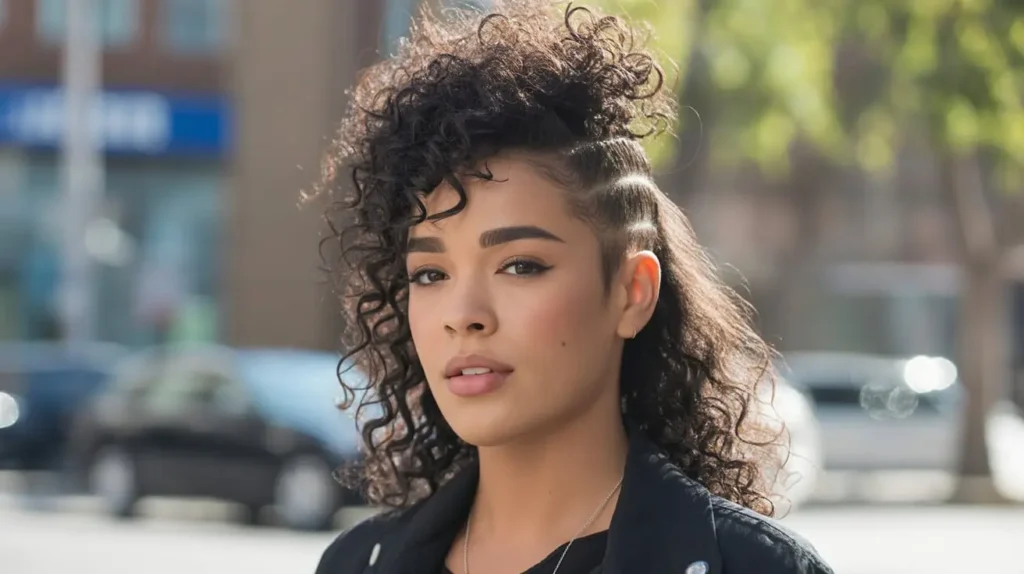
6. Quick Side-Swept Curly Style
Do you want instant glamour? Sweep it to the side. This style mimics the look of an undercut or a side-shave without the razor. It opens up your face and highlights your jawline.
How to Master the Sweep
- Create a deep side part. Pick your best side (we all have one) and part your hair dramatically to the opposite side.
- Smooth the “short” side. Take the hair on the side with less volume and brush it sleekly toward the back of your head.
- Pin it securely. Use bobby pins to lock that hair in place at the nape of your neck. Cross your bobby pins in an ‘X’ shape to ensure they don’t slide out of thick curls.
- Let the rest cascade. Fluff the heavy side of your hair so it falls over your shoulder.
This style changes your silhouette completely. It looks elegant enough for a date night but takes fewer than three minutes to assemble.
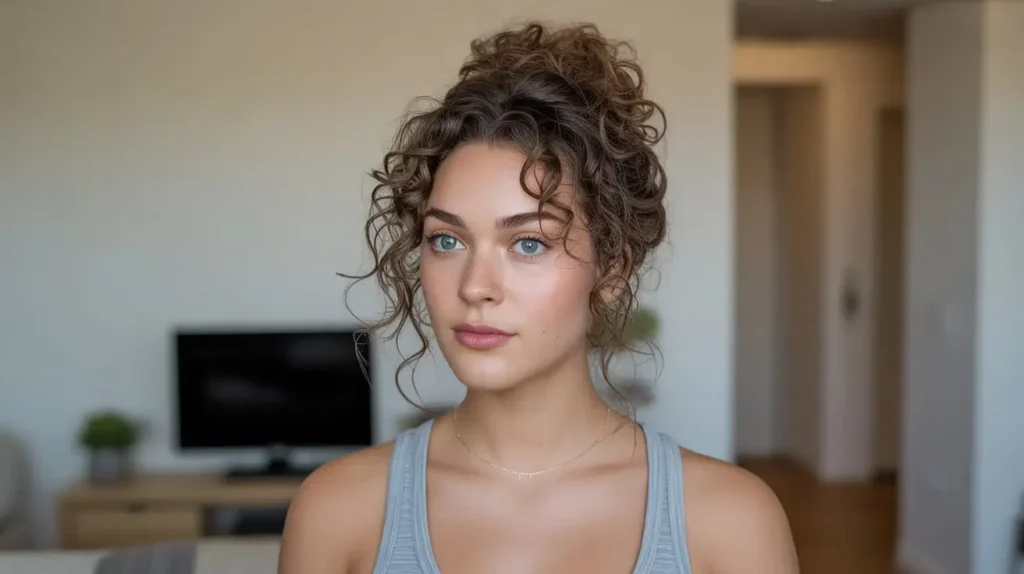
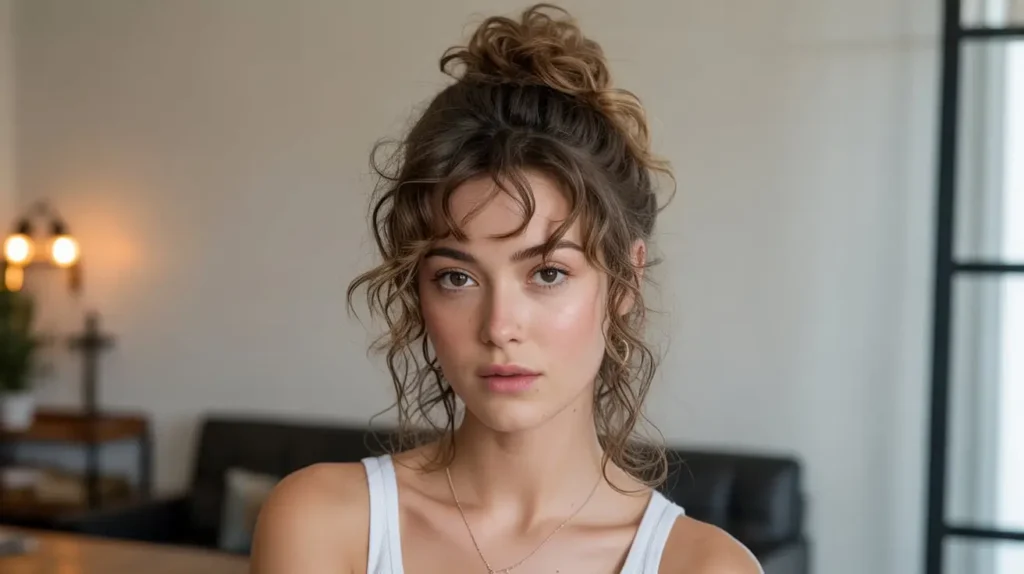
7. Loose Curly Top Knot
The top knot is the messy bun’s taller, louder sister. It sits right on the crown of your head and commands attention. Unlike the pineapple, you tuck the ends in, creating a structured shape.
The Process
- Gather hair high. Bring everything to the crown.
- Start the ponytail. Wrap your elastic once.
- Twist and tuck. On the second or third wrap of the elastic, don’t pull the hair all the way through. Create a loop.
- Pin the strays. Take the loose ends sticking out of the loop and pin them loosely around the base of the bun.
- Mess it up. Pull on the bun to widen it.
Why this saves your morning: It keeps hair completely out of your face and off your neck. If you have a busy day of running errands or hitting the gym, this style stays secure.
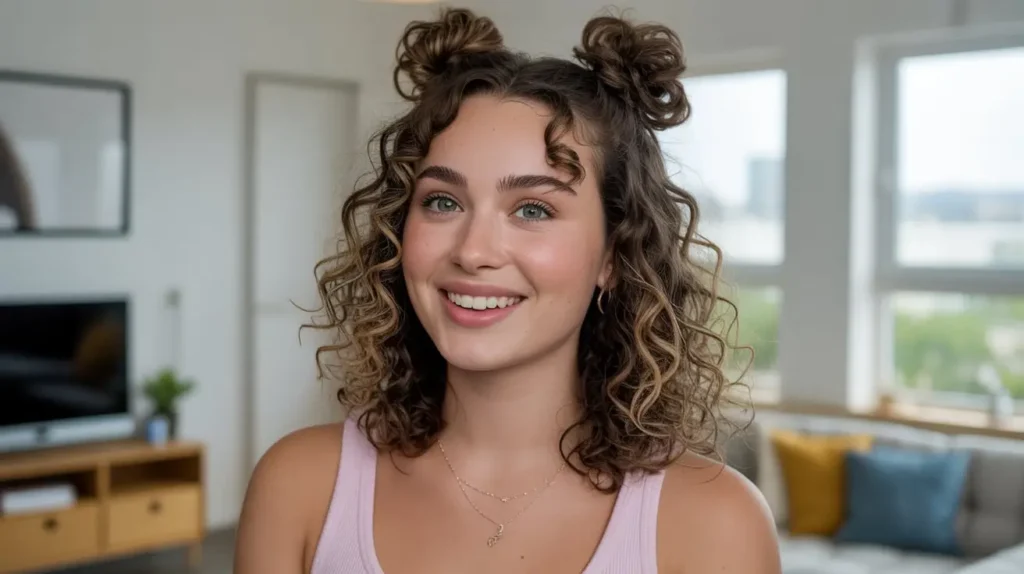
8. Half-Up Space Buns

Ready to channel your inner 90s pop star? Space buns are incredibly fun and surprisingly practical. They control the volume on top of your head while leaving length down. It’s a playful look that says you don’t take yourself too seriously.
Getting the Look
- Part down the middle. Use a tail comb to get a clean line from your forehead to your crown.
- Section the top. Separate the top half of your hair into two even sections.
- Create the buns. Twist each section into a small bun and secure it with a small elastic or bobby pins.
- Leave the back loose. Refreshen the curls at the back with a little water or spray leave-in conditioner.
Caution: Don’t make the buns too tight! Tension headaches are real, and they ruin your productivity faster than bad coffee. Keep them loose and fluffy.
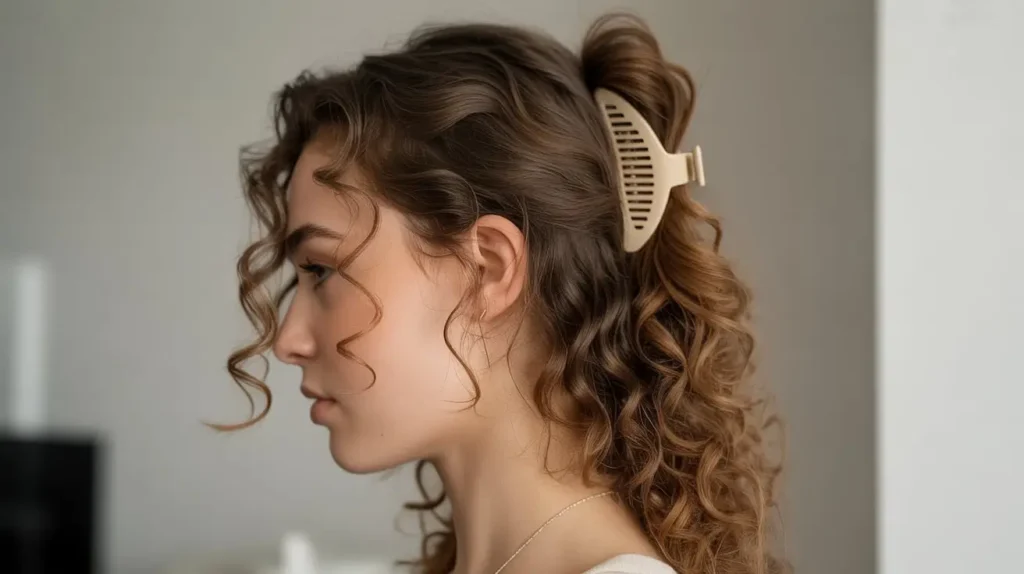
9. Claw Clip Curly Twist
This is a variation of the French Twist, adapted for the sheer volume of curly hair. It looks sophisticated and works perfectly for medium to long lengths. It’s less “messy” than the standard clip style and more “office appropriate.”
The Technique
- Gather all your hair at the nape of your neck as if you’re making a low pony.
- Twist the hair upward. Twist the entire ponytail tightly towards the ceiling.
- Fold it? Maybe. If your hair is super long, fold the tail back down. If it’s medium length, let the ends splay out at the top.
- Secure with the clip. Open the claw clip wide and clamp it over the twisted roll against your head.
- Arrange the waterfall. Let the curls spill over the top of the clip.
This style looks like you spent twenty minutes pinning your hair up, but you actually just twisted and clipped. Efficiency is the name of the game here.
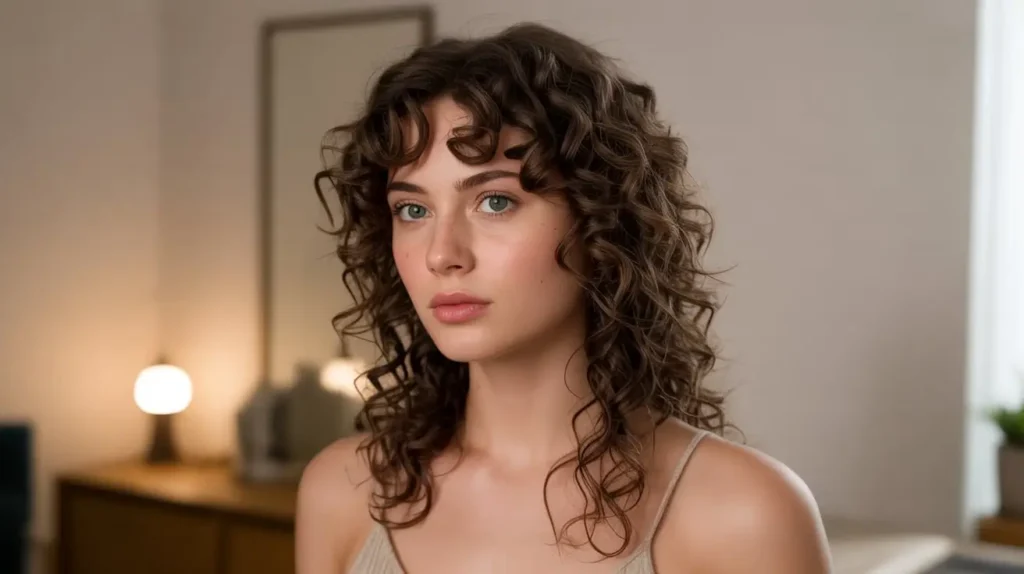
10. Curly Low Pony with Volume
A low ponytail on straight hair can sometimes look flat and boring. On curly hair? It’s a texture bomb. The key here is maintaining volume at the roots so you don’t get that “slicked-down egg” head shape (unless that’s what you want, but usually we want bounce).
Volume Hacks
- Don’t brush the roots flat. Use your fingers to rake the hair back gently.
- Secure it loosely. Use a scrunchie or a spiral tie. A tight elastic kills the volume.
- Tease the tail. Once the pony is secured, grab sections of the ponytail and pull them apart horizontally to create width.
- Pick the crown. Take a hair pick and gently lift the roots at the top of your head to add height.
Pro Tip: Take a small section of hair from the bottom of the ponytail, wrap it around the hair tie, and pin it underneath. This hides the elastic and makes the style look finished and expensive.
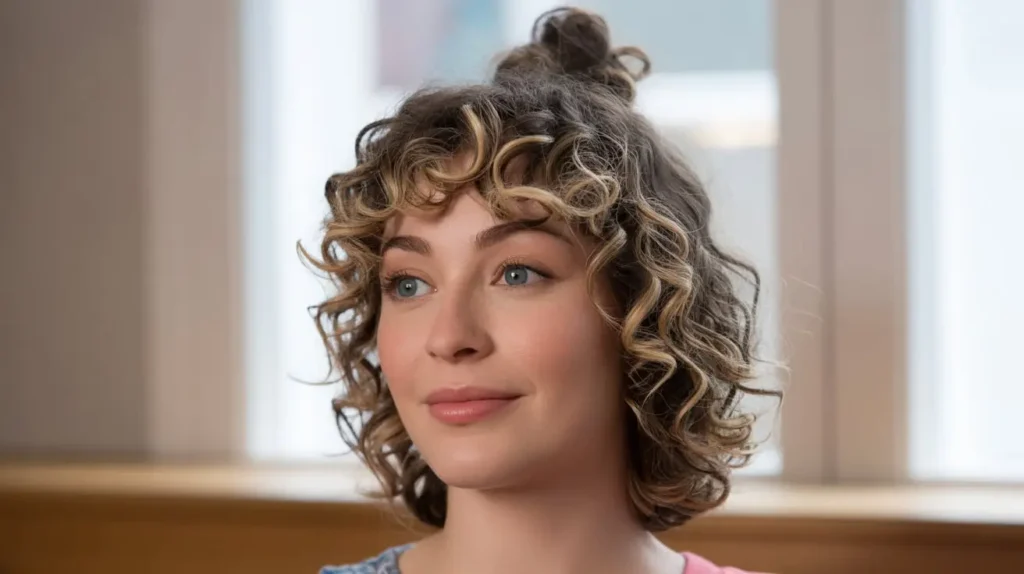
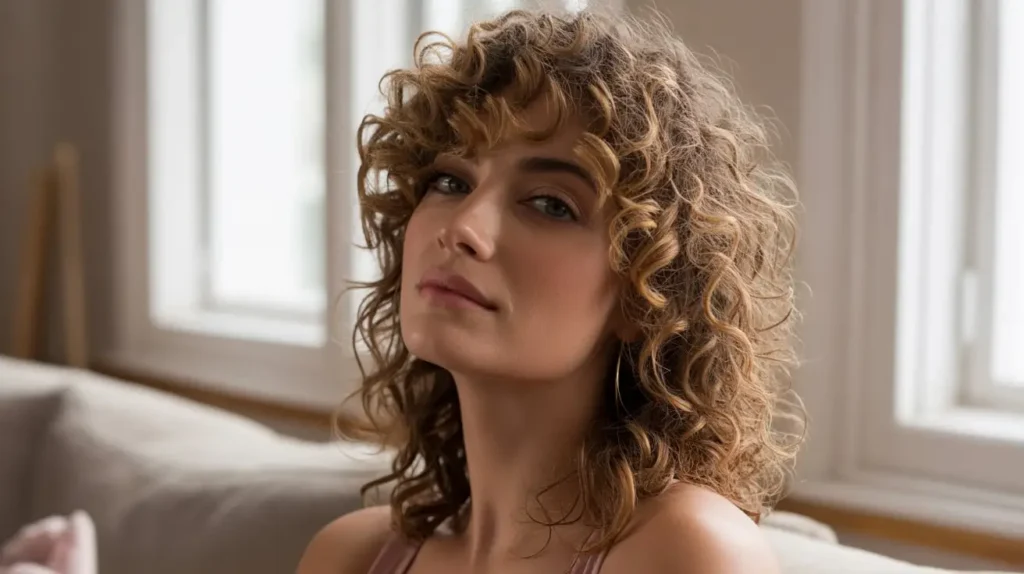
11. Curly Bangs with Mini Bun
Do you have curly bangs? Flaunt them. If you don’t, fake them. This style focuses all the attention on the front framing of your face while tucking the rest away.
If You Have Bangs:
Simply refresh your bangs with water and finger coil them. Pull the rest of your hair into a mid-height bun.
If You Don’t Have Bangs (The Faux Bang):
- Make a high bun. Position it very far forward on your head.
- Leave the ends out. Instead of tucking the ends of your hair into the back of the bun, direct them forward over your forehead.
- Pin and style. Pin the bun in place, letting those loose curls fall onto your forehead.
- Shake them out. adjust them until they look like a fringe.
This is a risky move if it’s windy, but indoors? It’s a total vibe change without the regret of actually cutting bangs.
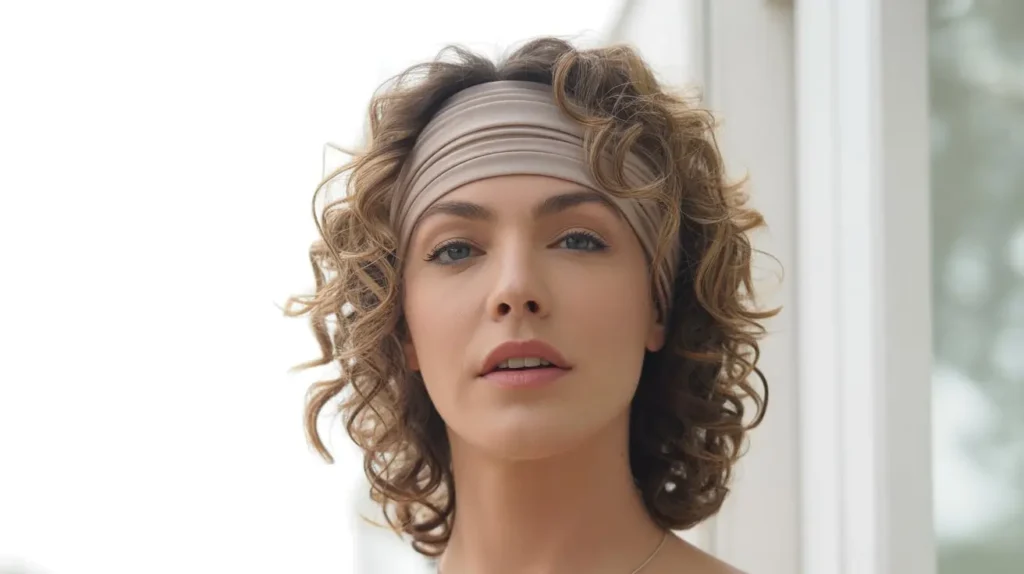
12. Headband Tucked Curly Style
This style gives very “period drama” or “bohemian romance.” It requires a stretchy, circular headband. It’s fantastic for windy days because your hair is literally tucked away and can’t blow into your lip gloss.
How to Tuck
- Place the headband. Put the headband over your hair, so it sits low on your forehead and around the back of your head (hippie style).
- Start tucking. Take a section of hair from the front, lift it, and tuck it over and into the headband.
- Work your way back. Continue tucking sections until you reach the back of your head. Do this on both sides.
- Roll the back. Take the remaining hair at the back and roll it upward into the headband.
Once everything is tucked, you can slide the front of the headband up slightly to your hairline. It creates a beautiful, rolled updol that looks incredibly complex.
13. Quick Two-Twist Curly Style
Flat twists are a lifesaver when you want your hair out of your face but are tired of slicked-back styles. This frames the face beautifully and protects your fragile hairline edges from tension.
The Steps
- Part down the middle.
- Section the front. Separate two small sections of hair right at your hairline on either side of the part.
- Twist. Split the section into two strands and twist them over each other, directing them away from your face. Add a little more hair as you twist down (like a French braid, but with two strands).
- Pin it back. Once you reach your ear, stop adding hair and just twist to the end. Pin this twist to the side of your head or tuck it into the bulk of your curls.
- Repeat on the other side.
This style adds detail and texture to the front of your hair. It keeps you from constantly tucking hair behind your ears, which we all know eventually disrupts the curl pattern.
14. Curly Faux Hawk Puff
Do you want to look edgy? The Faux Hawk Puff is the answer. It creates a vertical line of curls that looks fierce and energetic.
Construction
- Section horizontally. Divide your hair into three or four horizontal sections from your forehead to your nape.
- Make mini puffs. Secure each section with a hair tie. You should have a row of ponytails down the center of your head.
- Connect the fluff. Fluff the curls of each ponytail so they merge into one another, hiding the gaps and the hair ties.
Why I love this: It works amazingly well on shorter curly hair or hair with significant shrinkage. It disguises the length while maximizing the volume. You look like a rockstar, FYI.
15. Wash-Day Stretch Curly Bun
We have all been there. It is day five (or six… or seven, I won’t judge). The curls have lost their definition. The frizz is winning. It is time for the sleek, low bun. This is the “emergency” button of hairstyles.
The Slick Down
- Oil your hair. Since you are washing it soon anyway, add a nourishing oil to your lengths. This treats the hair while you wear the style.
- Part deeply. A sharp middle or side part is essential here.
- Brush firmly. Use a boar bristle brush to smooth everything back. If it’s really messy, dampen the roots first.
- Twist tight. Create a tight, neat bun at the nape of your neck.
- Pin flyaways. Use hairspray or gel on a toothbrush to tame any halos of frizz.
This style says “I am elegant and minimalist,” not “I need to wash my hair desperately.” It turns a bad hair day into a purposeful look.
The Morning Reality Check
Ever wondered why we stress so much about our hair? Because for curly girls, our hair has a personality of its own. Some days it cooperates; other days it chooses violence. These 15 styles aren’t just about looking good; they are about reclaiming your time.
We don’t need to spend an hour diffusing every single morning. We don’t need to re-wet and re-style the entire head daily. We just need to work with the texture we have at that moment.
A Few Final Rules of Engagement
- Water is your best friend. A continuous spray bottle revives flattened curls better than any product.
- Accessories matter. Invest in satin scrunchies, strong bobby pins, and durable claws. Cheap tools break thick hair.
- Embrace the imperfection. Frizz is just a part of the package. Volume usually comes with a little fuzz. Embrace it. A perfectly neat curly head often looks stiff. A little messiness looks natural and soft.
Next time you oversleep, don’t panic. Don’t reach for the straightener (we both know that takes too long anyway). Grab a clip, some gel, or a scarf, and pick one of these styles. You will look amazing, and no one needs to know you woke up twelve minutes ago.
Now, go drink your coffee. You’ve got time. 🙂